DIY volumio driven audiophile DAC and CD player
The Raspberry pi has some very high quality DAC such as the Pecan Pi. But regarding integration, even if there are existing cases, I was missing a remote, some basic physical user interface and a CD player.
This is the story of this build.
Main Features
- 24 bits / 192 Khz DAC
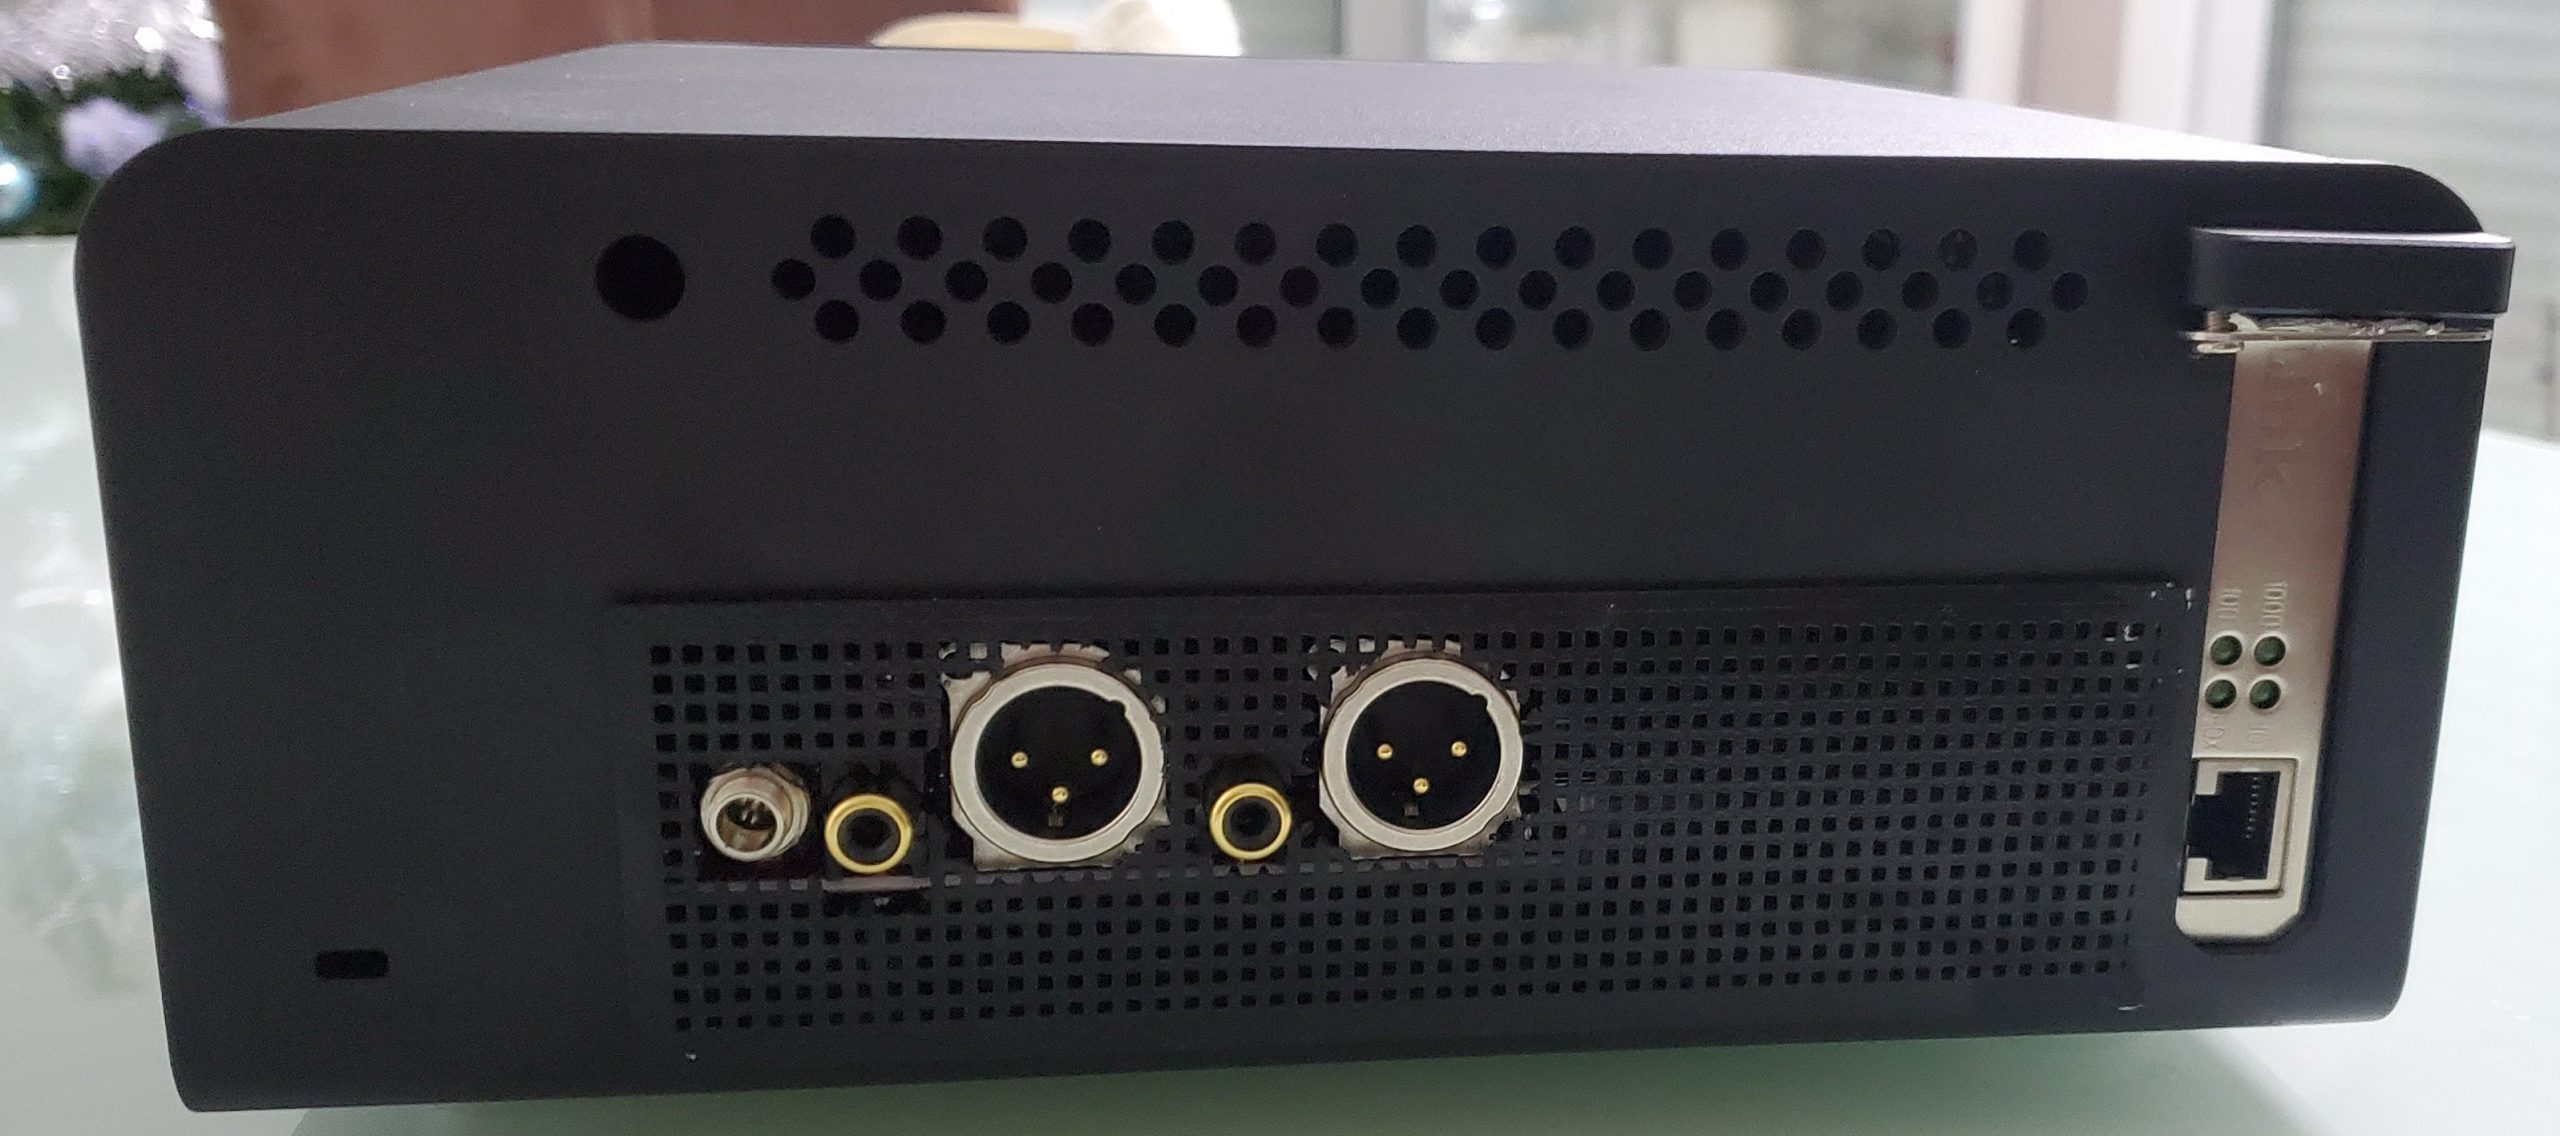
- Balanced XLR output
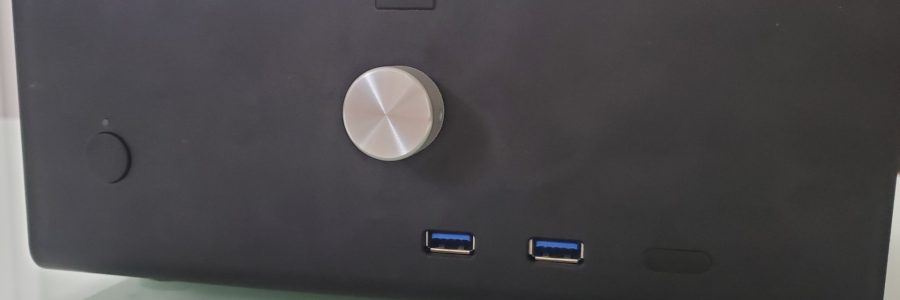
- 2 front USB ports
- Volume knob
- 1 action button (play/pause, play radio, random playlist)
- 1 status led
- Remote control
- 100 Mbits Ethernet
- Slot-in CD player
- Runs Volumio
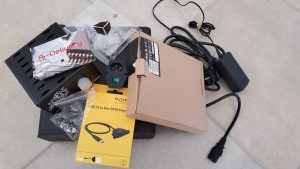
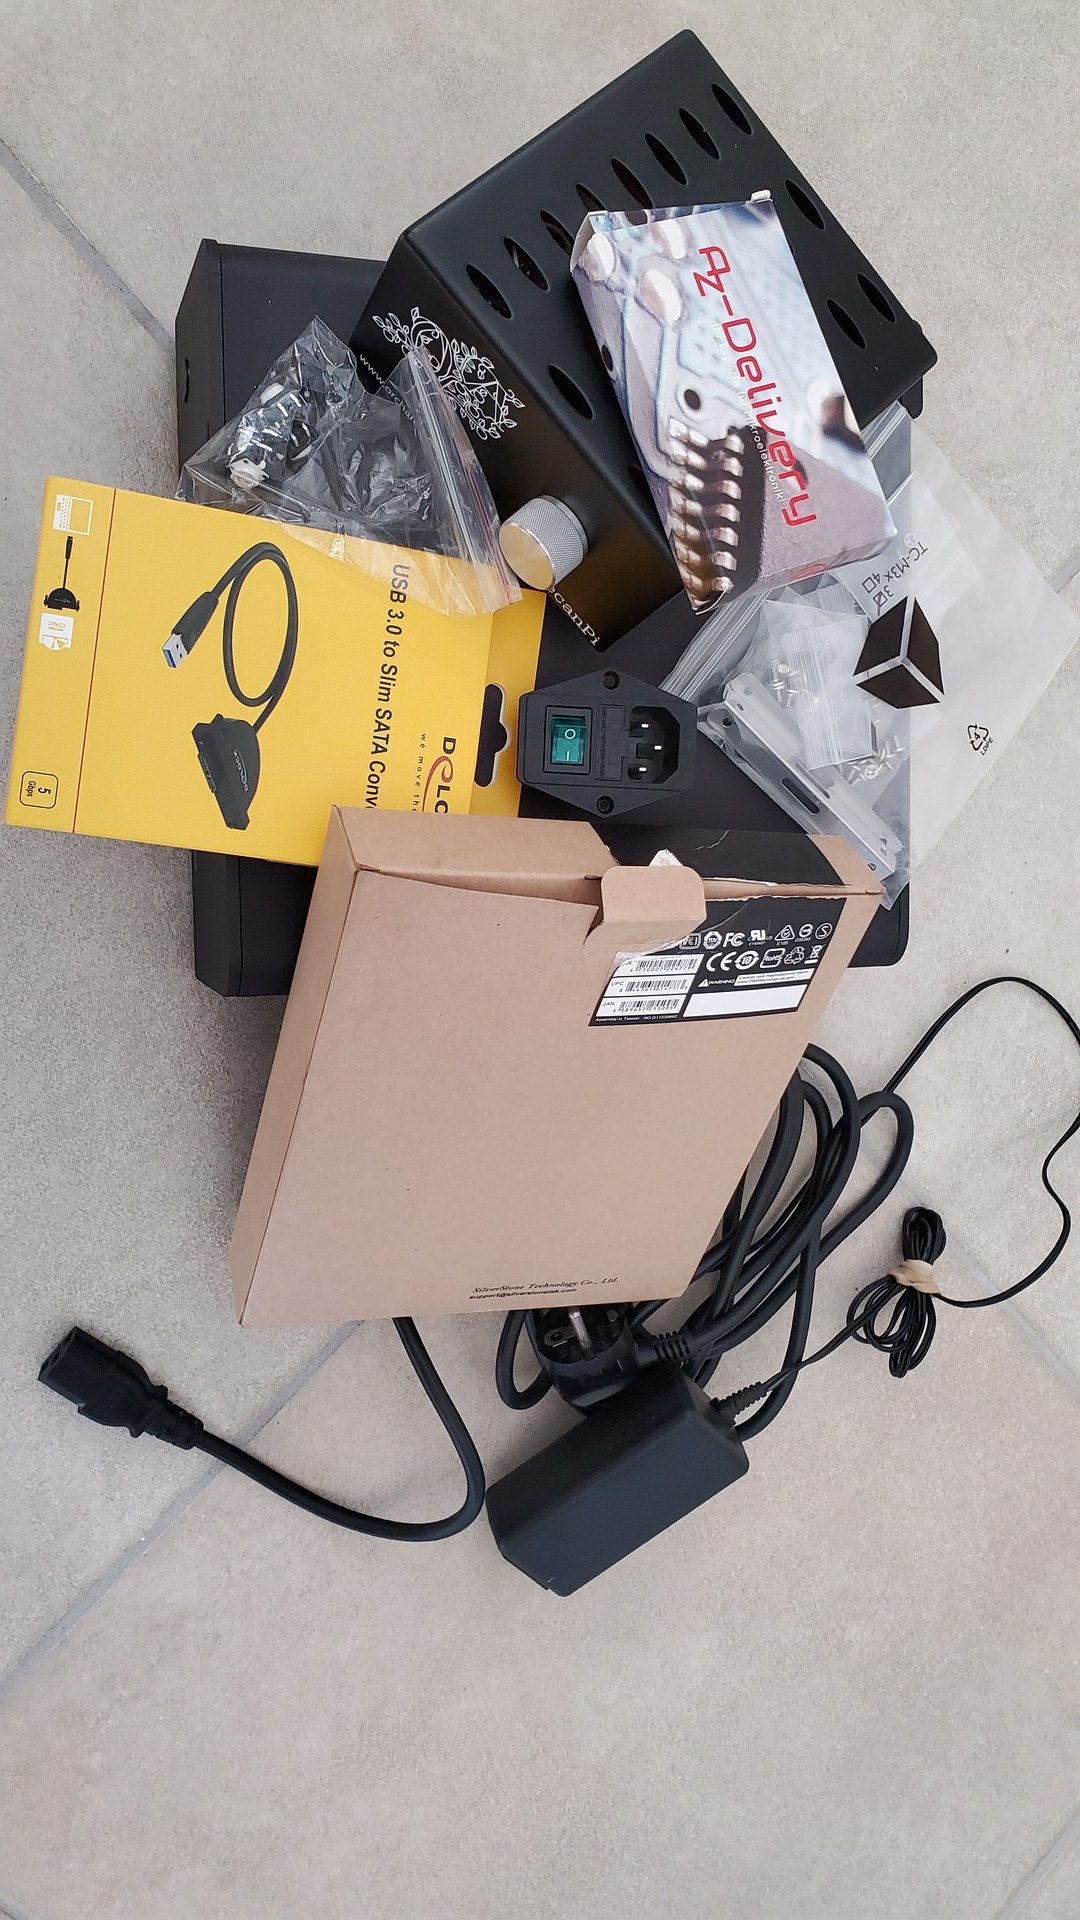
Used Components
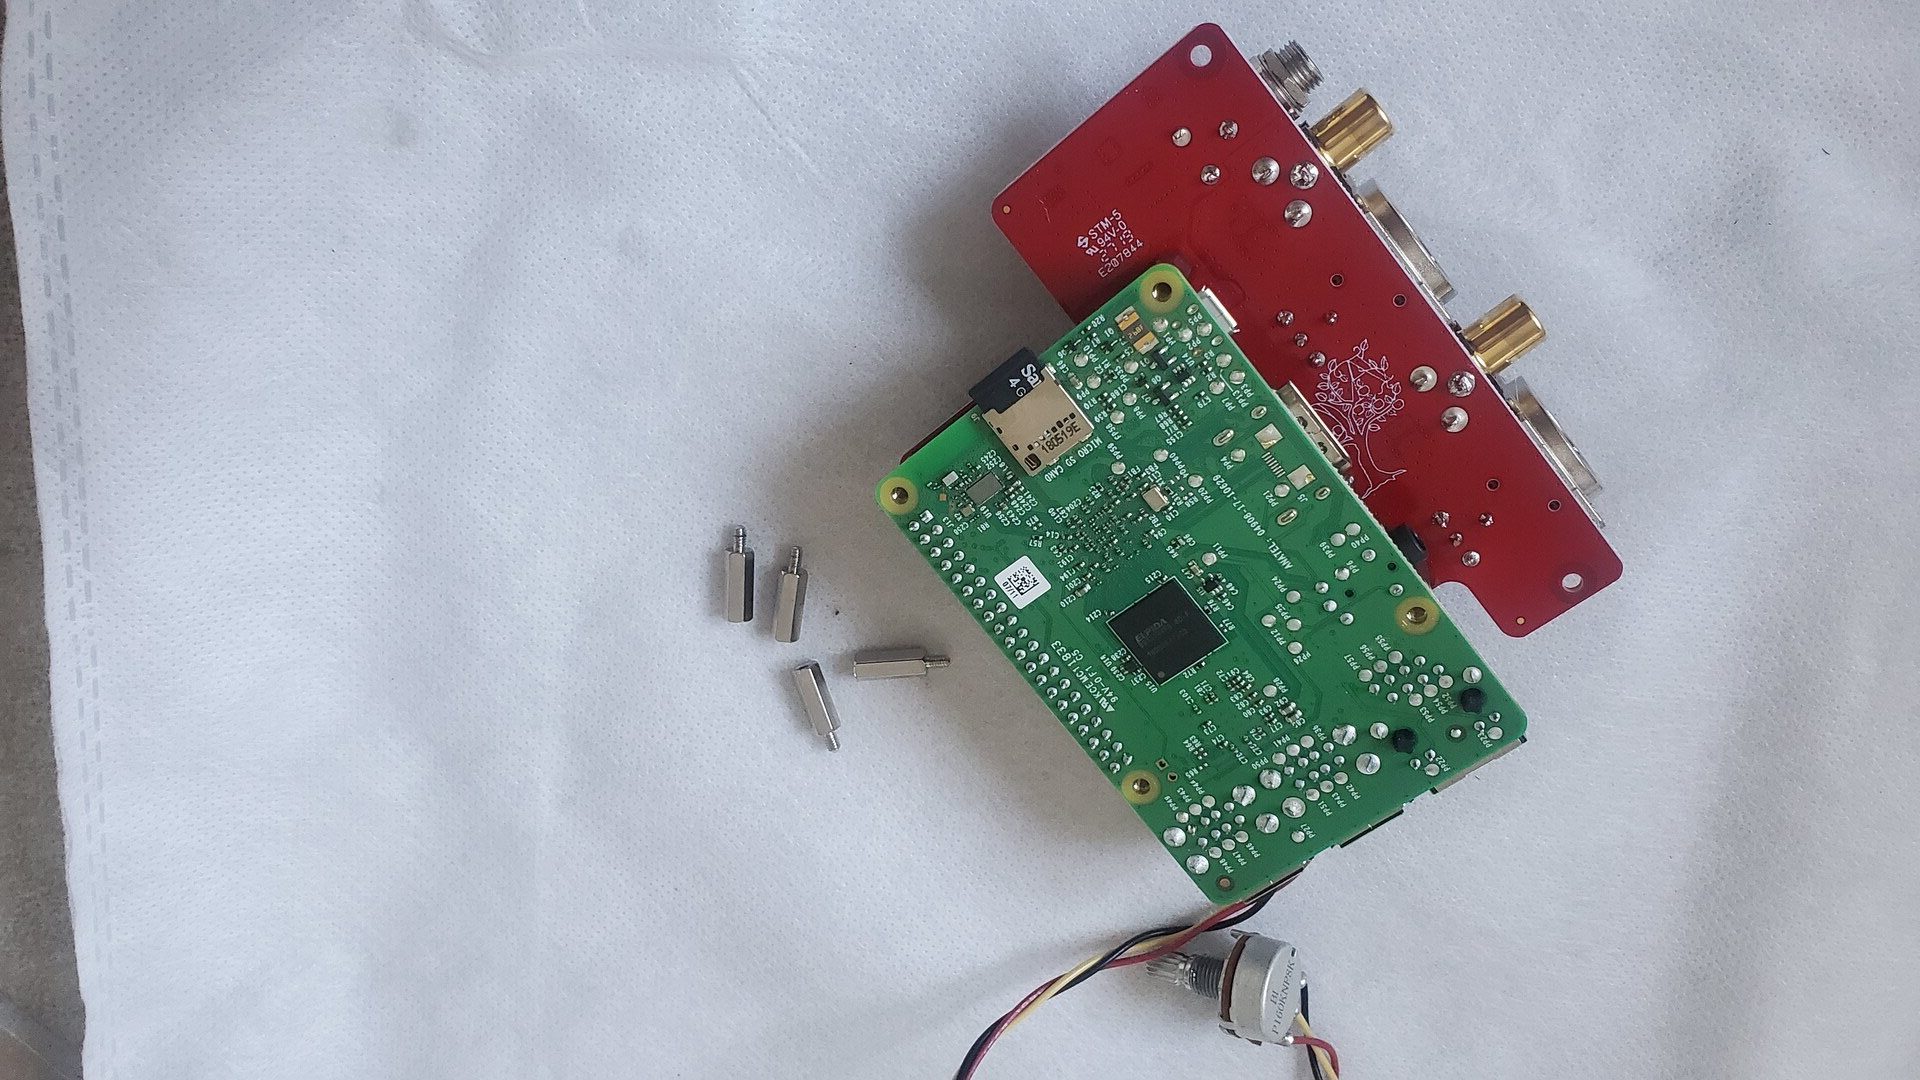
- PecanPi Streamer V1.5 (Raspberry pi 3b + PecanPi DAC), full review here
- 16 Gb MicroSD class 10
- 1 x IR receiver Led
- A remote controller from an old CD player
- An old PCI Ethernet Card
- 2 x USB mal connectors breakout boards
- 4 x Metal spacers
- Small ethernet cable with an rj45 connector
- Hitachi-LG slot-in DVD drive (model GS40N)
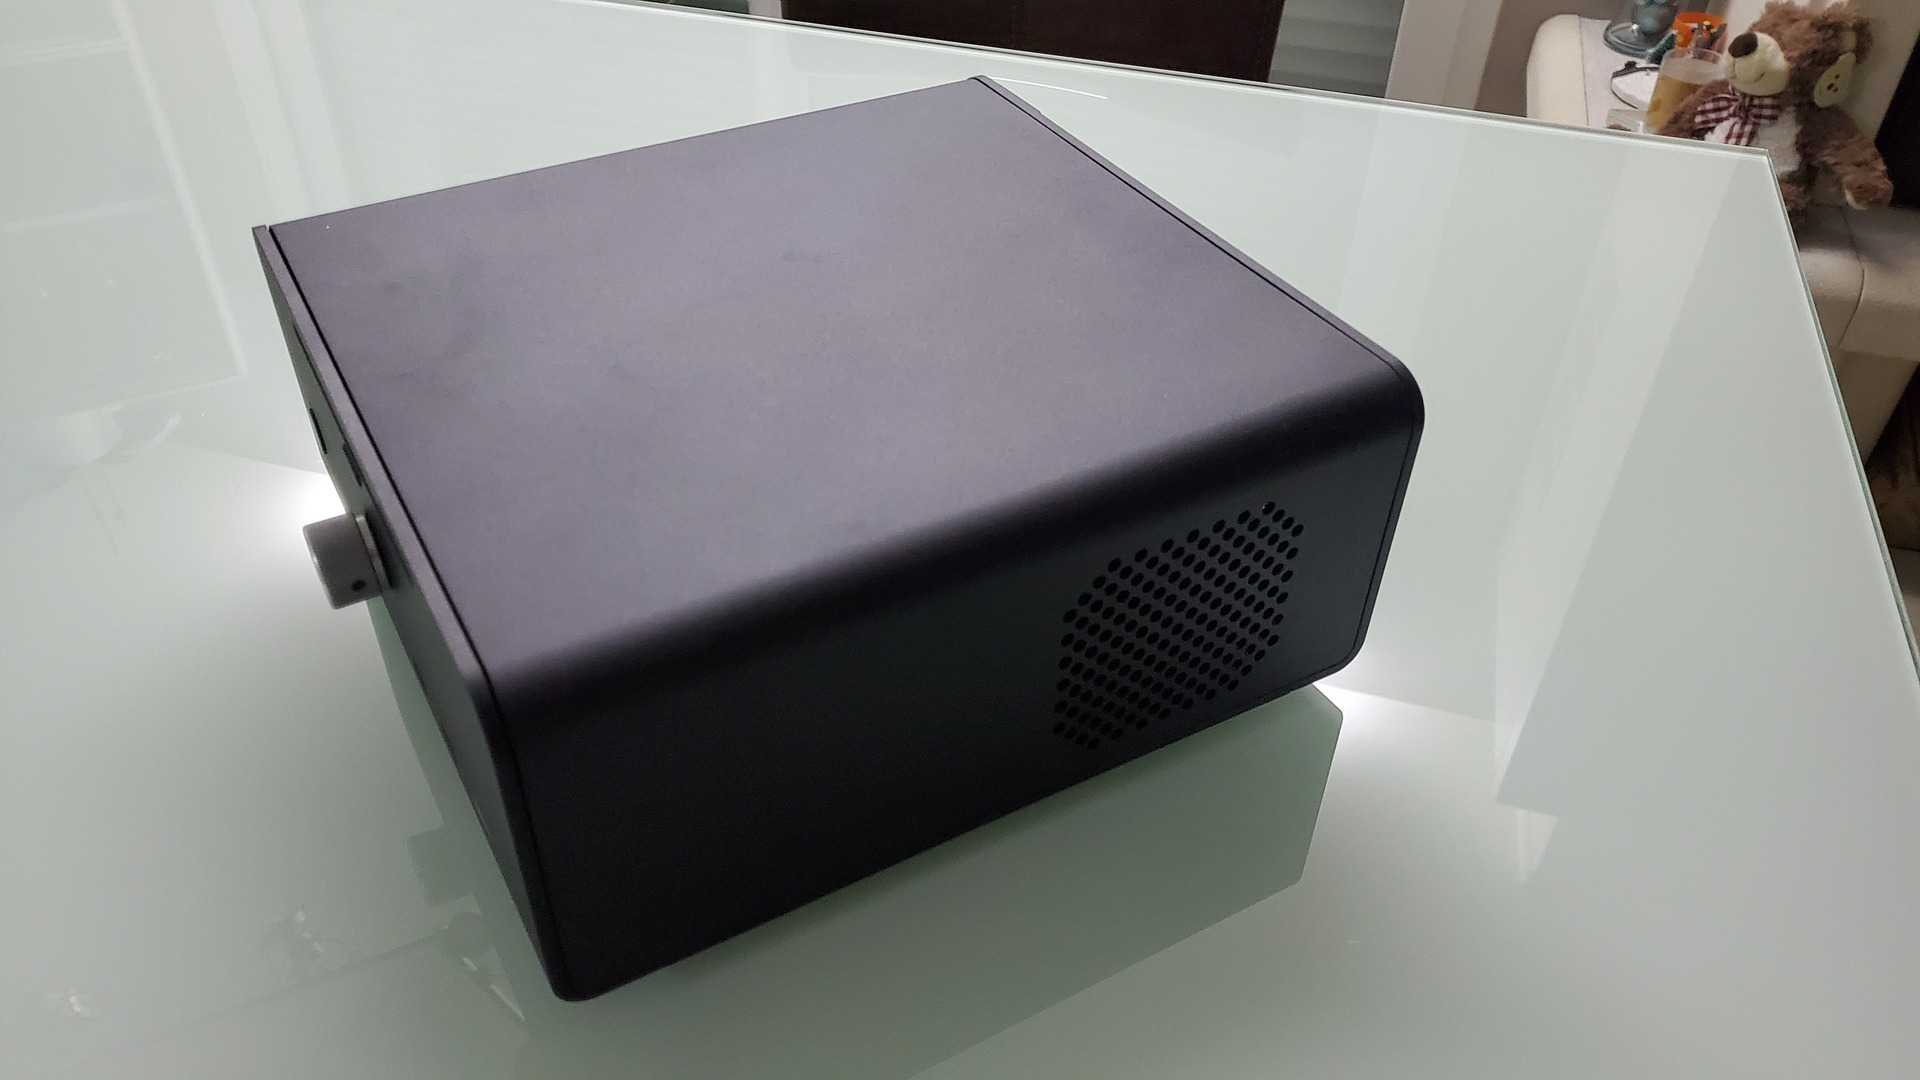
- Streacom ST-F7CB Evo PC case
- Usb3 to sata converter
Hardware build
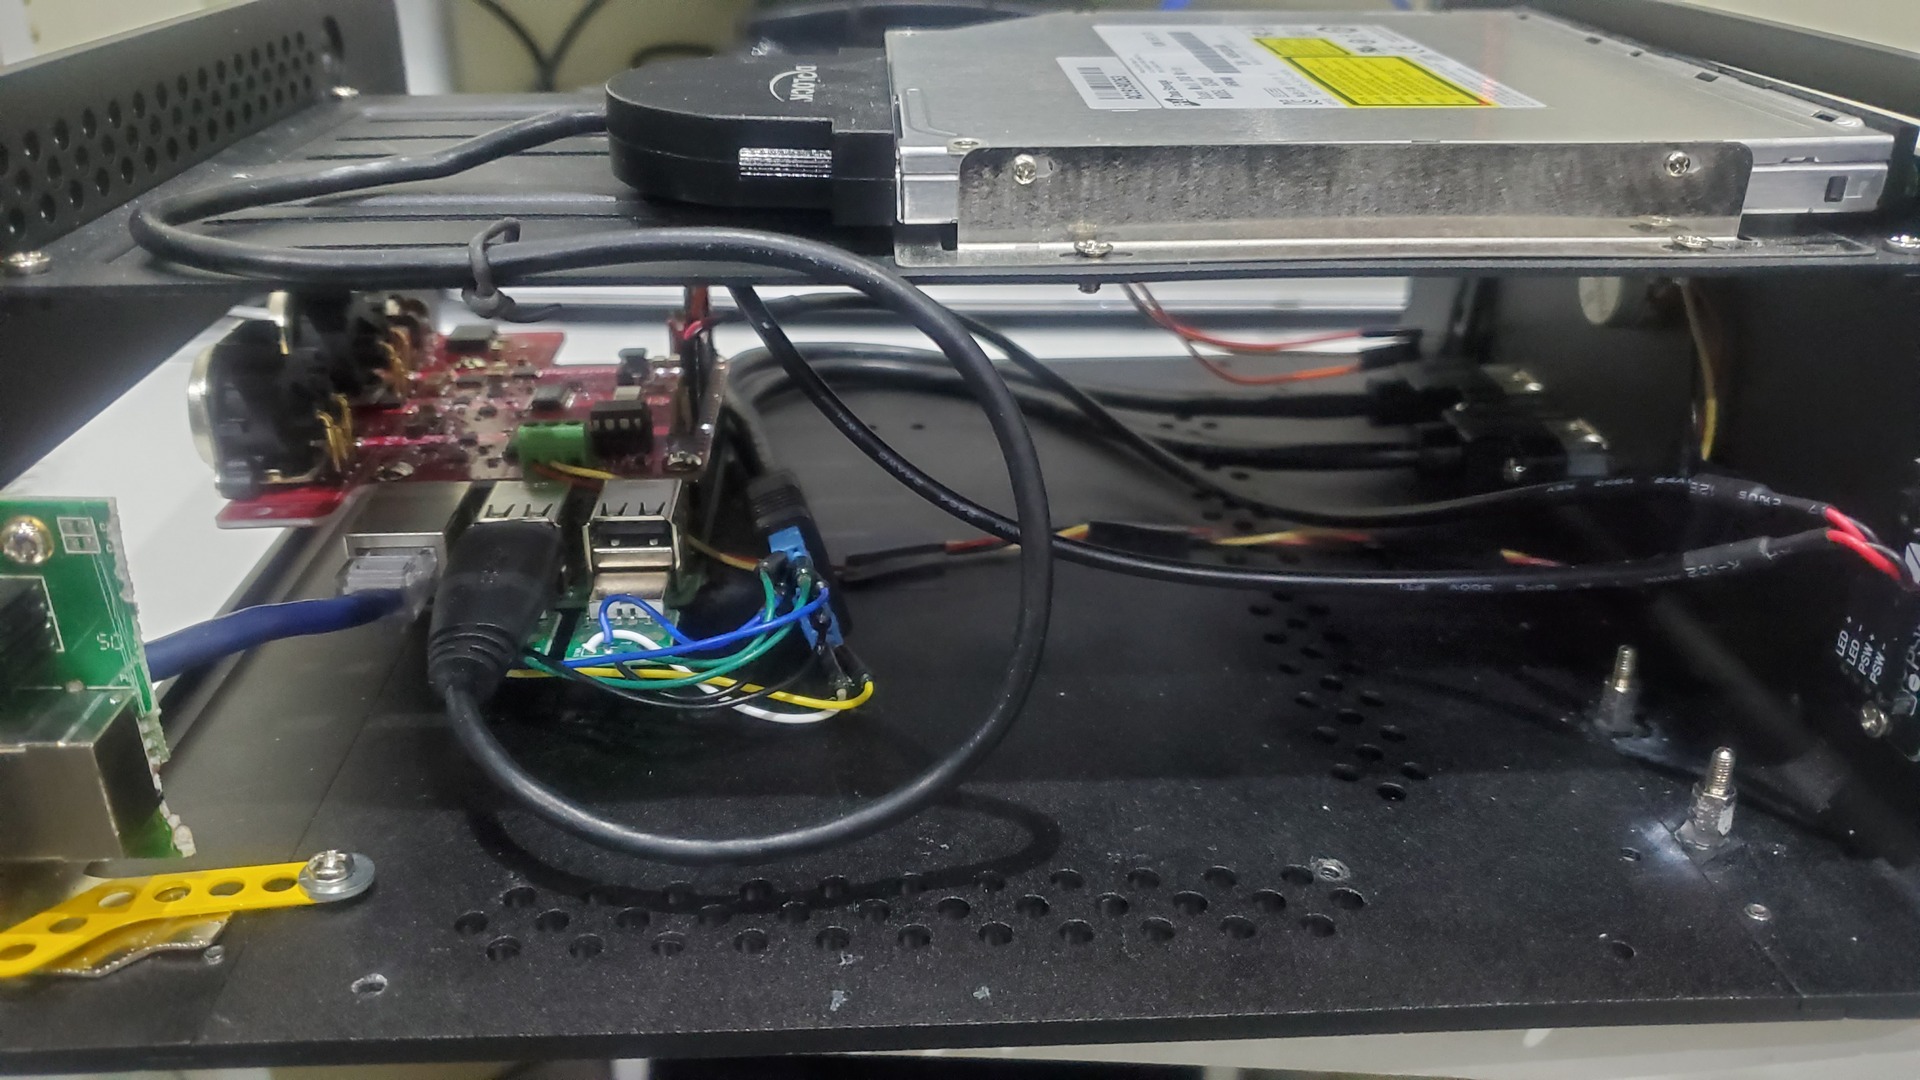
Fix the Pi and the DAC into the case
The two boards as been centered in the case. The screw supports have been glued.
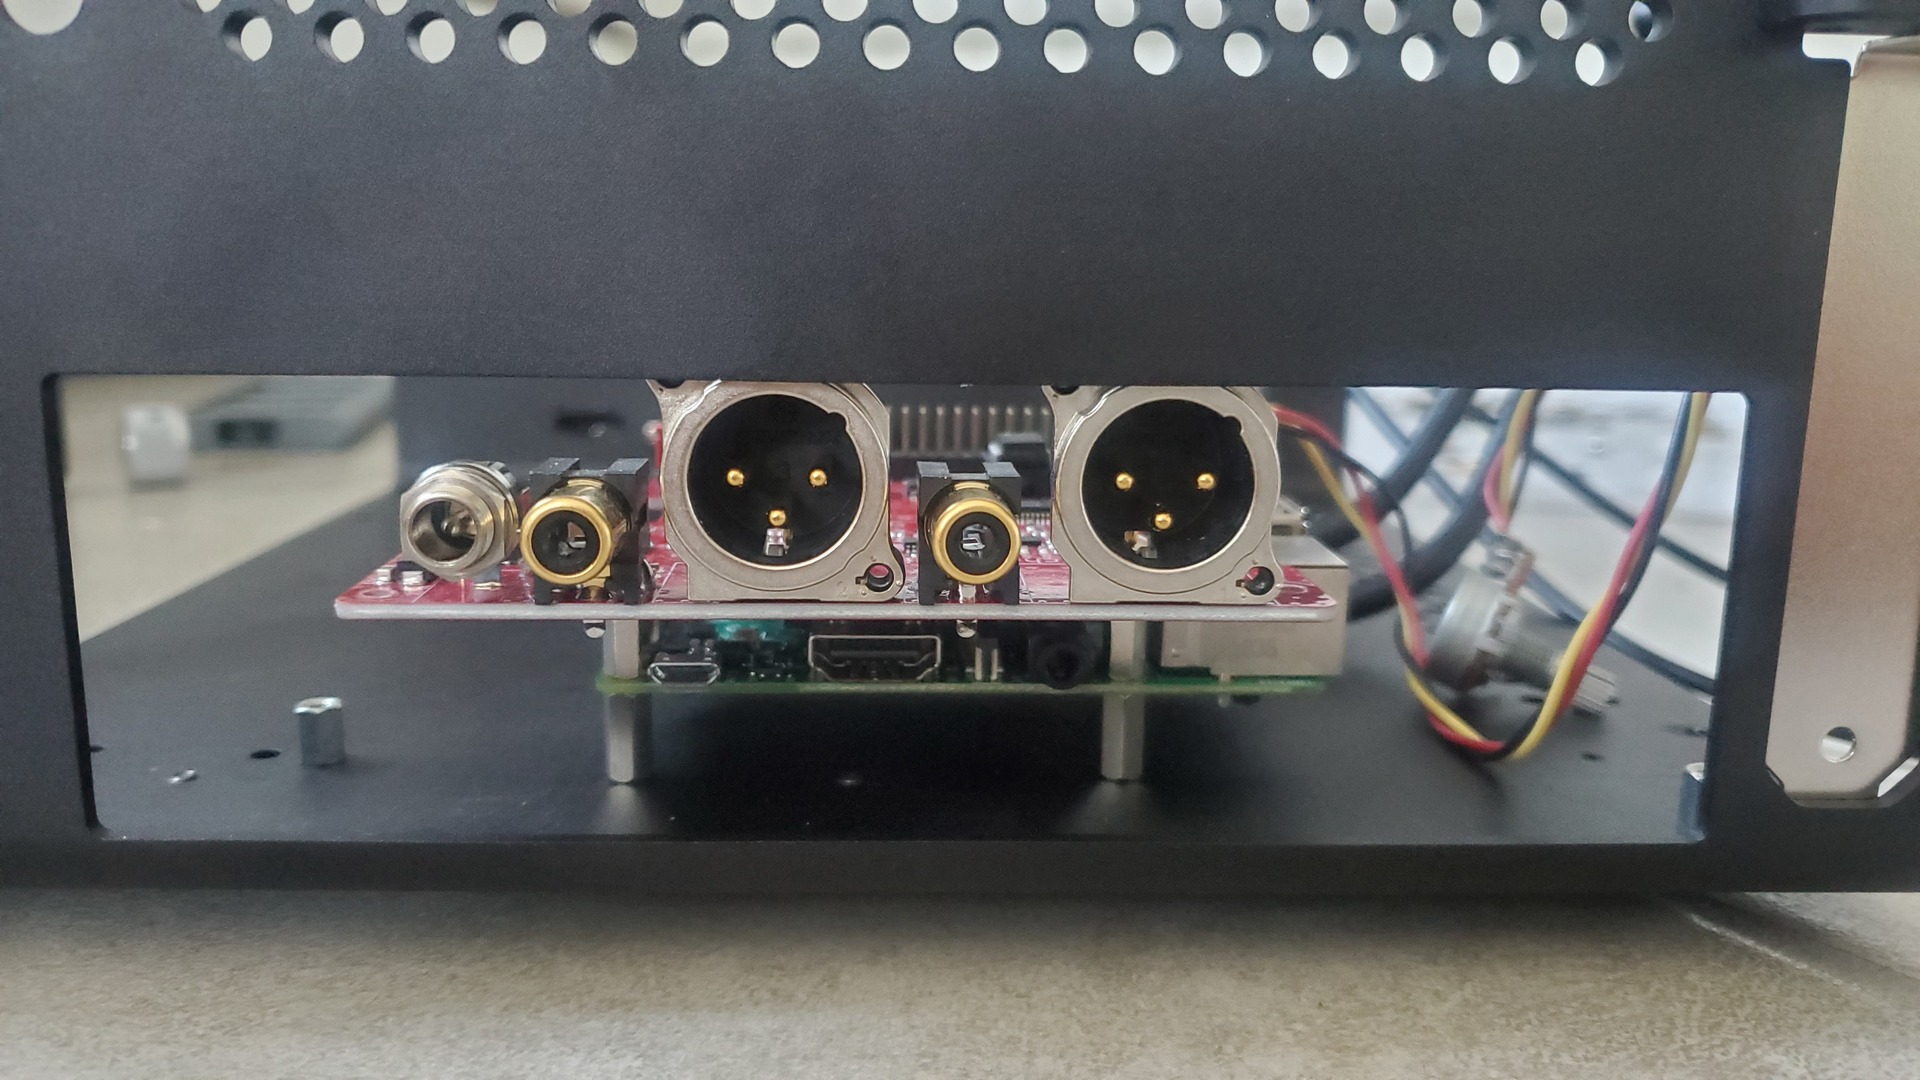
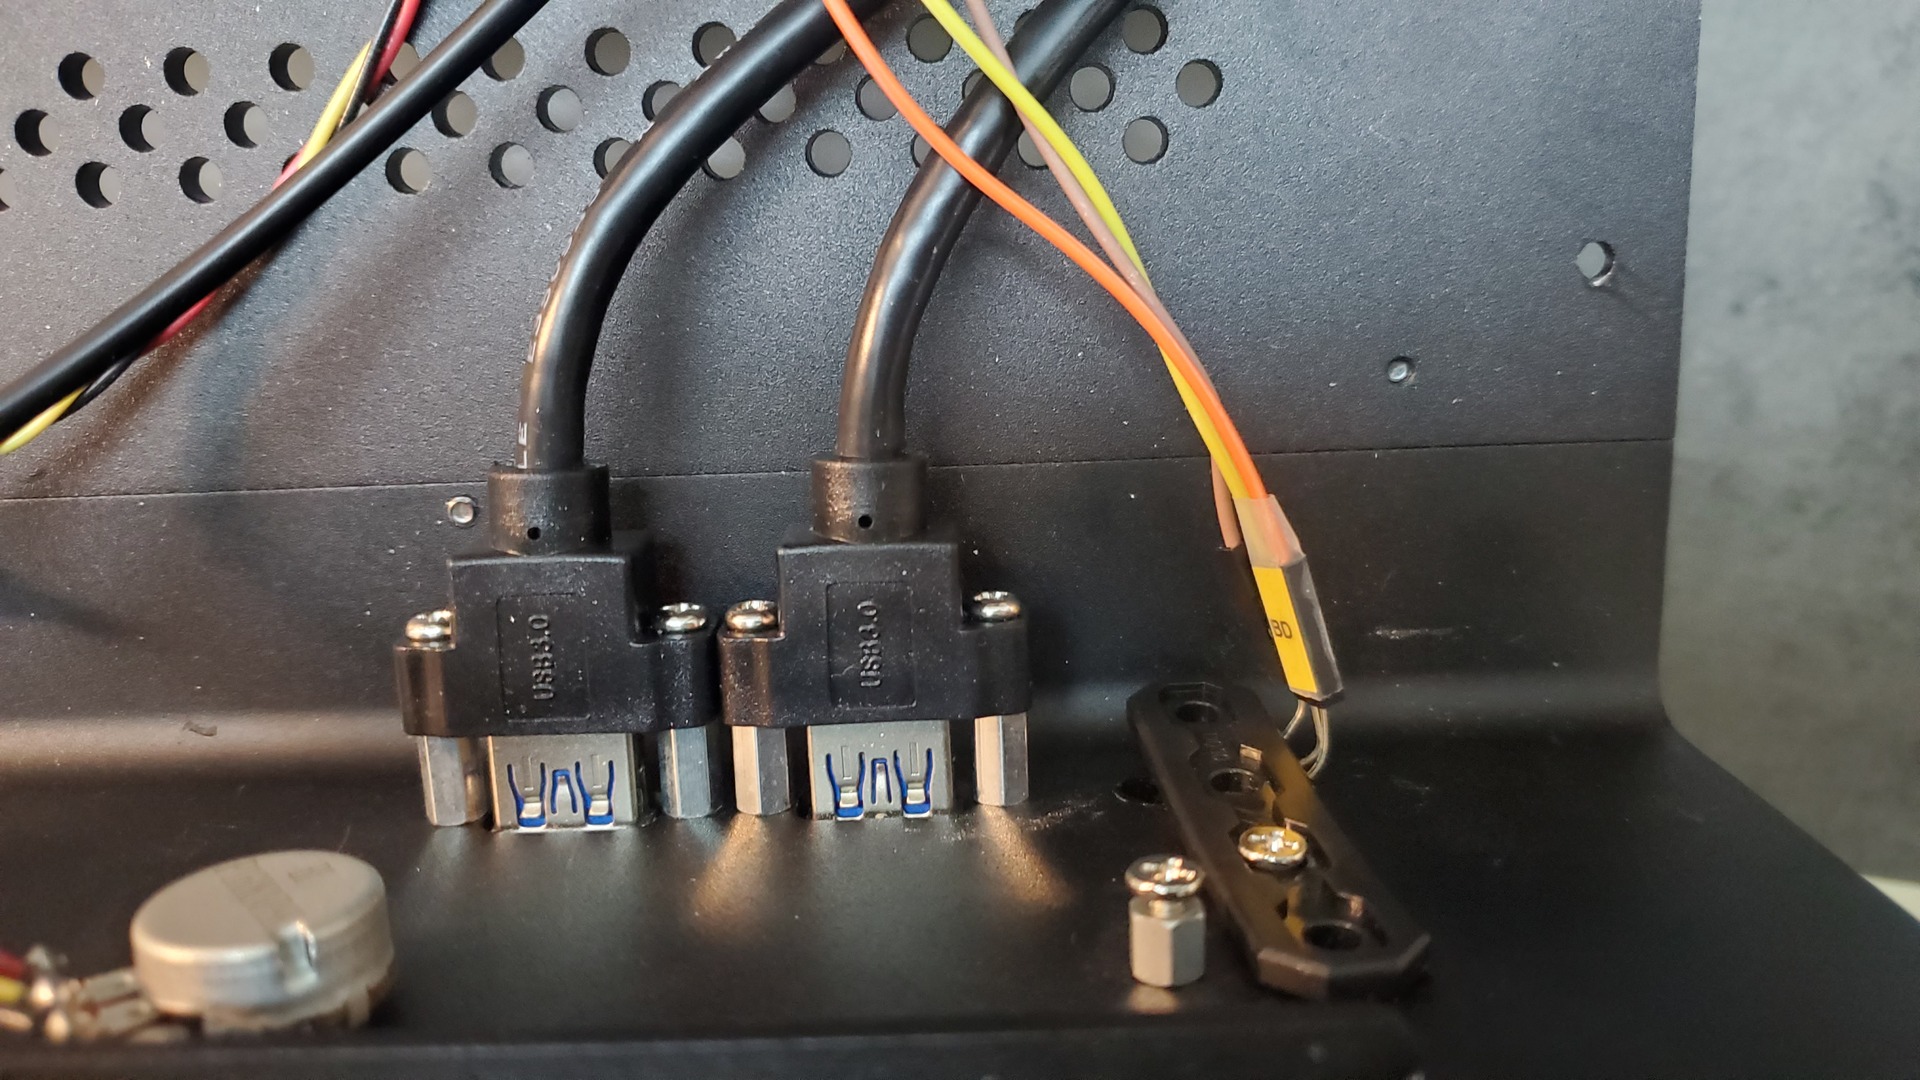
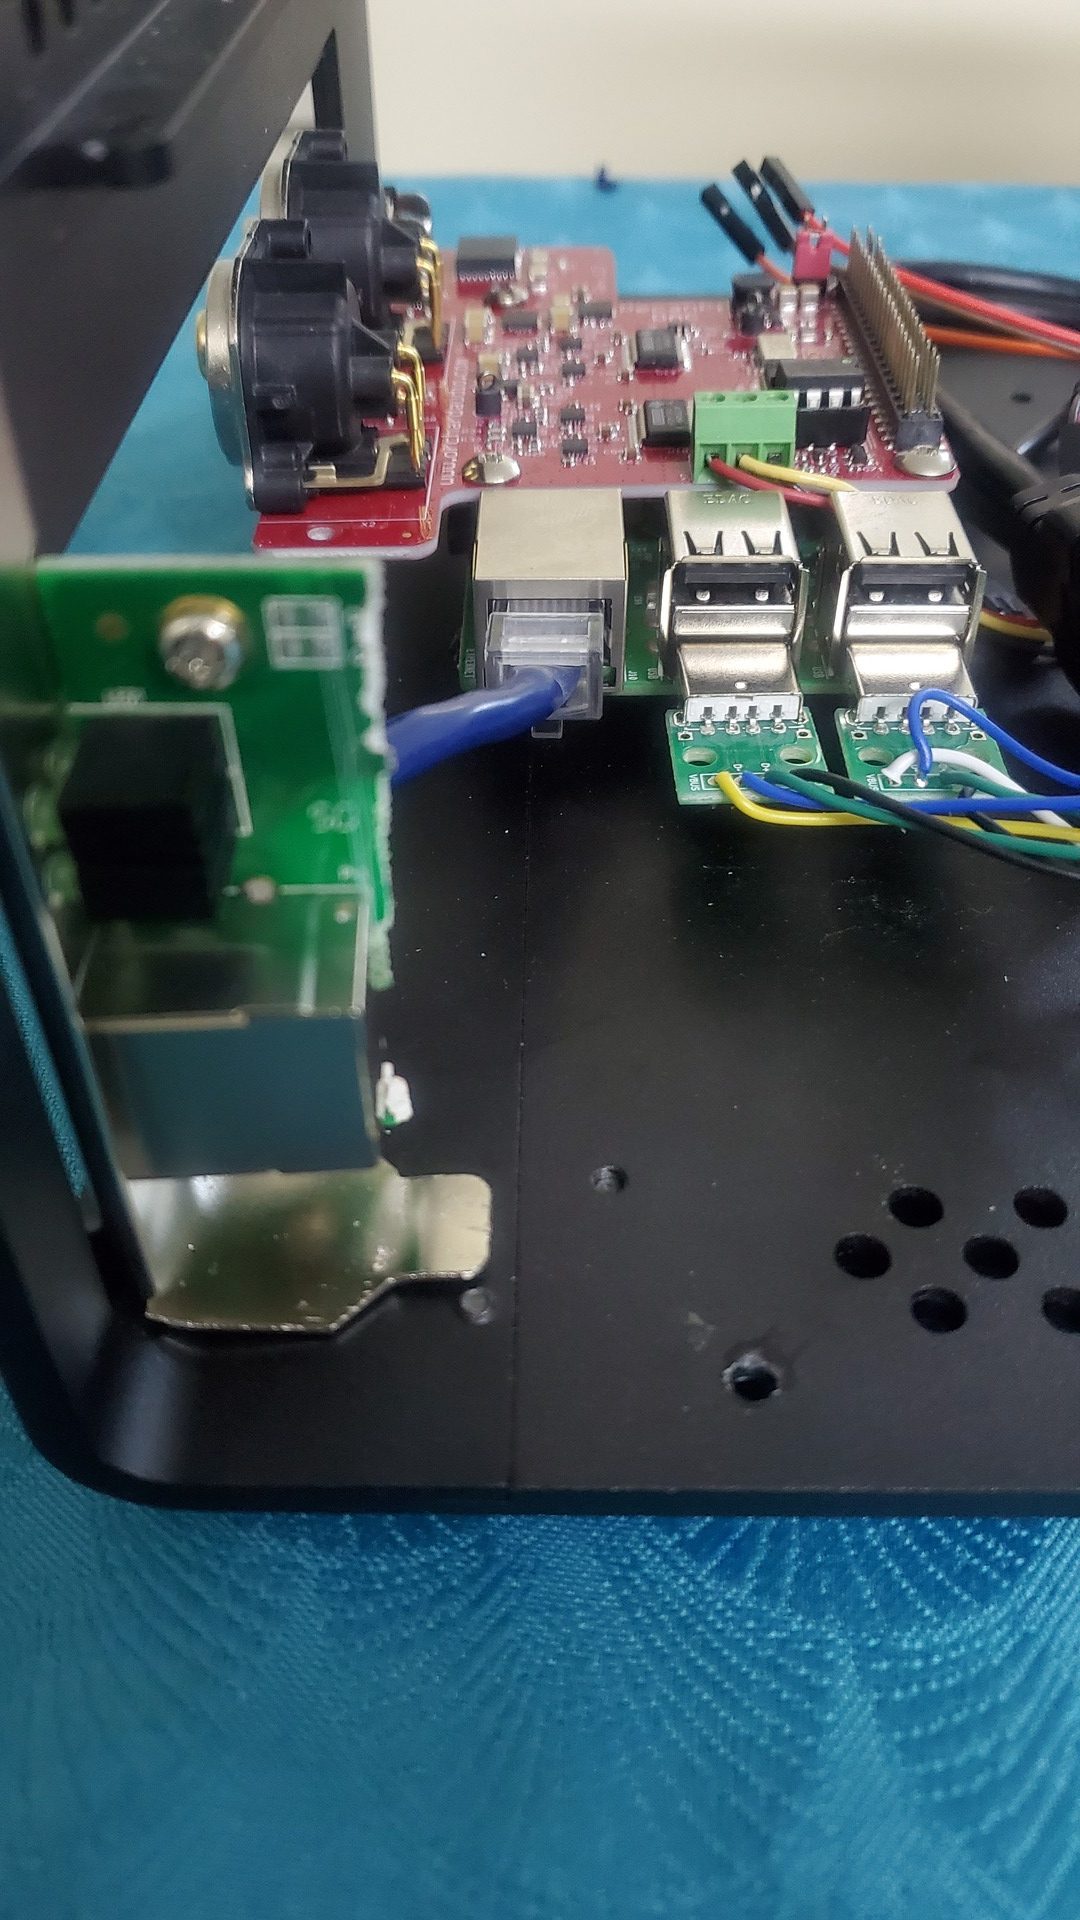
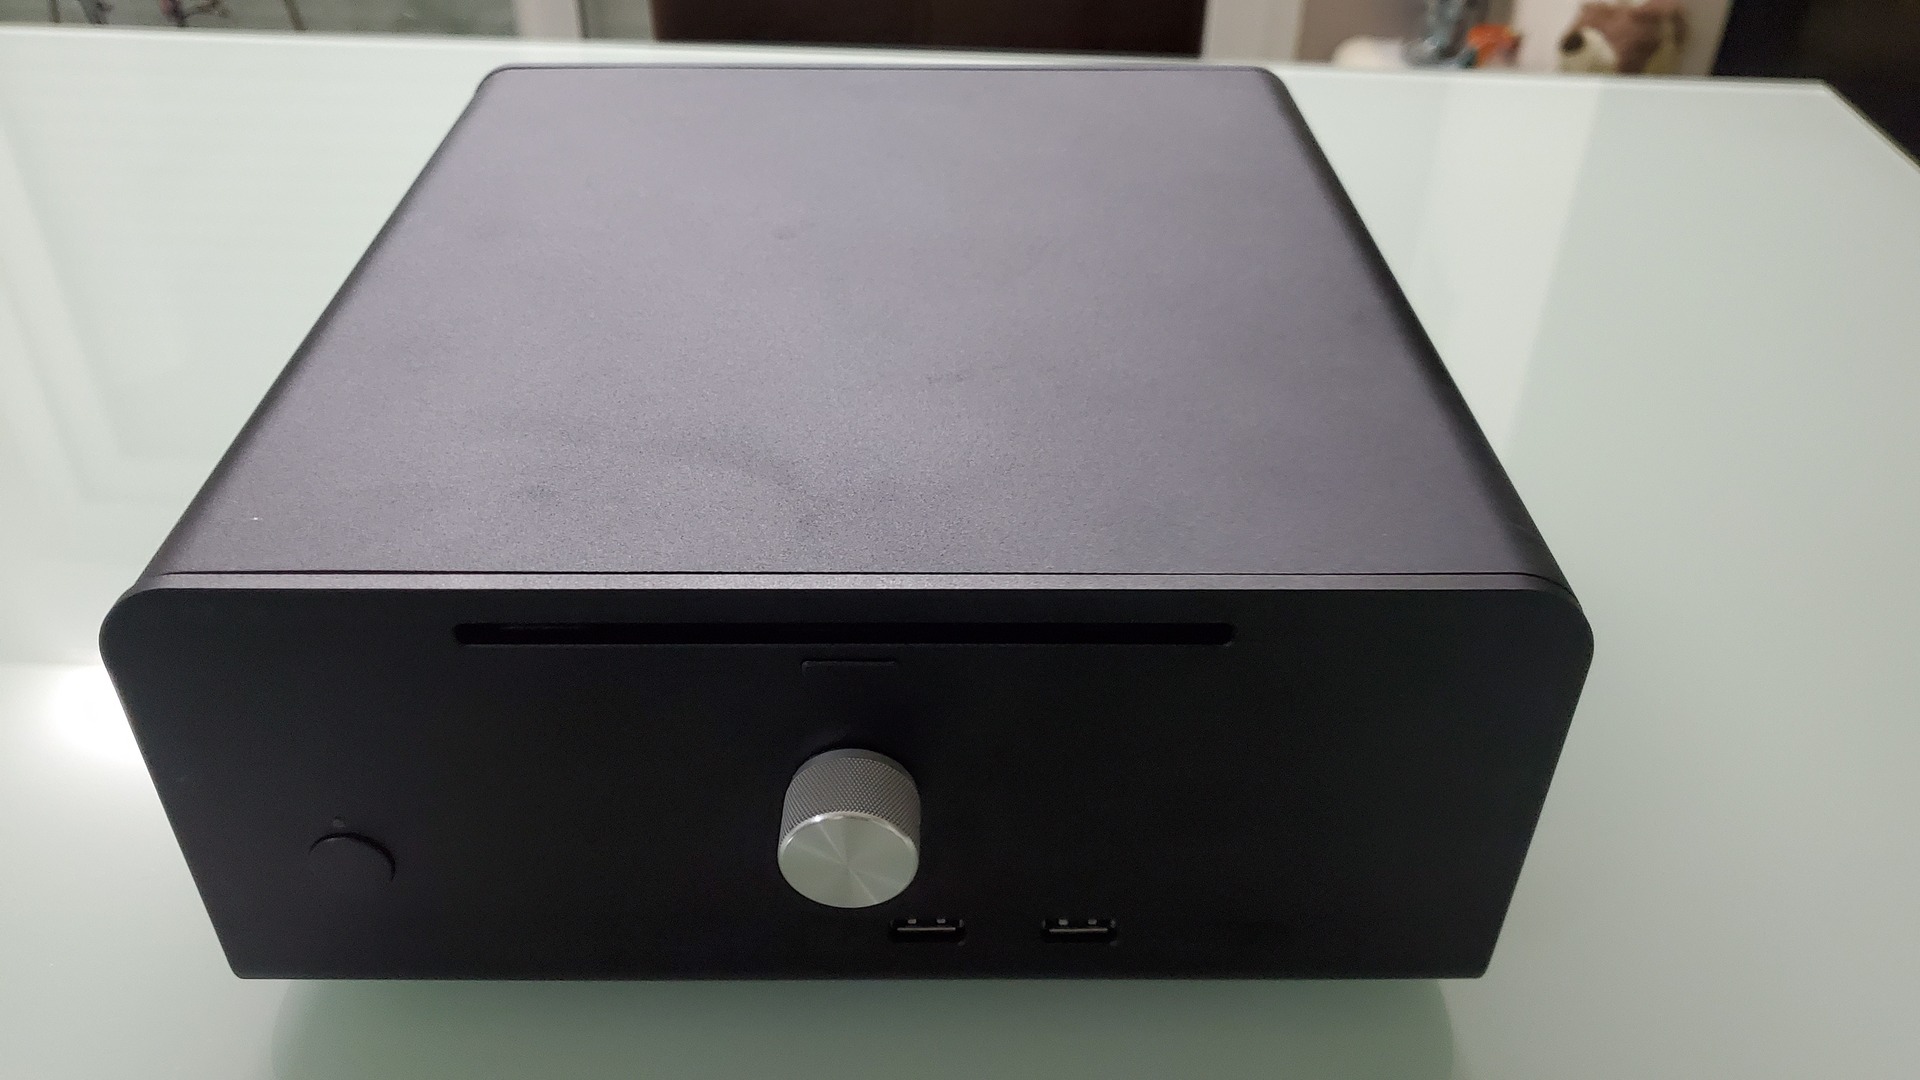
Front connectors and Leds
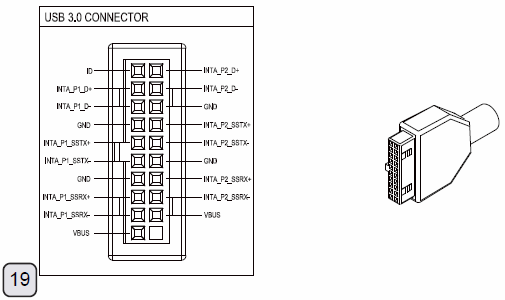
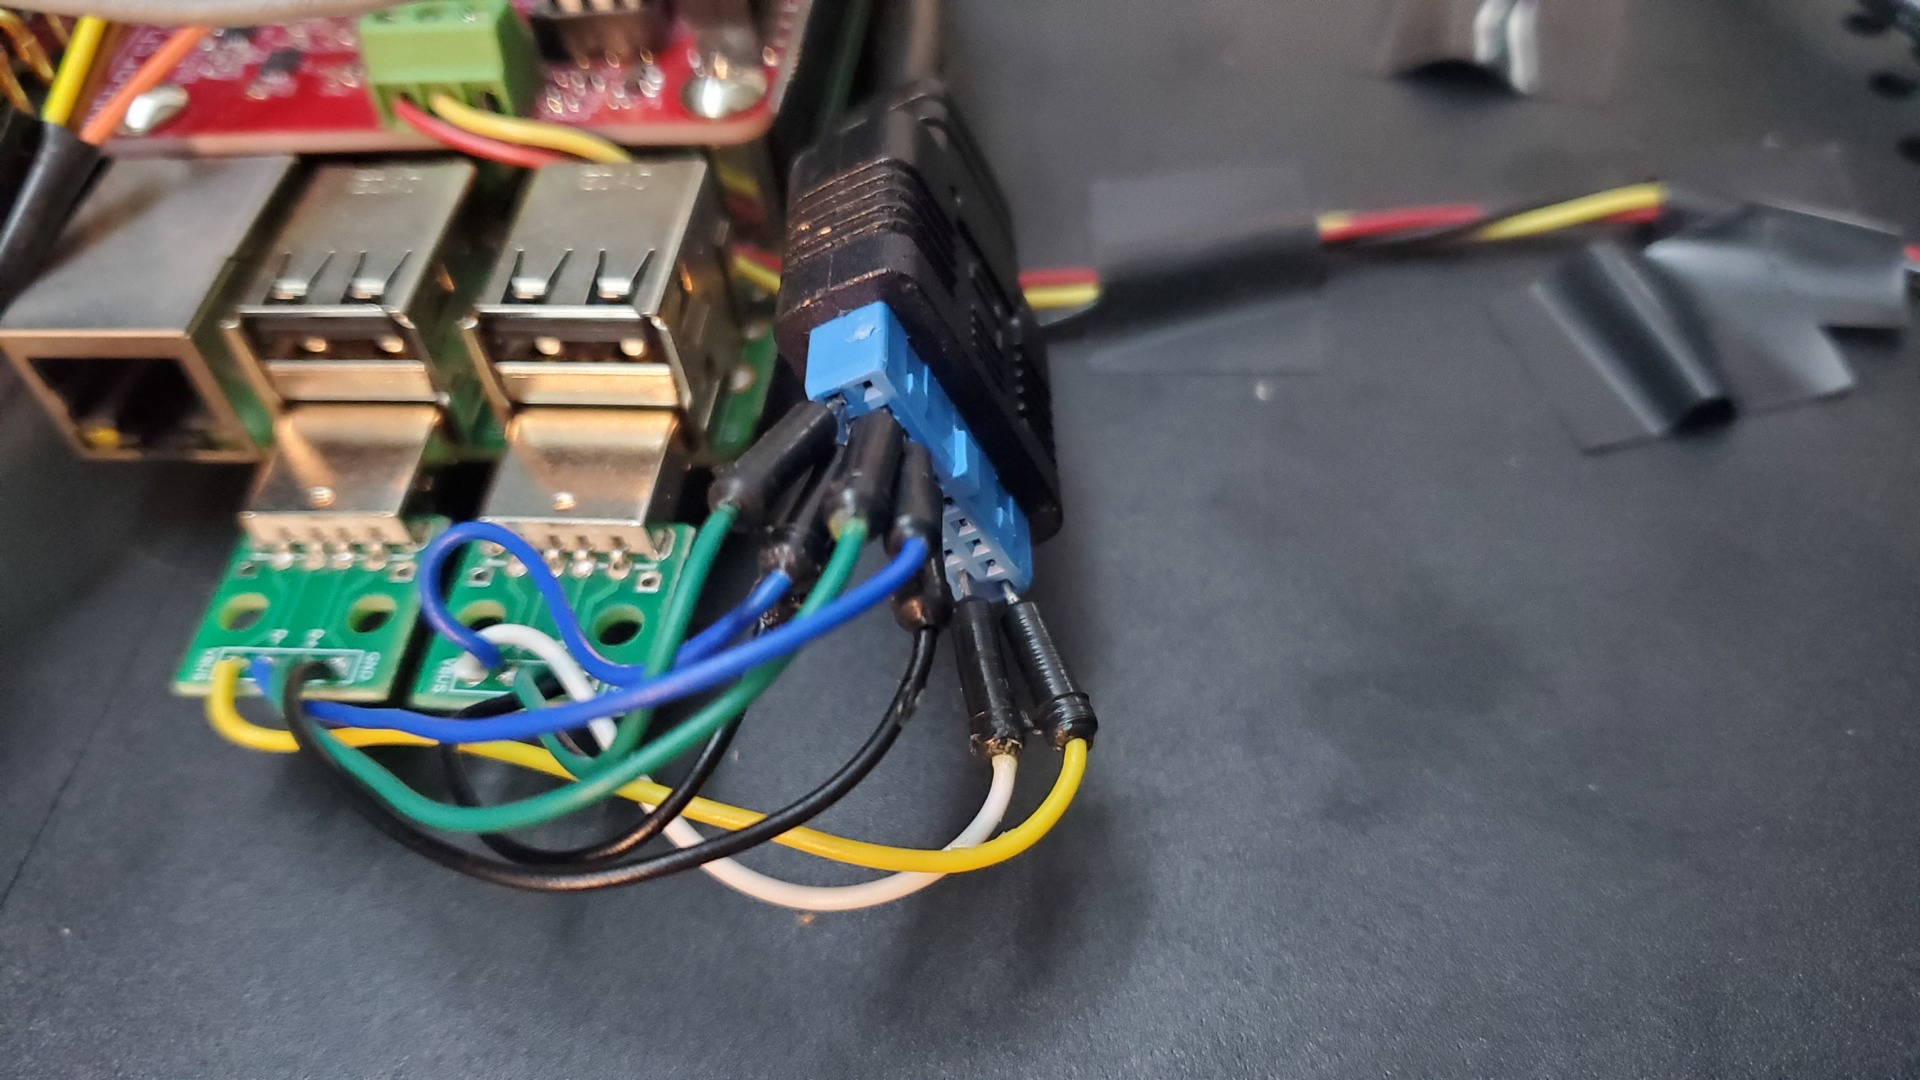
The front USB ports have a standard USB3 ATX connector. I used 2 usb breakout boards and some dupont cables to link the front USB ports to Raspberry Pi 3 ones.
The case have an IR window on the front face, so I fixed the IR led just behind. It has been wired to GPIO 25 and ground, on pins 22 and 20
Like all PC cases, there is a front led. I wired it to GPIO 12 and ground, on pins 32 and 34 (there is also a resistor to the ground).
I also make a hole in the case to fix the volume knob that comes with the PecanPi..
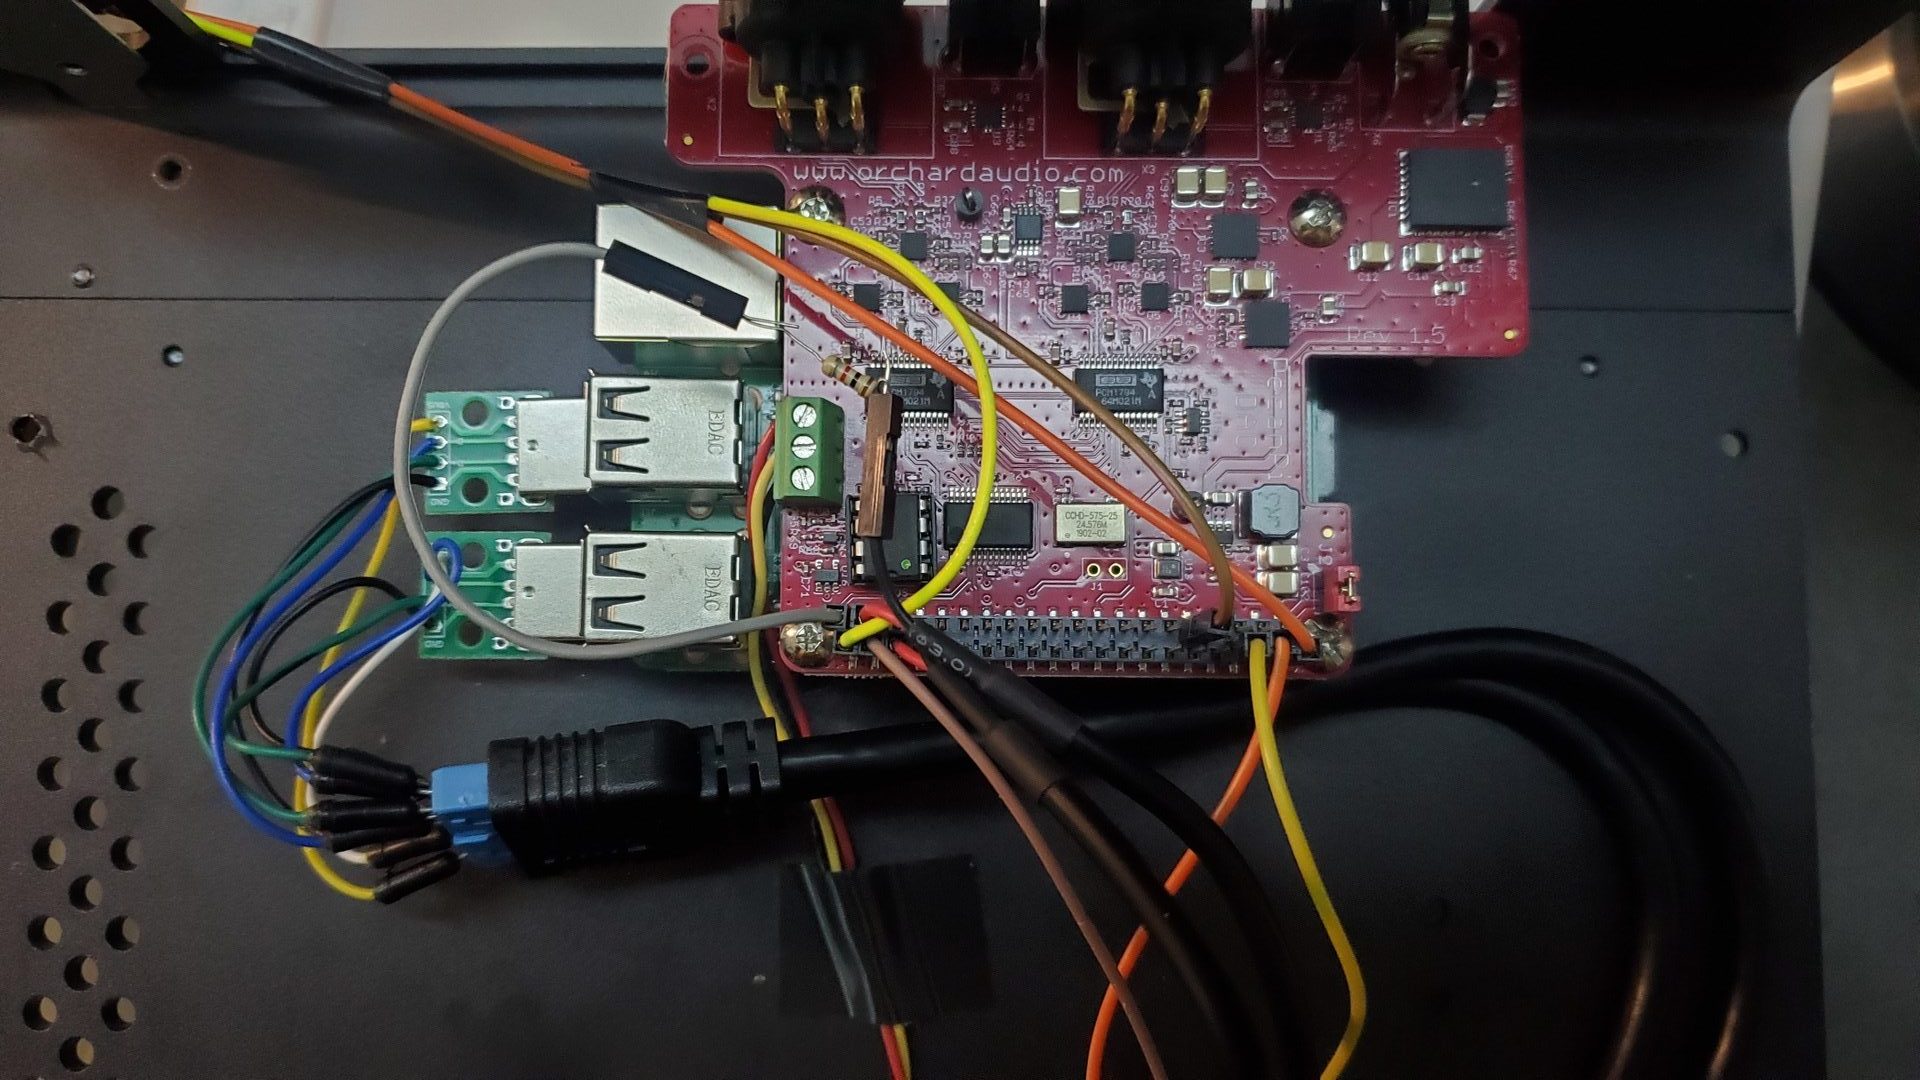
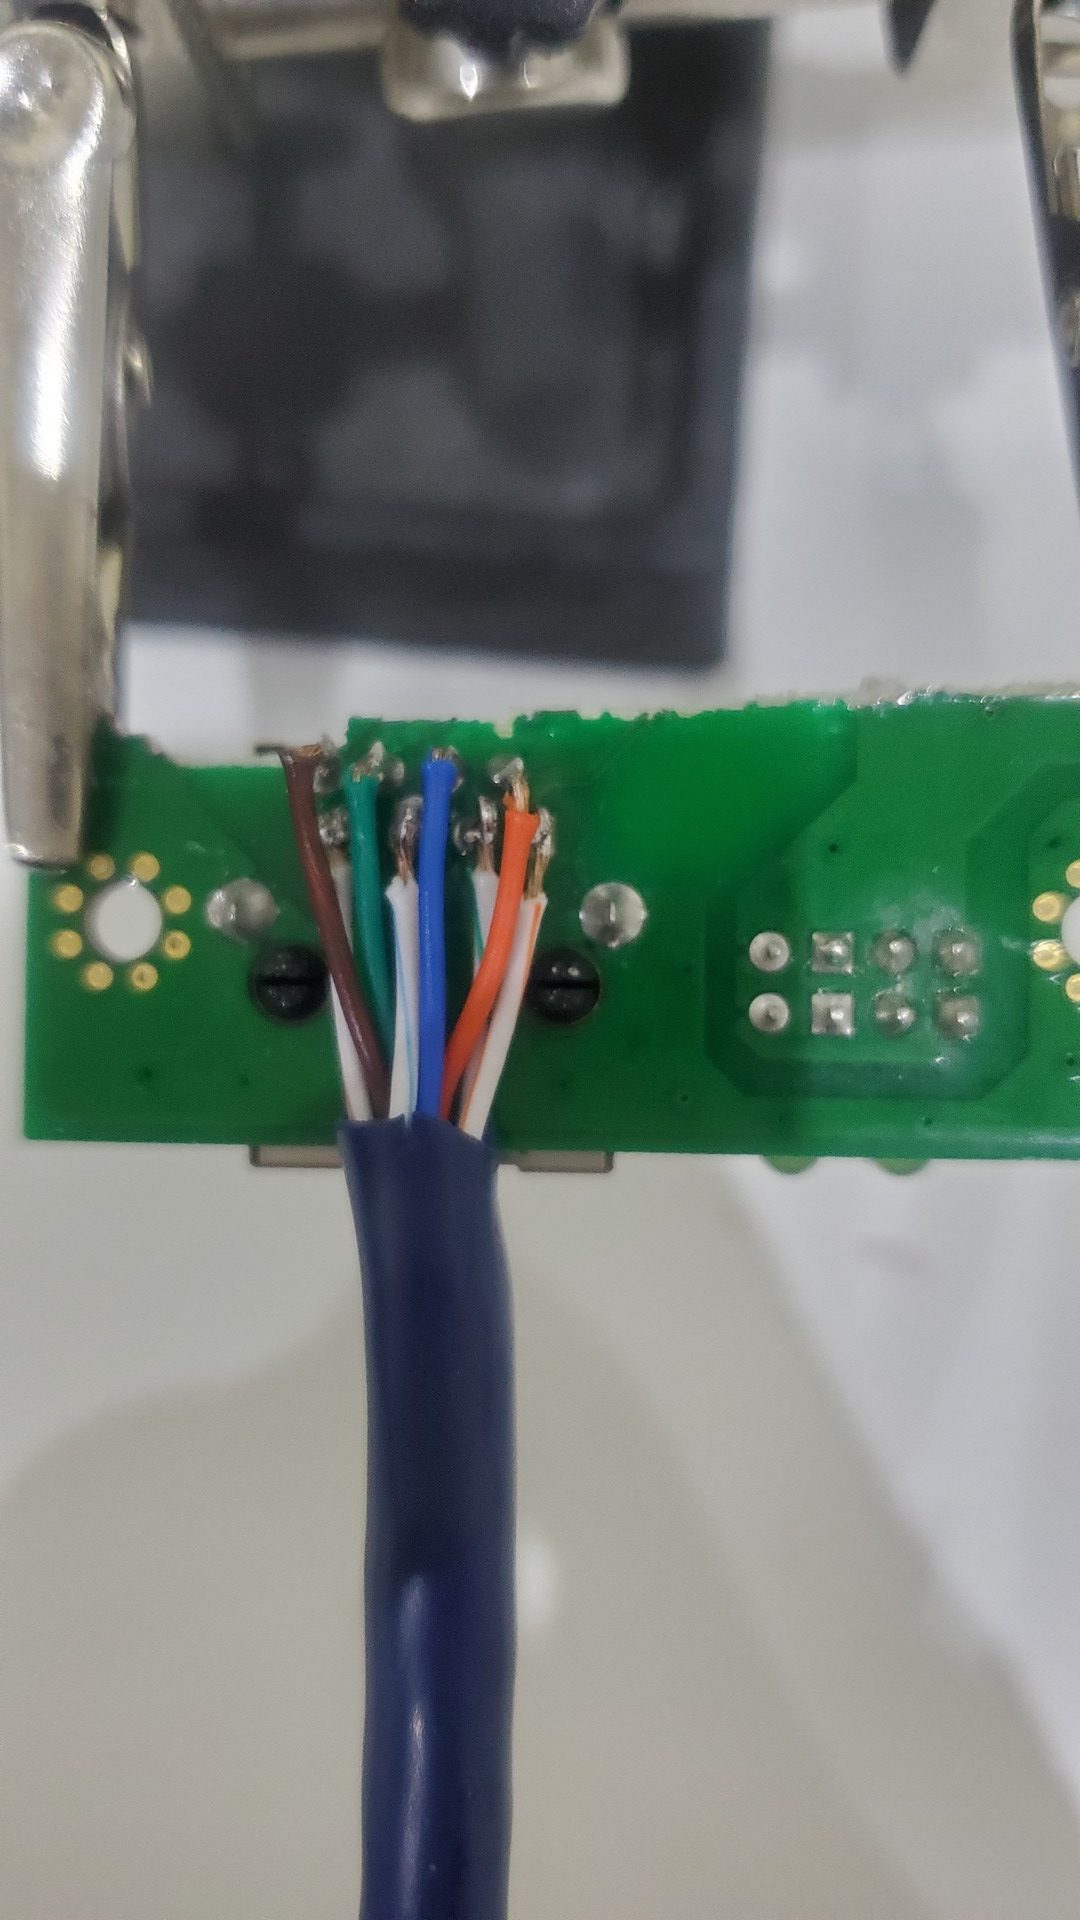
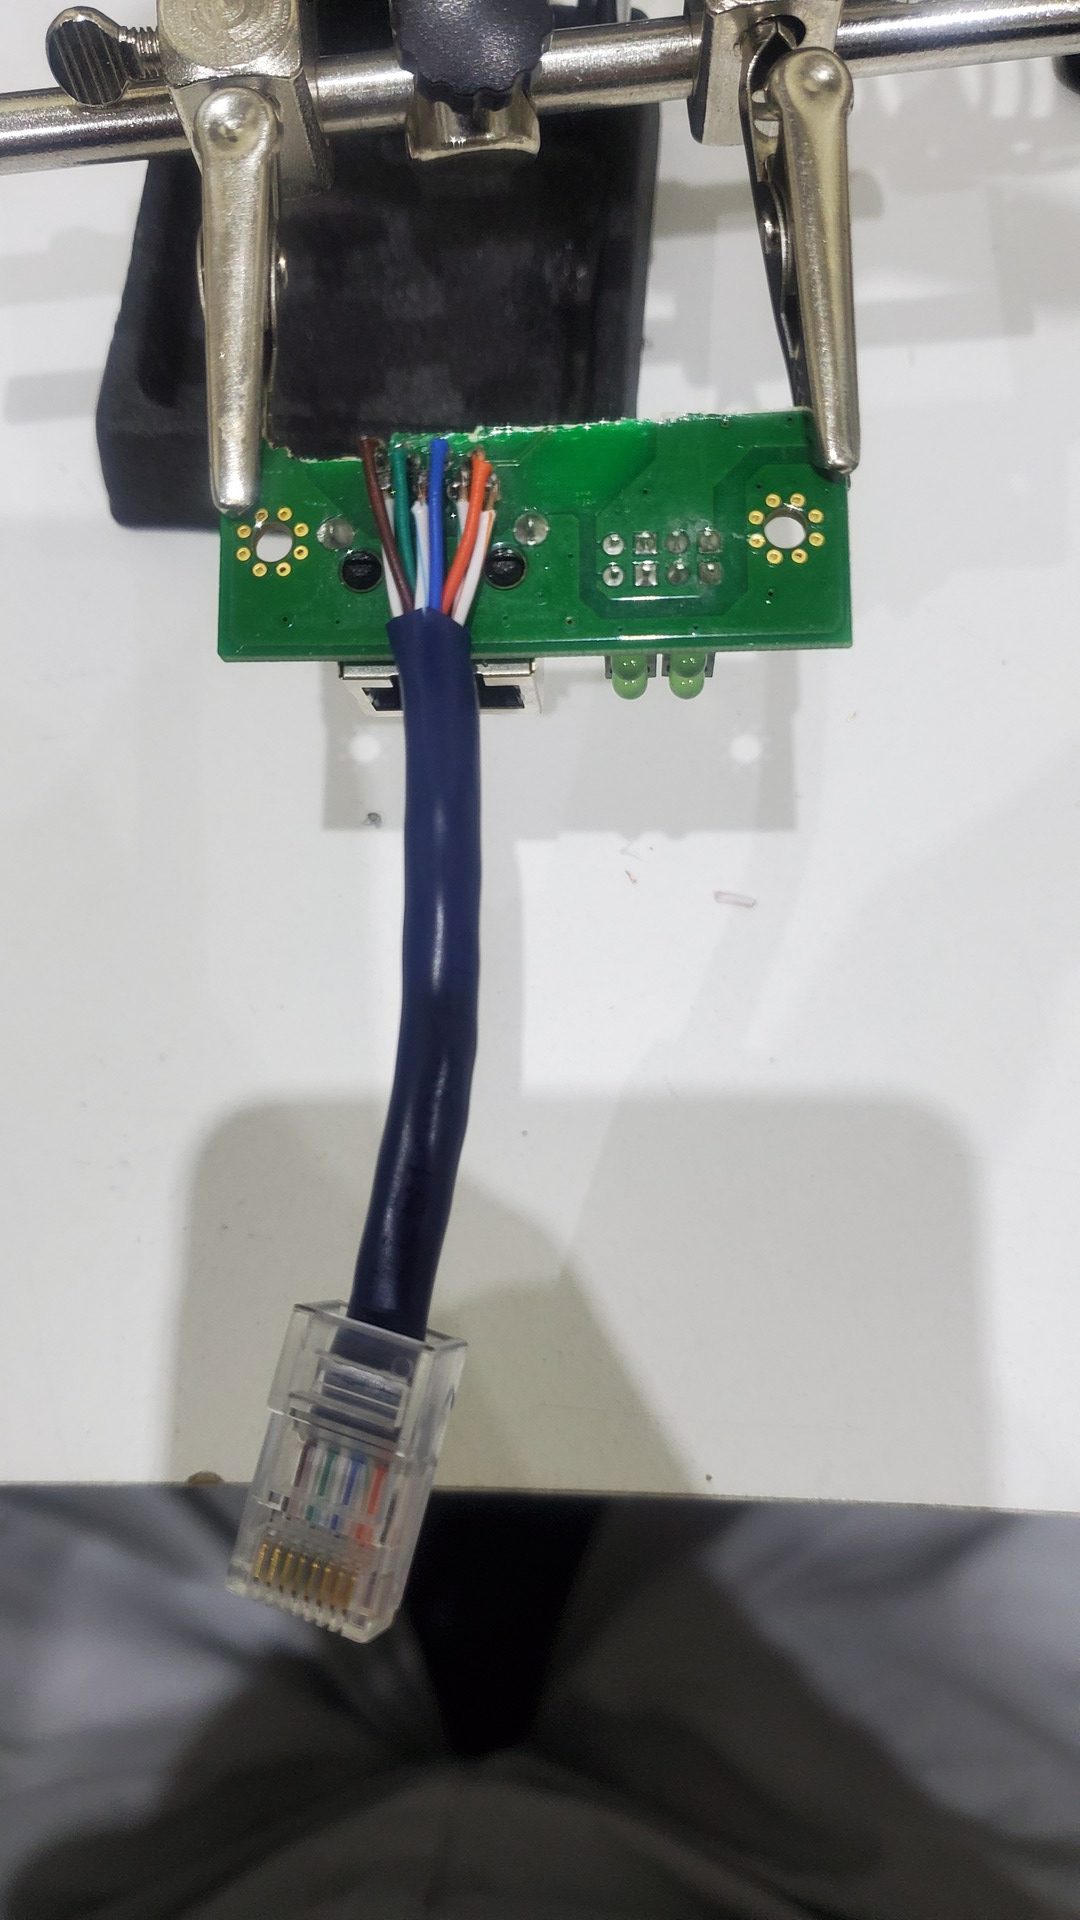
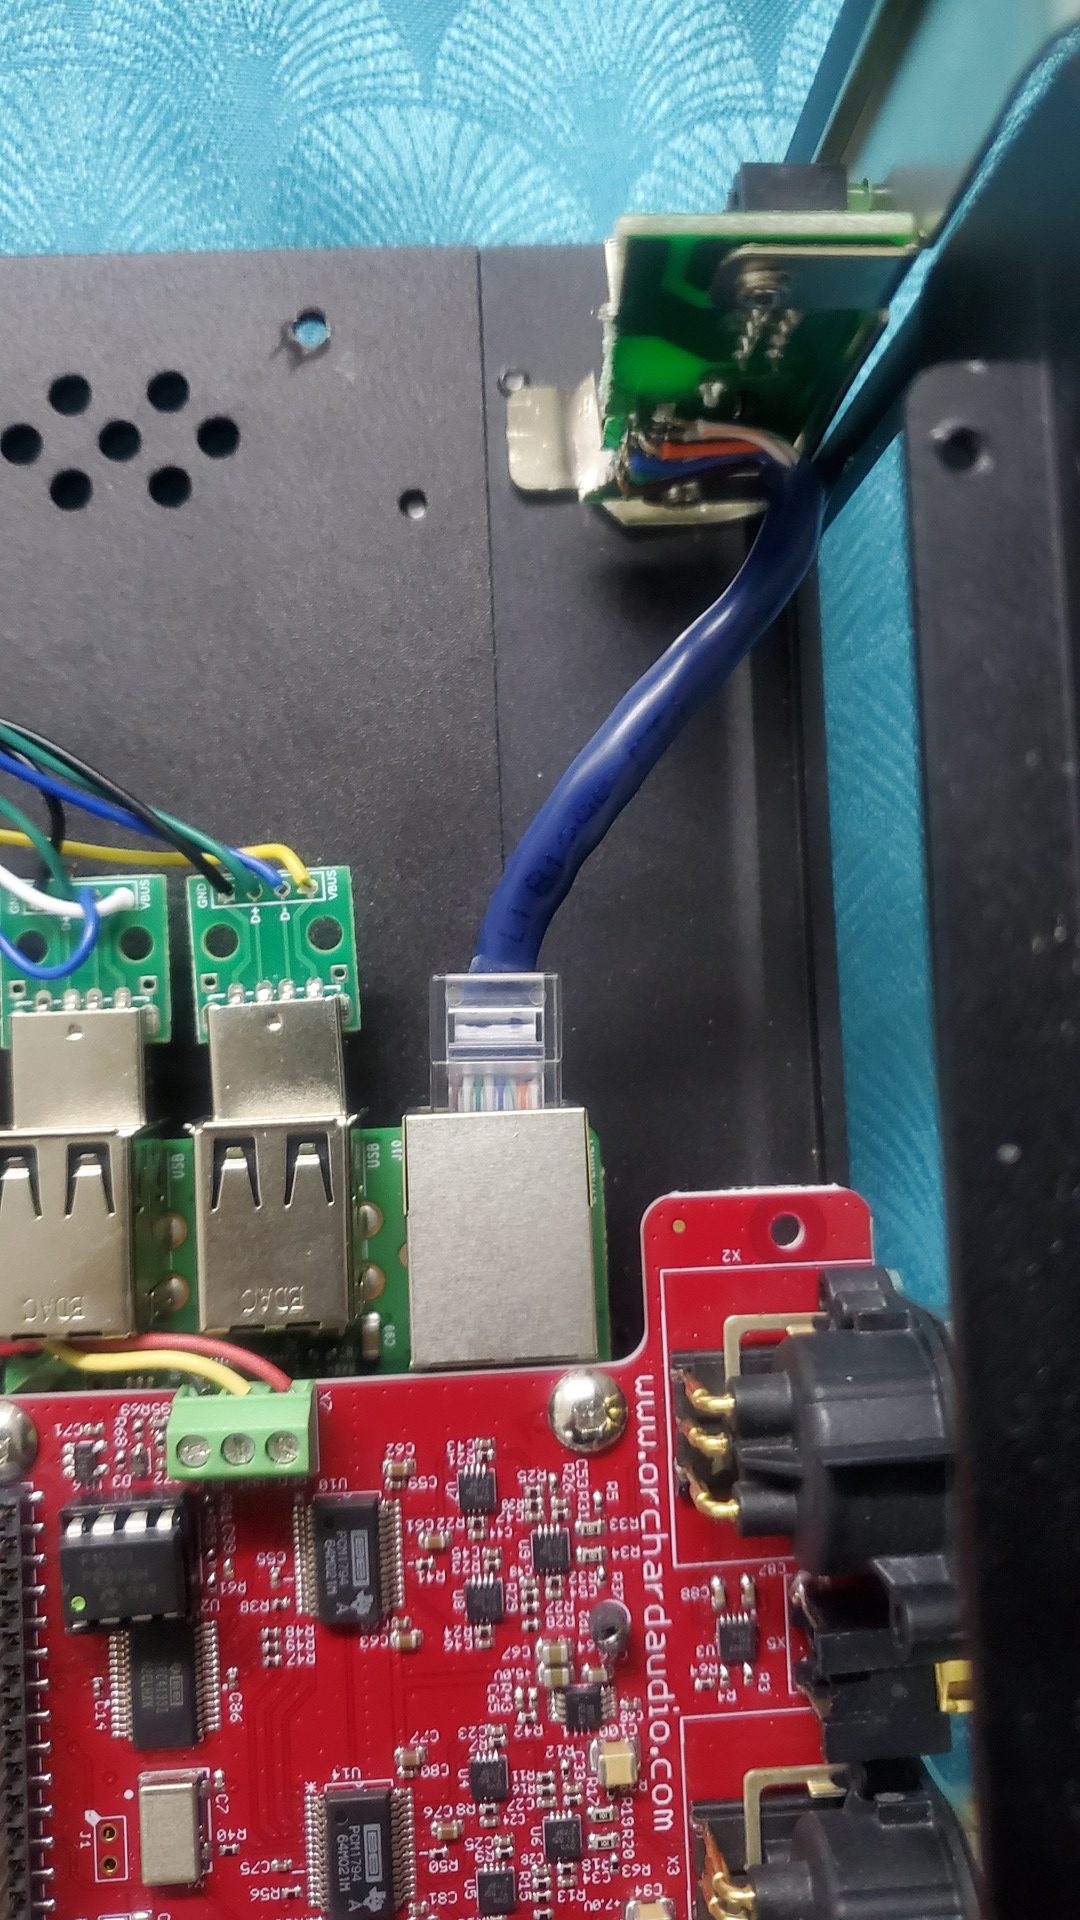
Ethernet connector
In order to have the audio connectors on the rear face, the ethernet connector of the Raspberry Pi is not easily accessible. I used an old ethernet card to cut it’s connector and wire it to a small rj45 plugged into the Pi. I could have use any female to female connector, but I wanted to use the PCI support to provide a strong support.
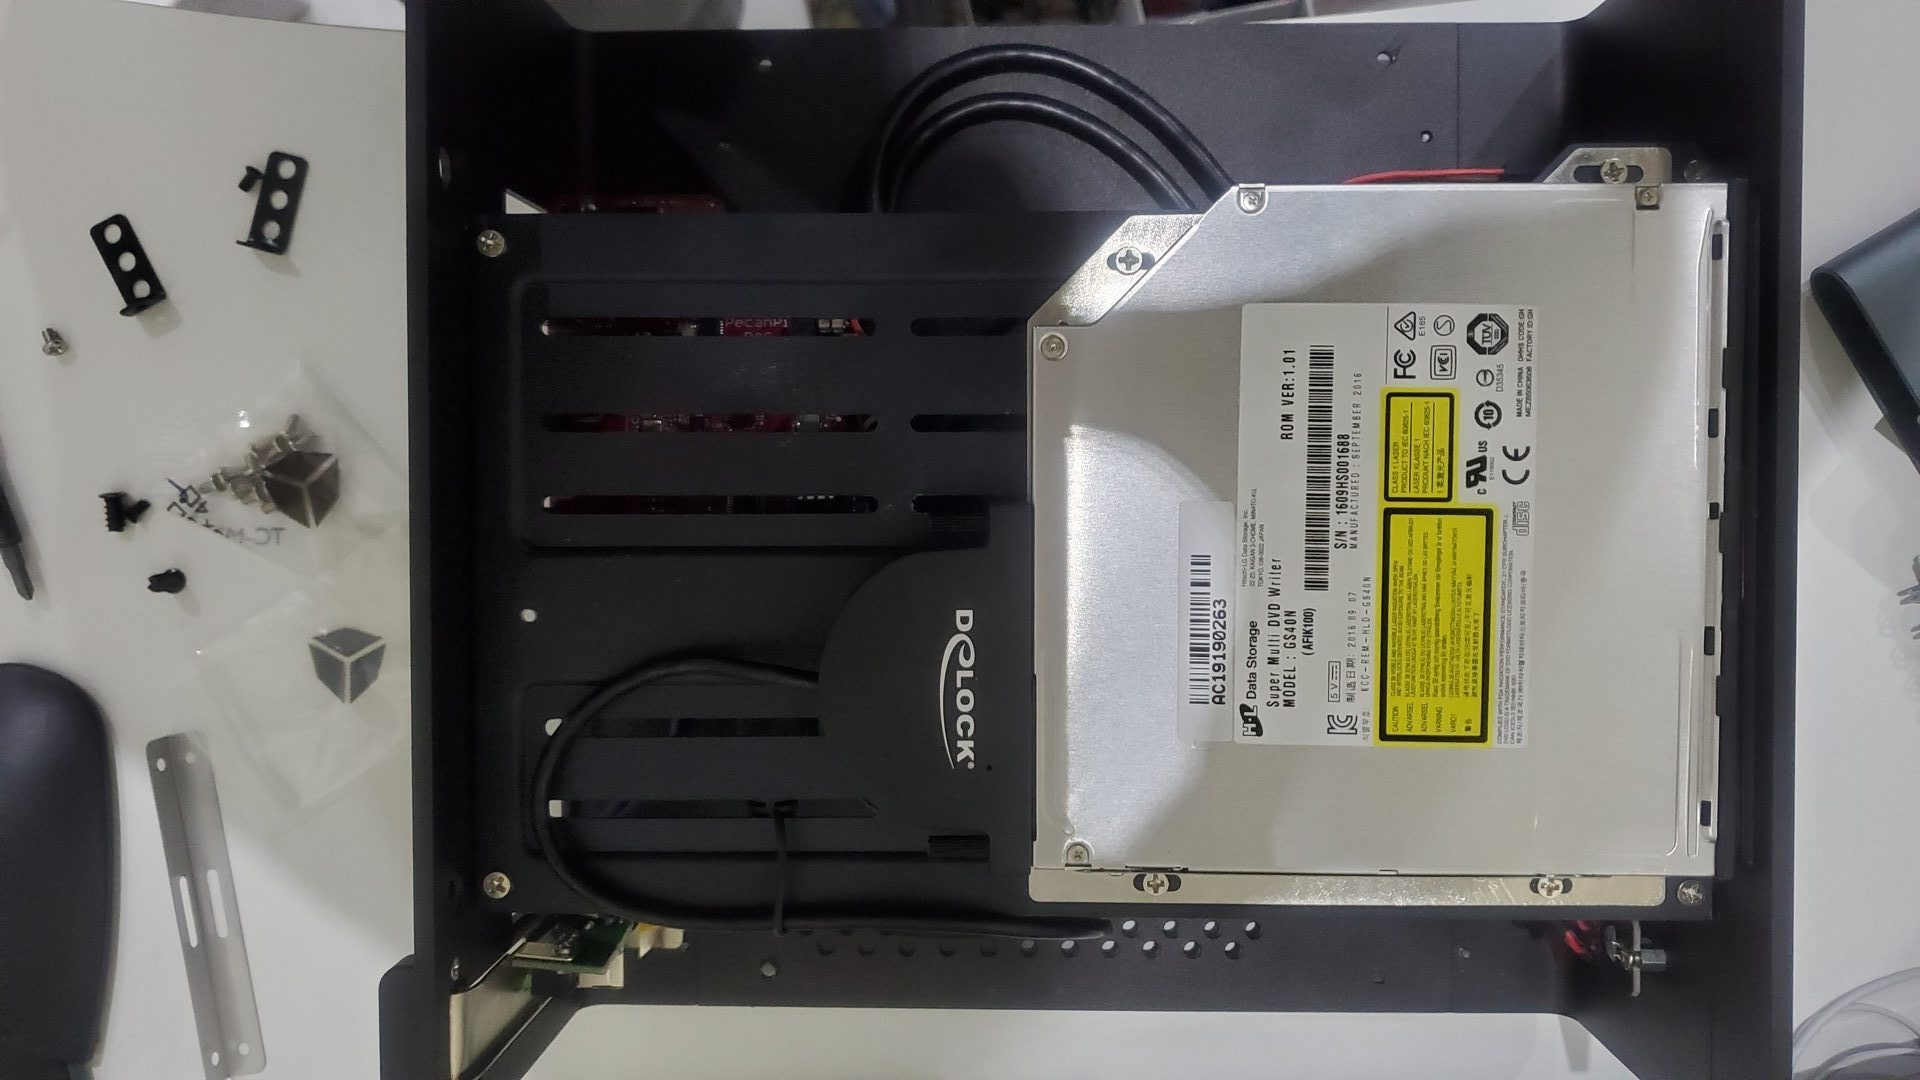
CD Player
The CD Player is simply attached normaly to the case and plugged to the Pi via an USB to SATA connector.
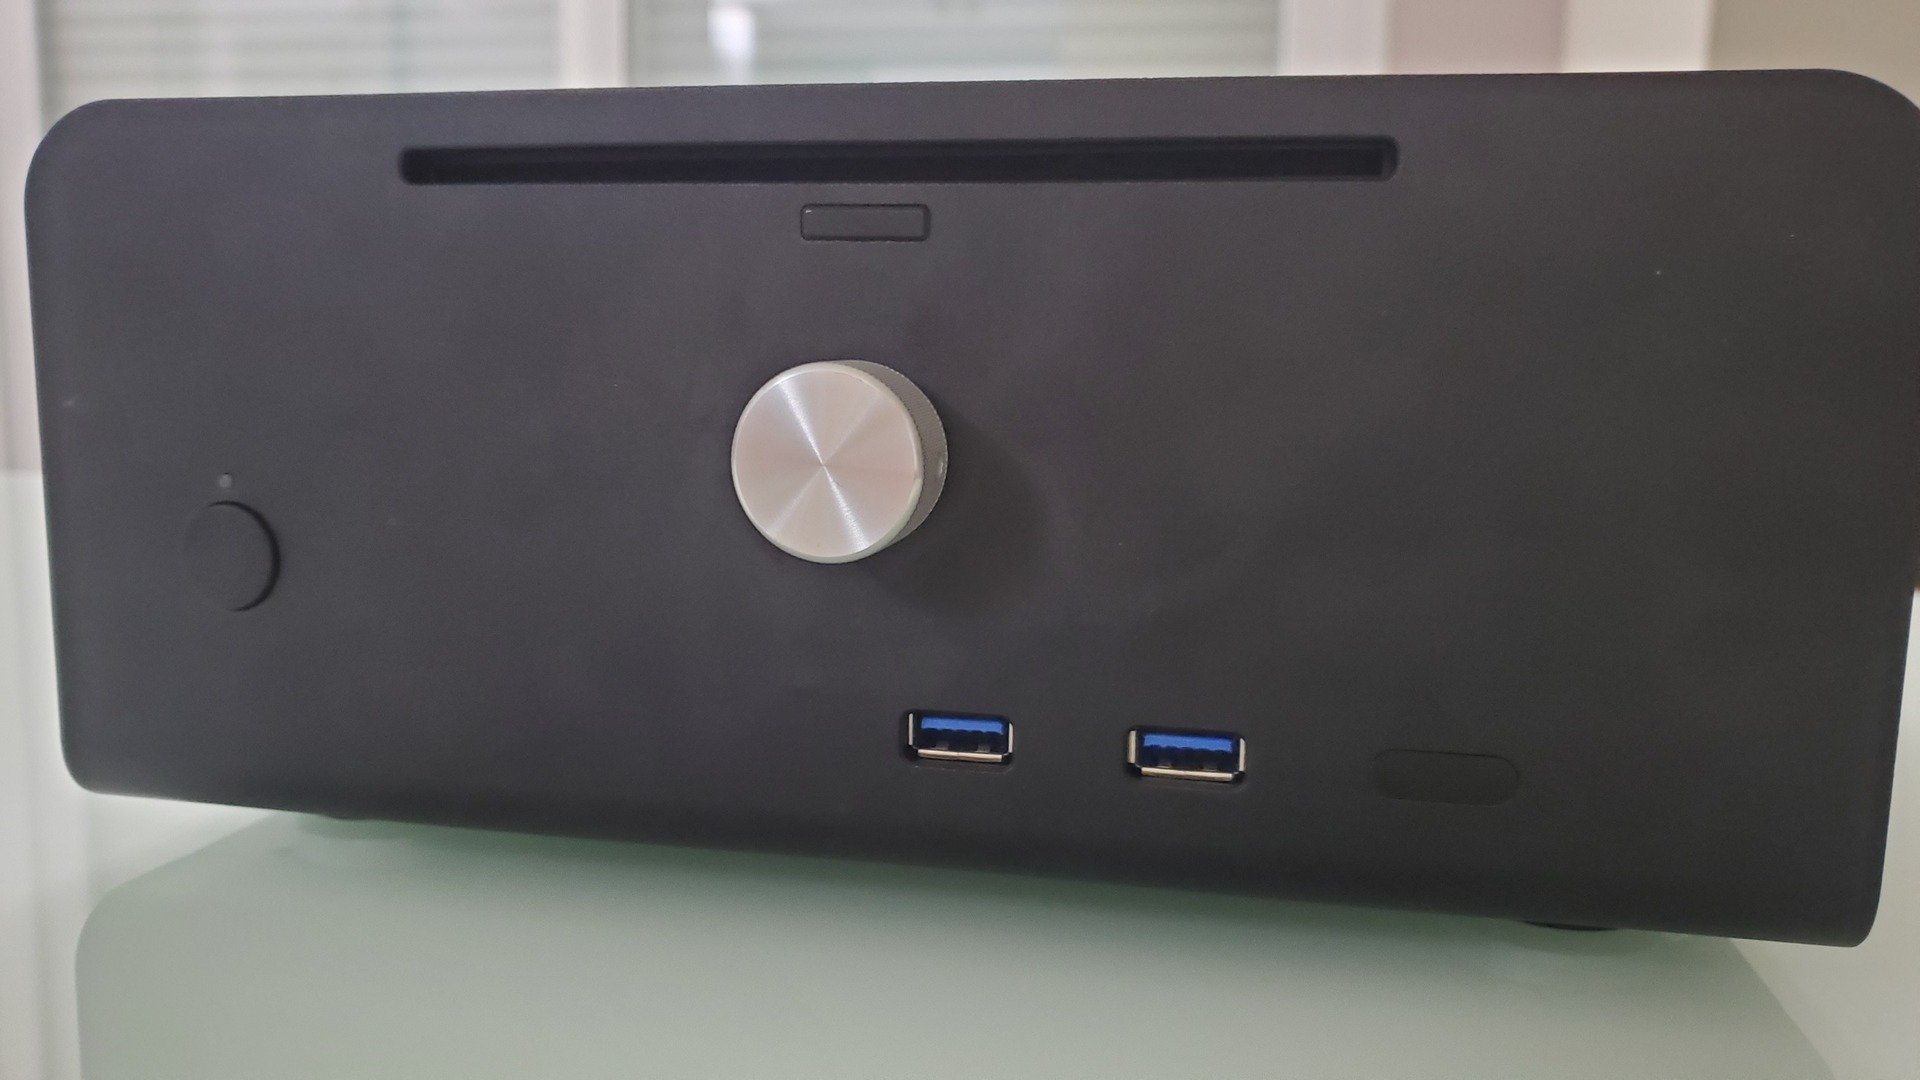
Final result
The back panel plate has been 3D printed using a universal IO Shield project form thingiverse: https://www.thingiverse.com/thing:3076355
Software part
The device is driven by Volumio, but I had to write some plugins and provides an Lirc definition for my remote in order to have all functionalities All the plugins have been integrated in Volumio via a pool request and are accessible from it’s interface.
Ledstatus
Original sources : https://github.com/volumio/volumio-plugins/tree/master/plugins/user_interface/ledstatus
Blink a GPIO wired led while playing. I used this to show play status throught the case front led.
Status2mqtt
Original sources : https://github.com/volumio/volumio-plugins/tree/master/plugins/user_interface/status2mqtt
This plugin send the volumio status to an mqtt server when it changes. I use it to auto power on / off my speakers (Eve audio SC205 + TS108) with a chacon IO receiver.
Gpiorandom
Original sources : https://github.com/volumio/volumio-plugins/tree/master/plugins/user_interface/gpiorandom
This one allows to assign an action to a button wired to one GPIO. You can set an action for single, double and triple click. Actions can be :
- Toggle play / pause
- Play one of your favorites radios
- Play a given URI
- Build a playlist with random songs and play it
IR Remote Controller
For this one I just created an LIRC profile for my remote (Philips CD723). The profile has been integrated in the main volumio branch.
Hi, how do you play cd with volumio ? With a premium account ? Or with Nanosound CD plugin. I use the second one but i have many bugs, sometimes it doesn’t work, i didn’t have any sound and cd ripping doesn’t work at all.
Second question, i want to use your plugin gpiorandom. I have an click switch with two pin and it need to be connected to gpio pin who support interruption… pin 3 is ok ?
One on pin 3 an the other on grnd ?
Thank you for your help
Hi, I use a premium account for CD playing… it is more to support volumio dev than anything else.
Yes, Pin 3 is ok for interrupt. one wire on pin 3 and the other on GND (pin 4, for exemple)
Hello, I came across this blog during a Google search about Pi DAC Volumio and CD player.
What about Power ?
I mean you are running a Pi / DAC and an USB CD player. Which Power adapter do you use? Does a simple Pi Power adapter (5v/2a) support the whole system?
Thank you!
I use only one power supply which is the one that comes with the PecanPi streamer : 9v 2.5A. The pi is powered by the PecanPi Board and the USB CD Player is powered directly from the USB port of the Pi
Hi,
This is a great project. Thanks for sharing.
Regards
Leo