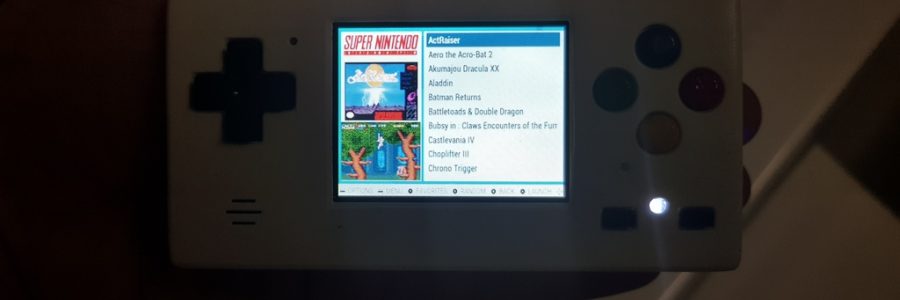
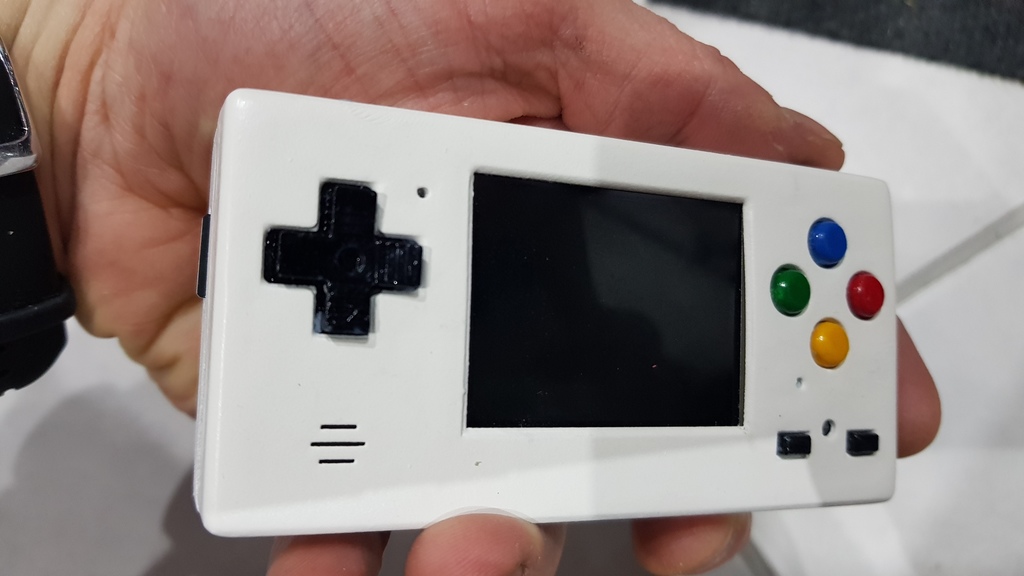
PiBoy Micro : a Raspberry pi zero based mini portable retrogaming
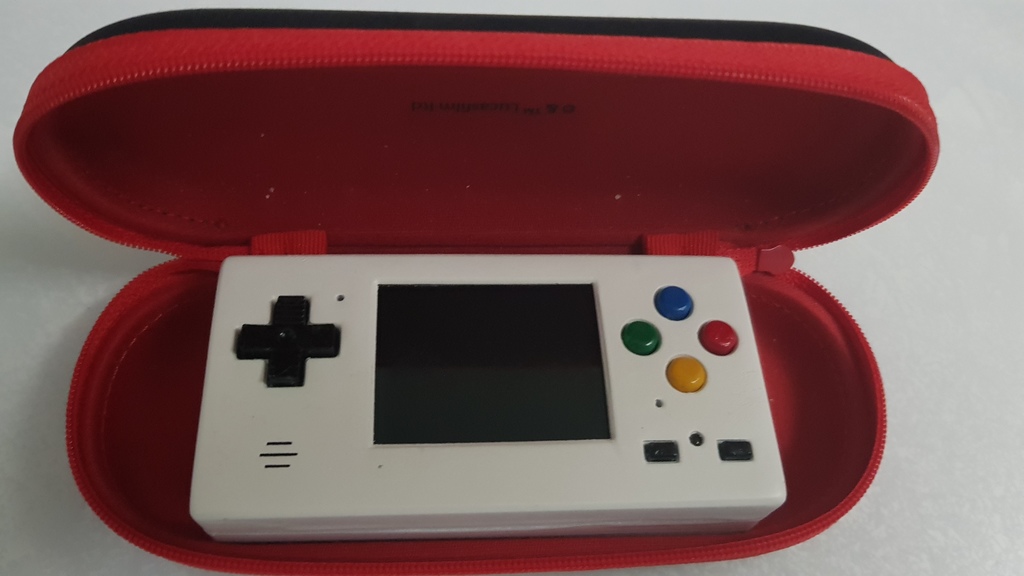
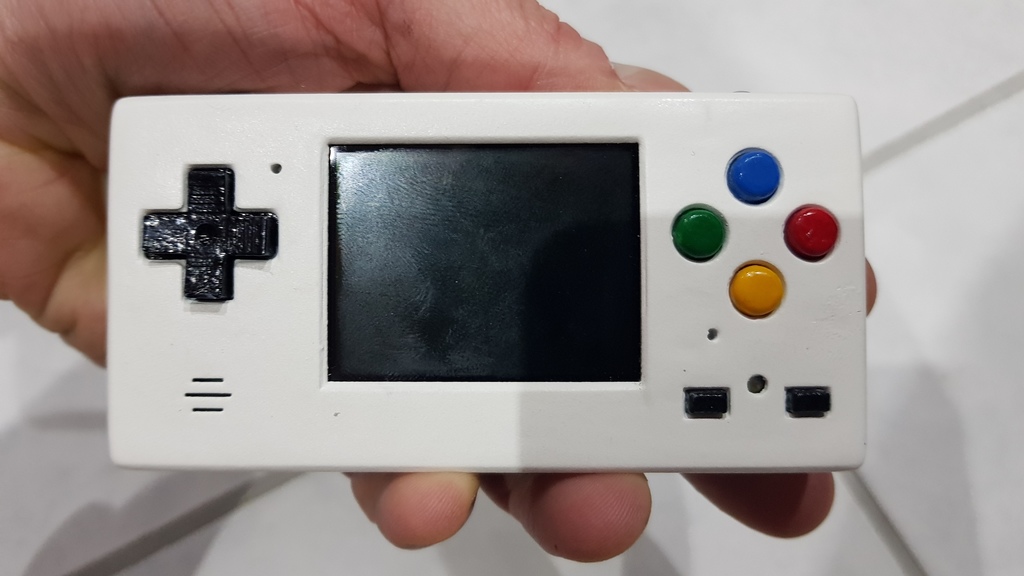
Yes, one more retrogaming device ! This time, I wanted to try a smaller form factor, as near as possible to the GameBoy Micro.
I also modelized my own enclosure and 3d printed it. The design is near the GamOdroiD C0 but with slightly curved edges which, from my point of view, looks better.
Features
Hardware Specifications
- Small form factor : 102x51x23 mm
- Tiny 2 inches display
- Numeric sound (I2S)
- 8 buttons : a,b,x,y, L, R, start, select
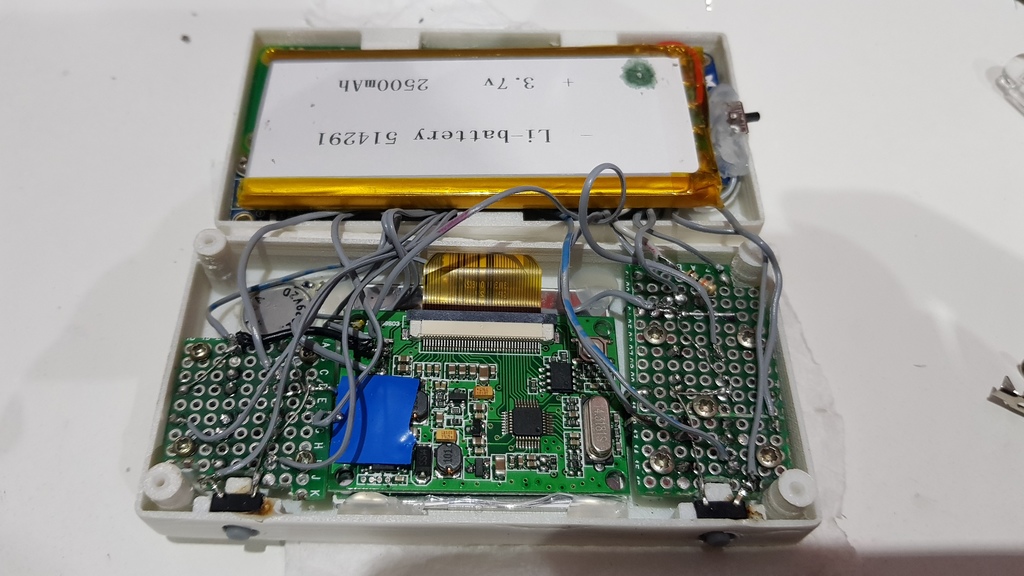
- 2500 mAh for near 4h of runtime
- HDMI out
- 1x USB 2 port (micro usb)
- Charge with standard micro usb power supply
- leds to display states : charging, charged, out of battery (white led in front)
Supported gaming system
I only installed systems I was interested for, but it can of course run all systems the Pi Zero supports with retropie :
- Atari 7600
- Game Gear
- Atari Lynx
- Game Boy & Game Boy Color
- GameBoy advance
- Nes
- Famicom disk system
- Master System
- Pc Engine, including CD-Rom
- Megadrive / Genesis
- Sega-CD
- Snes
- CPS 1, 2 and 3 (FBA)
- Various ports : Doom 1 & 3, Duke 3d, Outrun, Wolfenkein 3d, rick dangerous, Open Tyrian
Used Components
Main parts
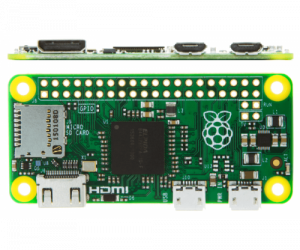
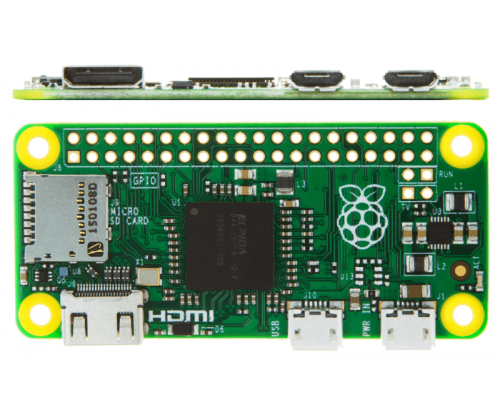
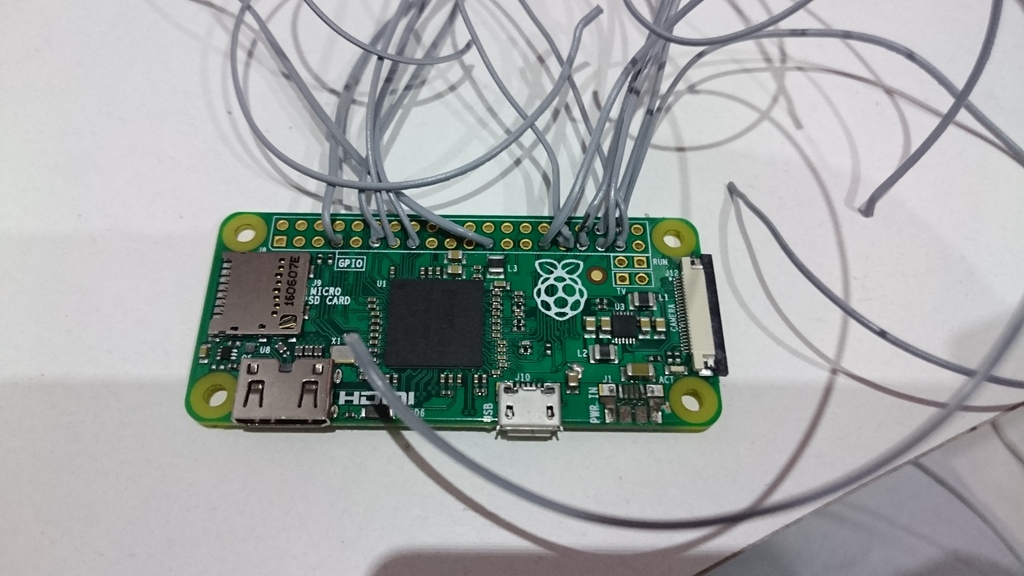
- RaspberryPi Zero
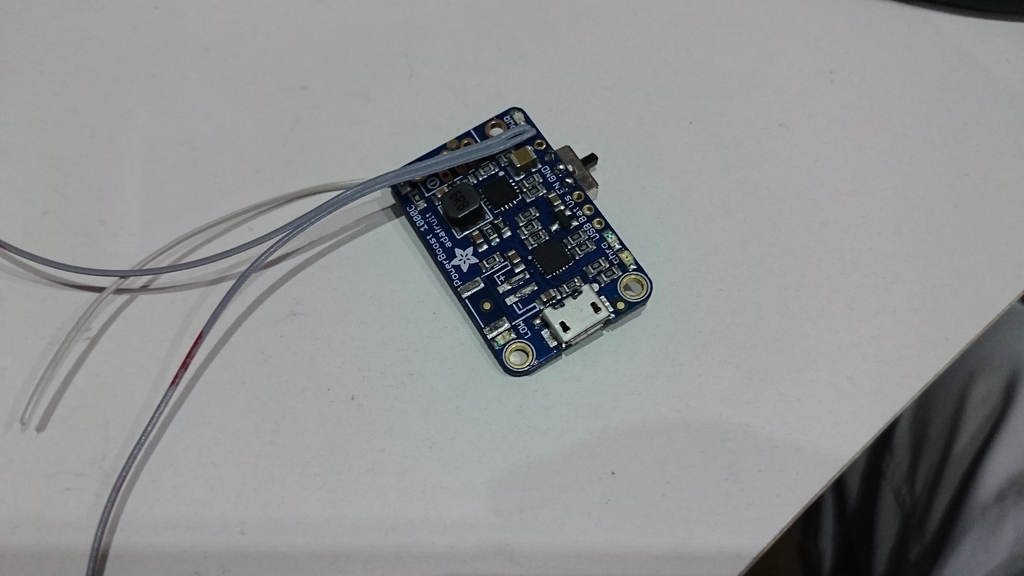
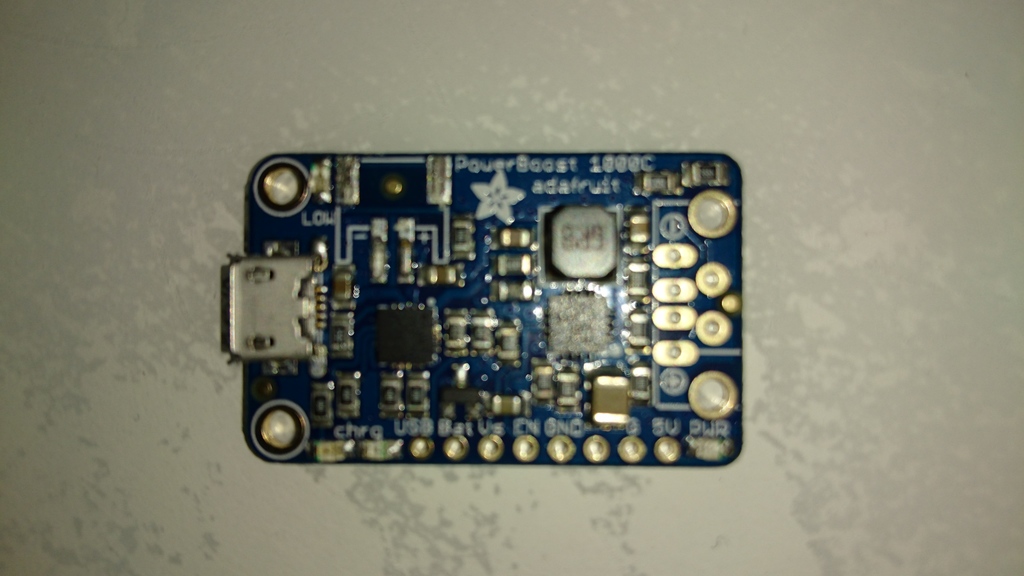
- PowerBoost 1000C
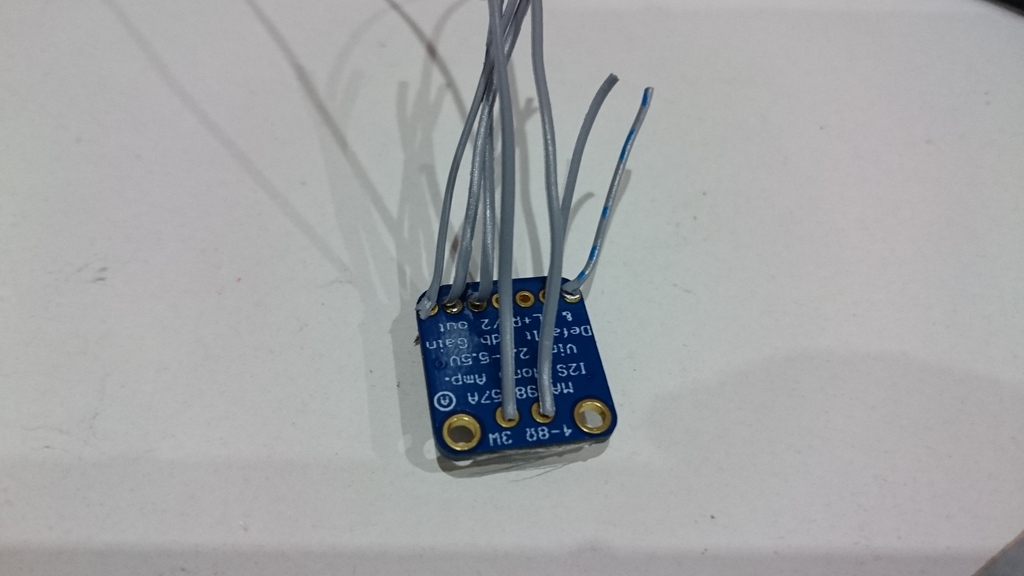
- MAX98357 I2S Class-D Mono Amp
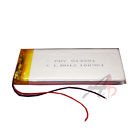
- Noname Lipo battery from ebay (91x42x5.1mm)
- 64Gb Samsung EVO Micro SD
- 2″ NTSC/PAL TFT Display
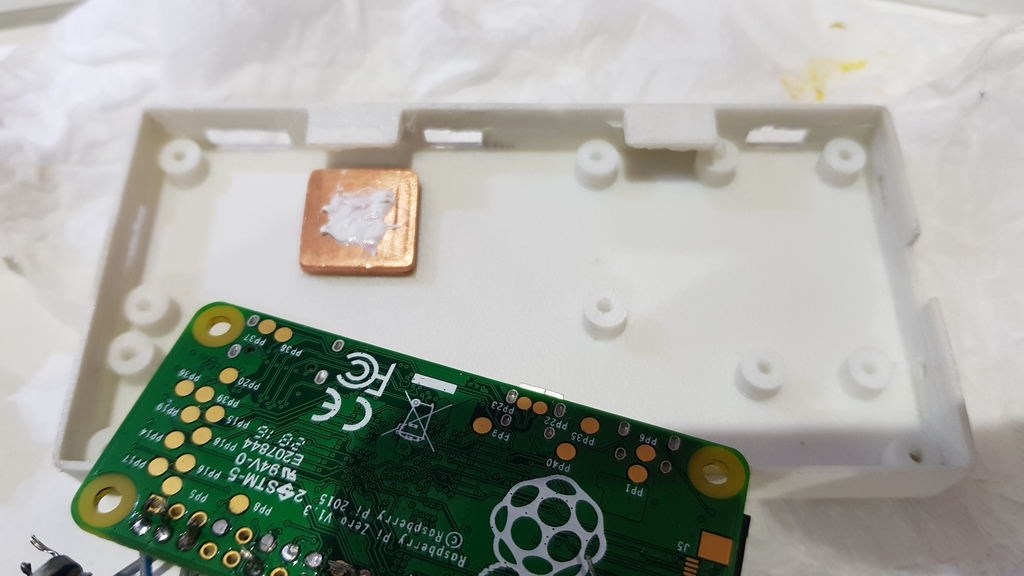
- Small copper squares for cooling
- Thermal paste
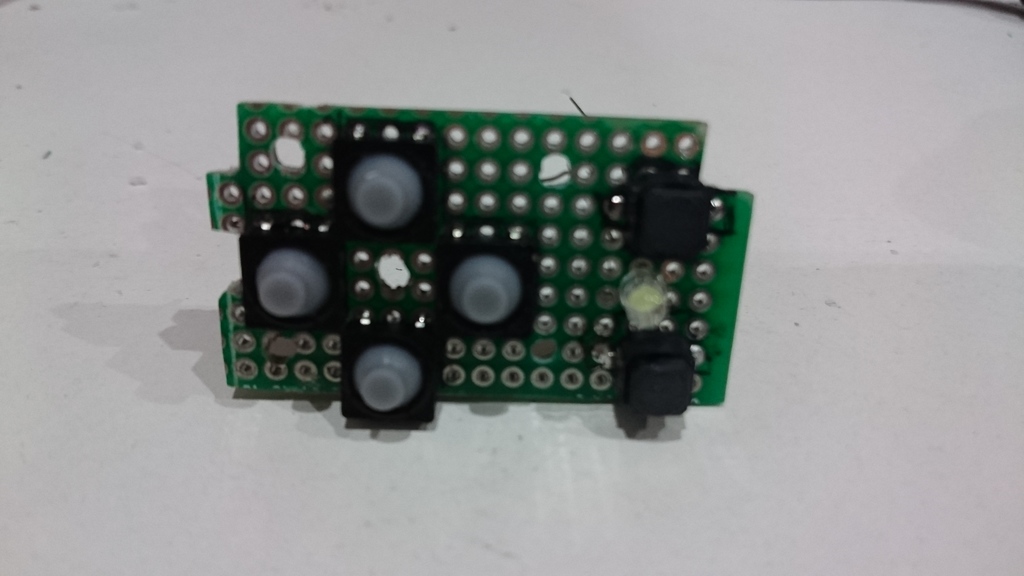
Control parts
- 12 Soft Tactile Buttons (8mm)
- 2 silent micros switch buttons (6x5mm)
Various other electronic parts
- Old IDE Ribbon cable for wires
- 3mm white led
- 470K resistor
- Mini switch (8.5×3.7)
- Breadboard
Decoration parts
- Some Nail polish templates for colors (black, yellow, red, green, blue). Found on eBay.
- XTC 3D
- White satin Spray paint
3D model and printing for the case
I created the case from scratch with Freecad. The inspiration comes from the GameBoy micro and classical snes colors for the buttons. However, the final result is a little more thick than the original GameBoy micro (17.2 mm VS 23 mm) due to physical constraints (height of Pi Zero connectors as well as the battery size).
Freecad source files are available on github. Ready to slice and print STL files are published on Thingiverse.
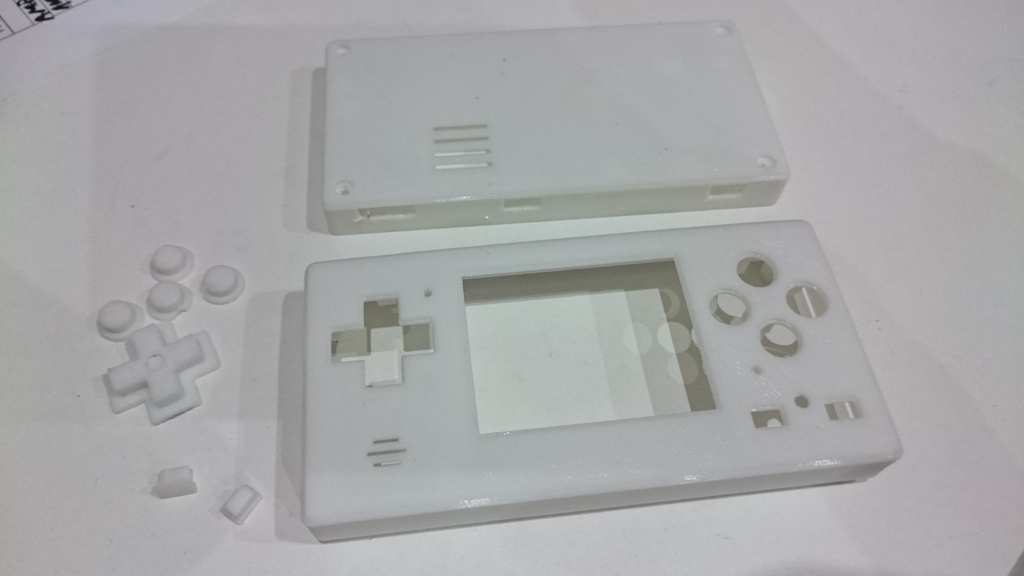
Overview of all printed pieces before painting:
Front part, inside:

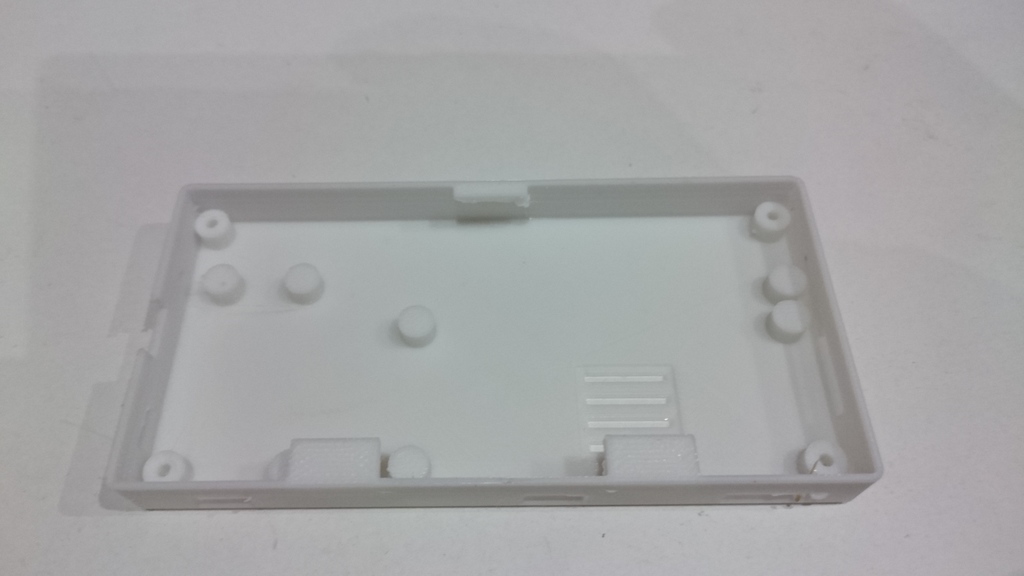
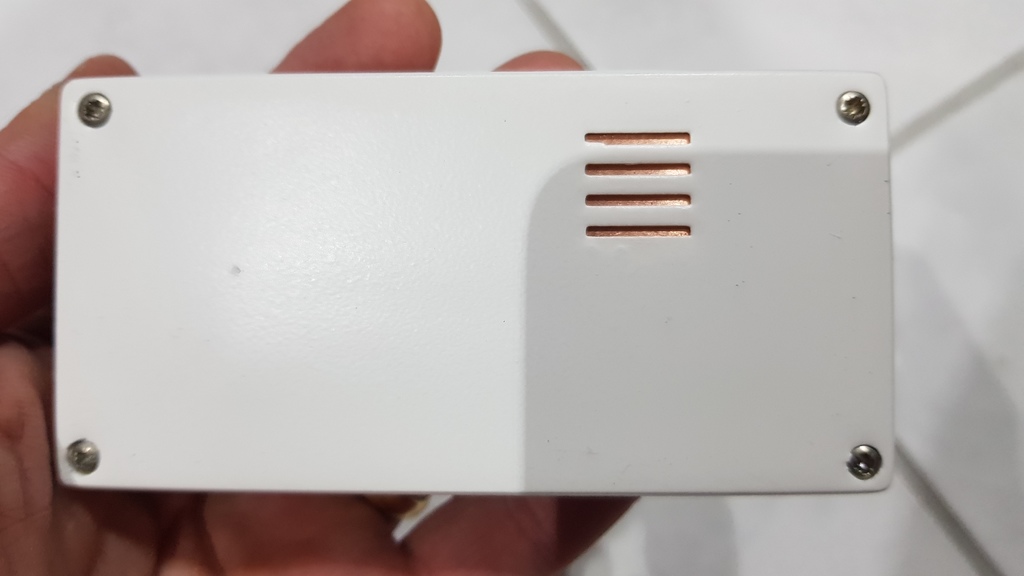
Back part, inside. The photo does not show the final version I used. The latest version is slightly taller, the battery blockers are balanced and screw supports contain pre-holes for screws (see the 3d model).
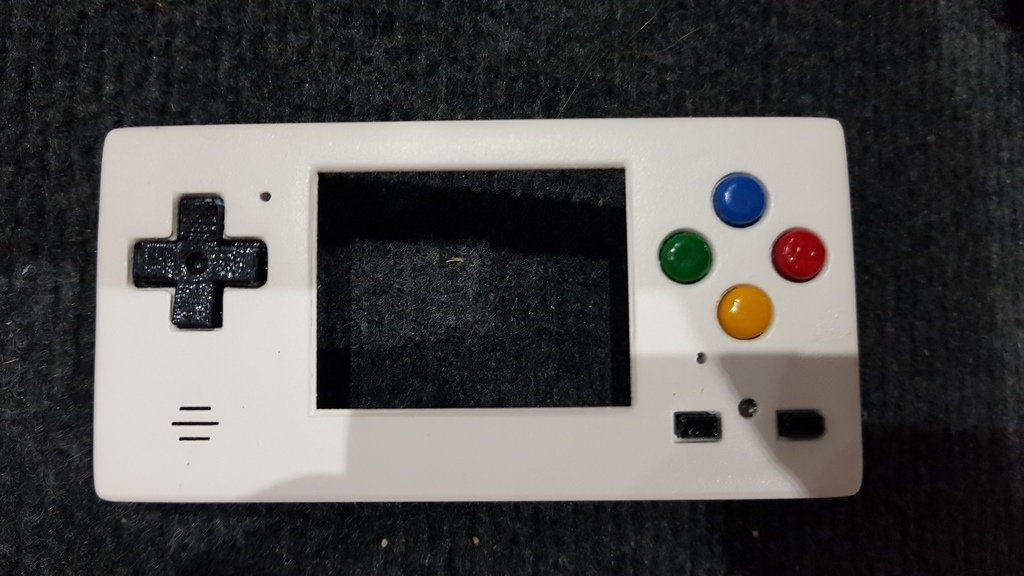
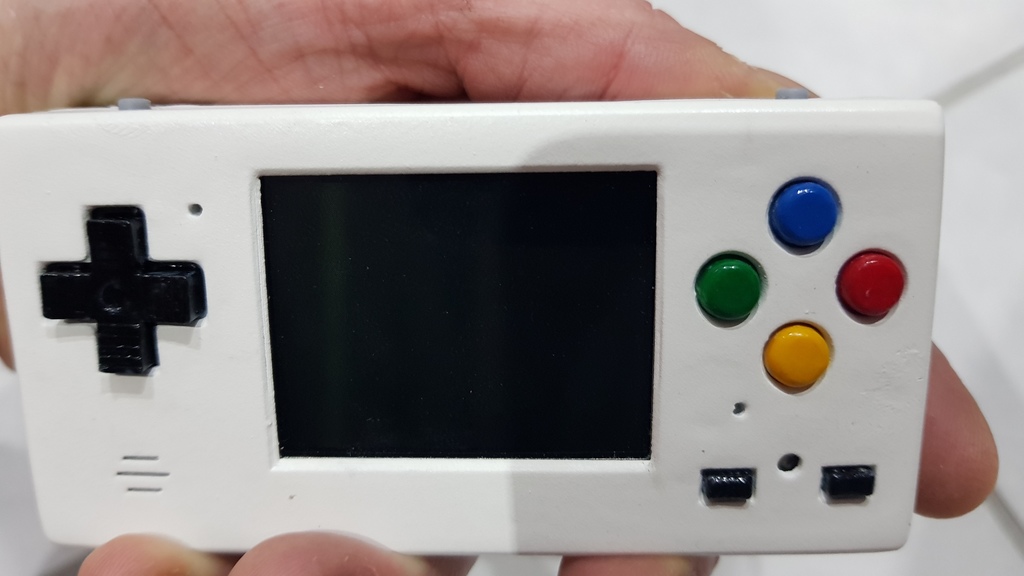
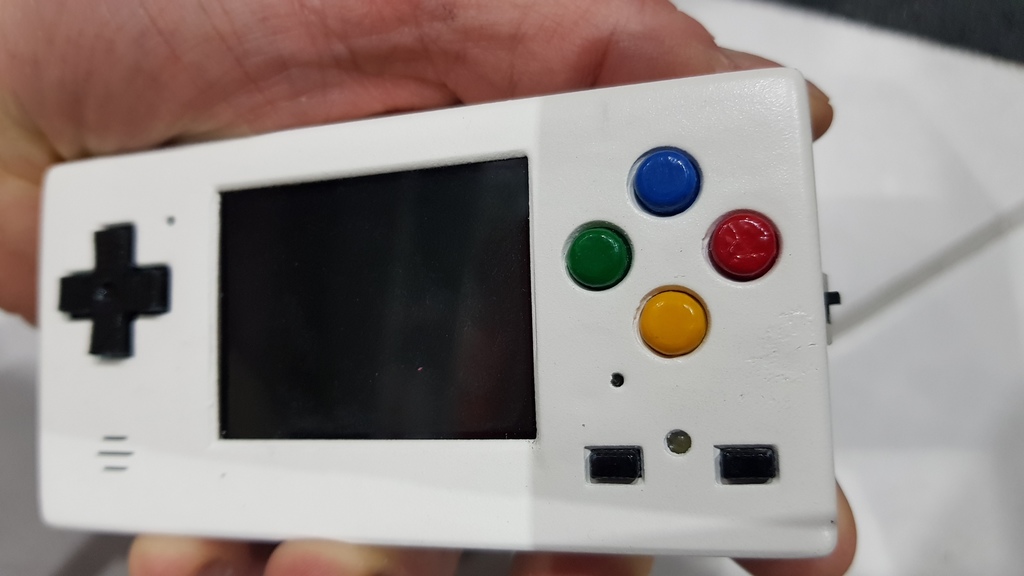
Finished front side (I used similar tips than for the GamOdroid C0):
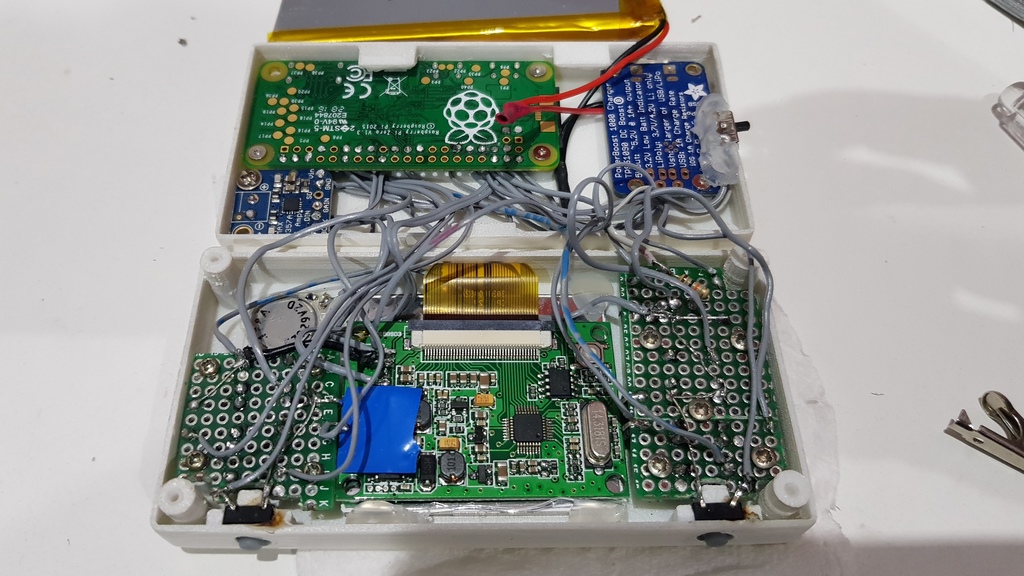
Hardware assembly
Hardware assembly was not difficult : no hack, just plain simple usage of standard boards, and some cut breadboards for buttons.
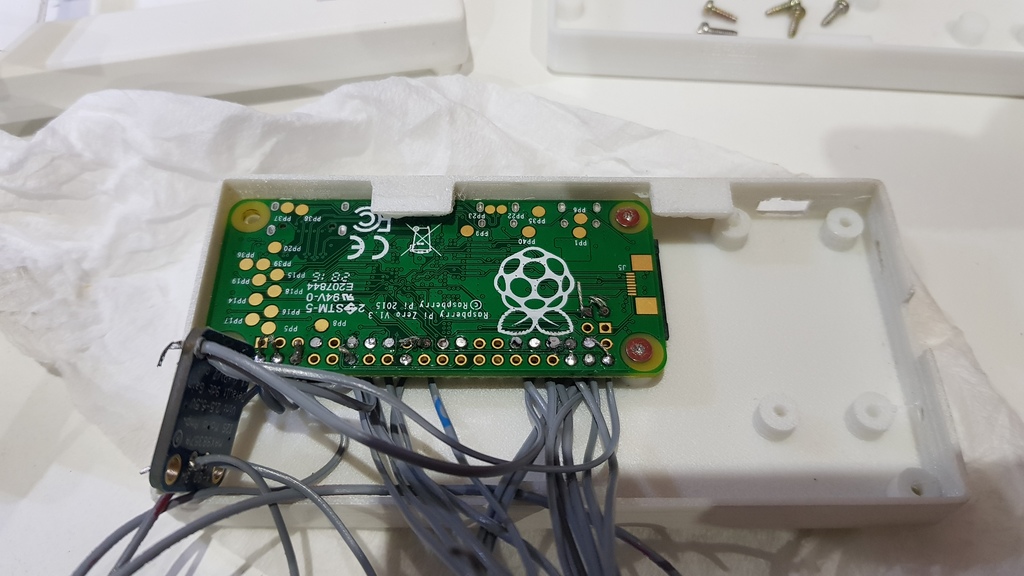
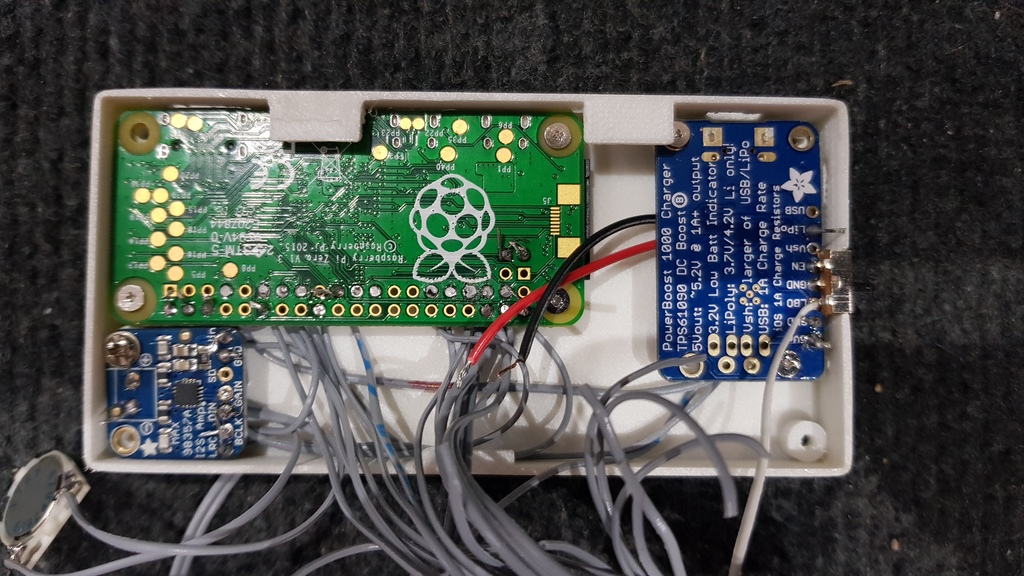
Preparing boards
First step : soldering wires on the pi zero, the i2s audio amp and the powerboost 1000c.
Note that I removed the jst connector from the powerboost to limit the final result’s thickness.
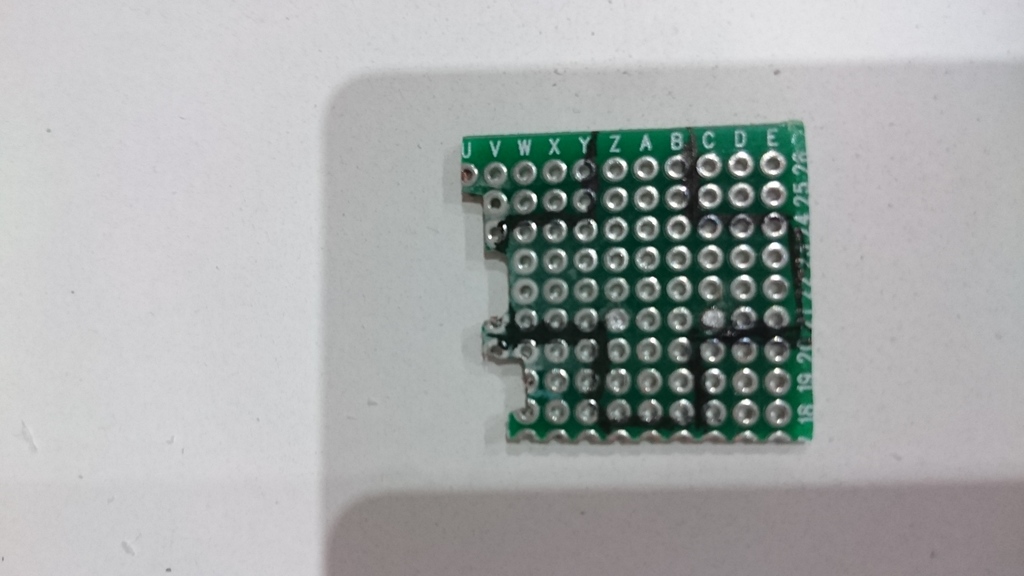
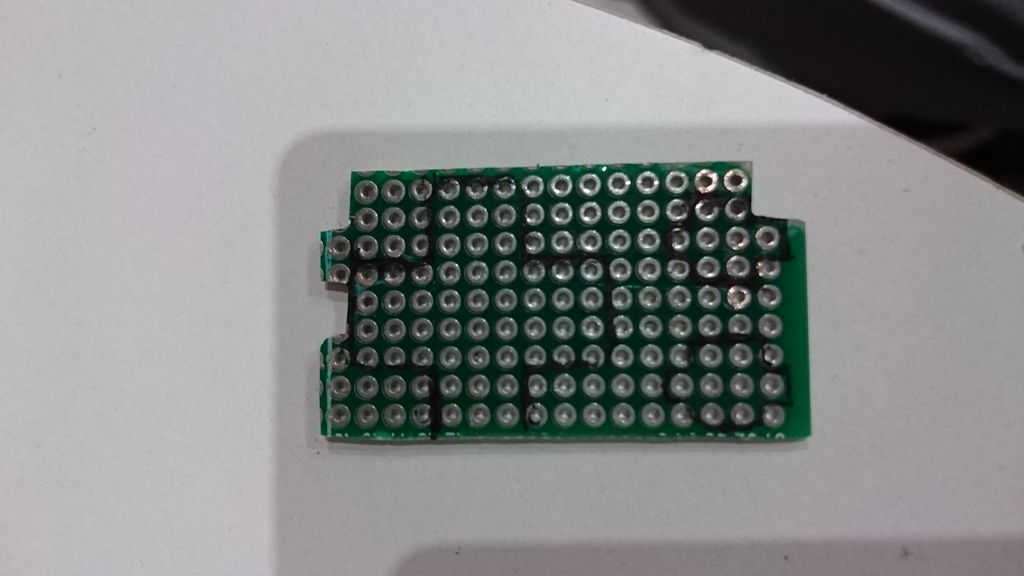
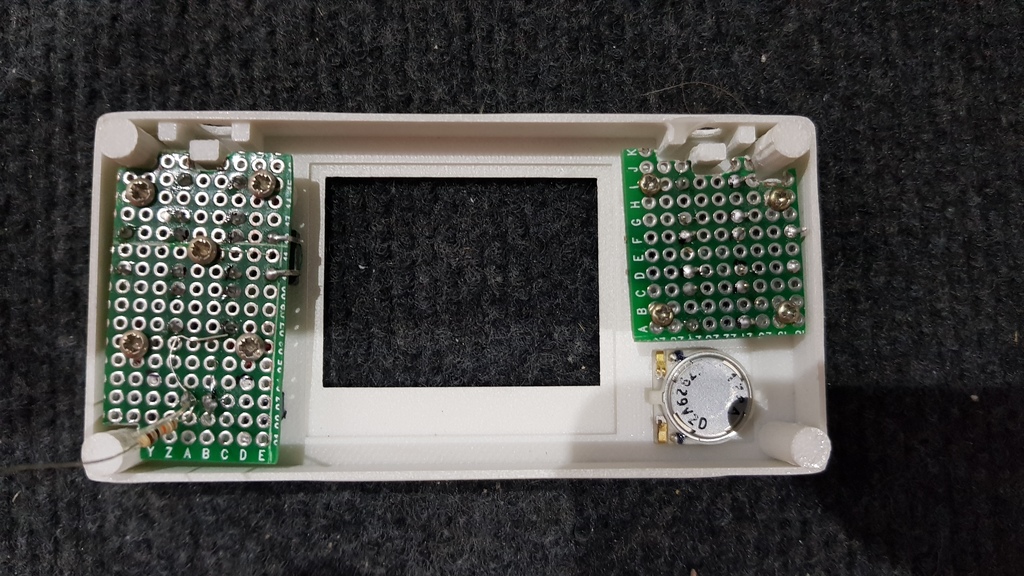
Building buttons boards
I used some breadboards and a dremel to make shapes adjusted to the body of the console.
Mounting and screwing all pieces
Everything was ready to be screwed on both back and front parts of the enclosure.
Note that the height of screw supports just fit the pi zero’s connectors height and allows to hold in place 3 pieces of copper to CPU cooling (with thermal paste).
The speaker has been glued with some cyanoacrylate glue.
The black and red wires are for the battery connection.
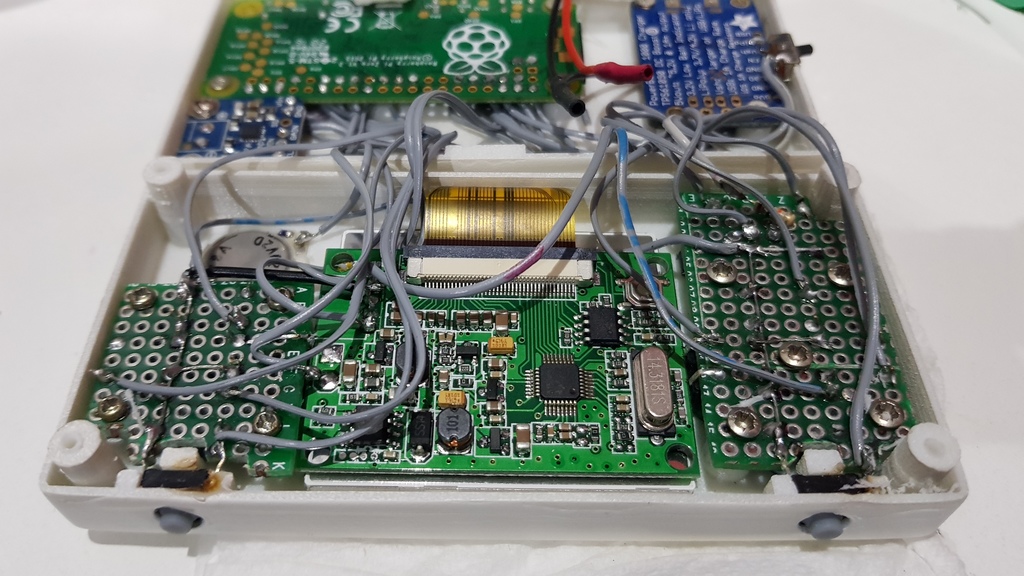
Linking all together
Final step : add the display (glued with hot glue), solder wires for buttons and speaker, and add the battery.

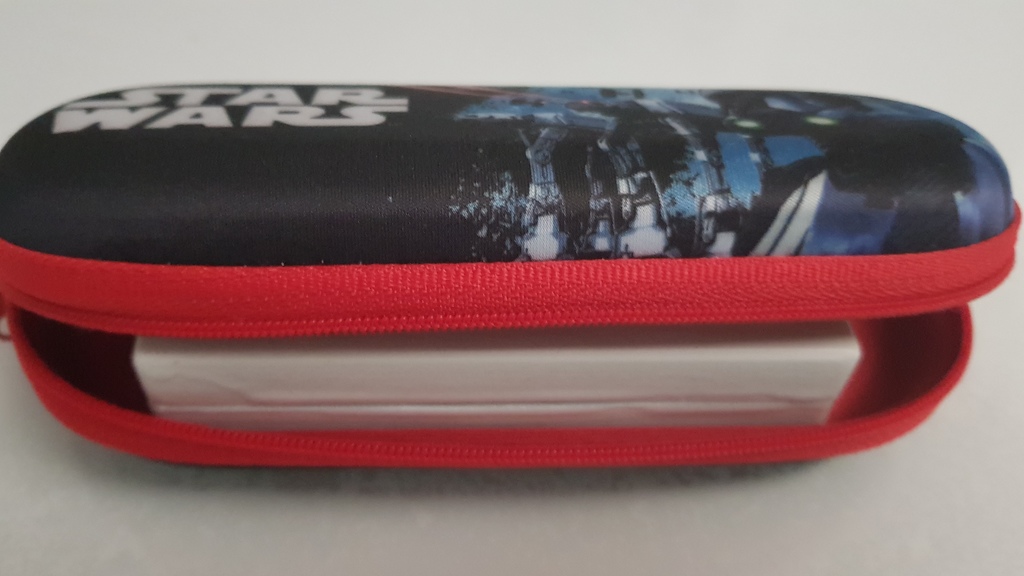
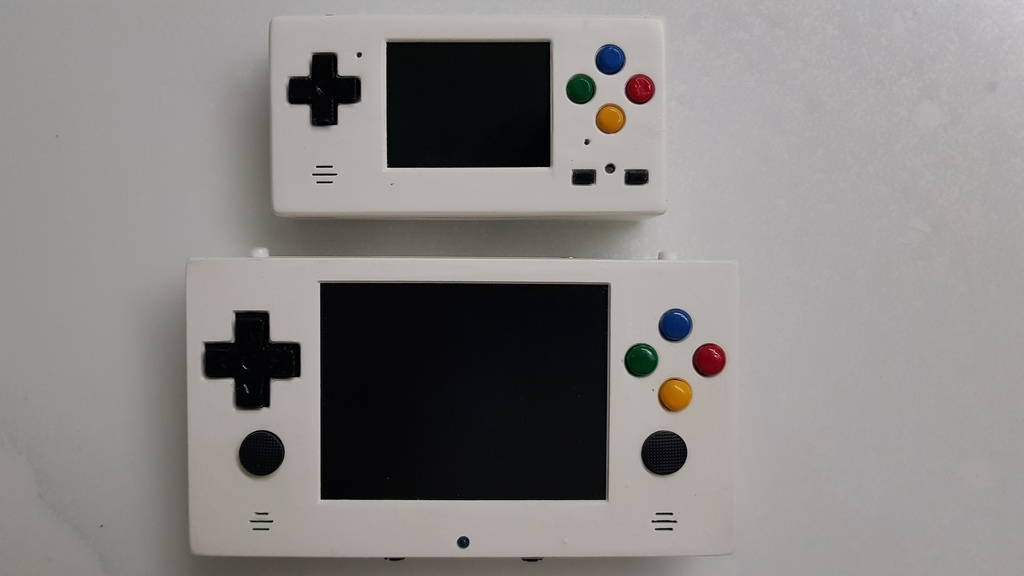
Result of the assembly
The final result : it can be stored in a small child’s glasses box 😉
The last photo show the console next to it’s great sister, the GamOdroid C0.
Software installation
This part was probably the easiest one, thanks to the raspberry pi community. All is working out of the box with retropie. I just made some adjustments to make it boots faster and to tune the display.
Initial setup
- This step brought a fully functional system:
- Deploy retropie on the microSd : https://retropie.org.uk/download/
- Launch a full upgrade through retropie setup menu
- Following the I2S amp guide: https://learn.adafruit.com/adafruit-max98357-i2s-class-d-mono-amp/raspberry-pi-usage
- Install emulators
- Copy Bios and Roms
- Launch the video scraper : https://github.com/retropie/retropie-setup/wiki/scraper
- Get retrogame and adjust config file regarding GPIO wiring : https://github.com/adafruit/Adafruit-Retrogame
Retropie and Emulationstation Optimizations
From retropie-setup menu I did the following:
- remove samba and configuration
- remove usbromservice
- remove splash screen
And in emulationstation:
- in Sound settings, set OMX Player Audio device to “Alsa:HW:0,0”
- In Other settings, set “parse gameslists only” and “Use OMX Player” to “ON”
System Optimizations
I modified the /boot/config.txt file to overclock the pi zero, limit GPU mem to 128 Mb and disable splash screen (faster boot):
|
1 2 3 4 5 6 7 |
gpu_mem=128 disable_splash=1 gpu_freq=500 core_freq=500 sdram_freq=500 dtparam=sd_overclock=100 |
I also modified the /boot/cmdline.txt file, mainly to speedup the boot process :
- removed “console=serial0,115200”
- set elevator to “noop”
- added “udev.log-priority=3 quiet fastboot noswap lpj=3489792 rd.systemd.show_status=false”
I tuned fstab to make root fs a little bit faster and set /var/log as a tmpfs filesystem to preserve the microSD card’s life (it maybe also make things a little bit faster because logs are written to ram):
|
1 2 3 4 |
/dev/mmcblk0p1 /boot vfat defaults 0 0 /dev/mmcblk0p1 /boot ext4 defaults,noatime,data=ordered 0 0 tmpfs /var/log tmpfs nodev,nosuid,noatime,size=20M 0 0 |
In /etc/rc.local
- I removed all the code related to showing the IP address of the Pi
- I added “retrogame &” to launch the gpio buttons driver
In /etc/Systemctl/journalctl.conf
- I set “Storage=none” to disable any logging activity
Finaly, I disabled all the following services (sudo systemctl disable <service>):
- ntp
- fake-hwclock
- hwclock-save
- rsyslog
- syslog
- swap
- avahi-daemon
- bluetooth
- cron
- dbus-org.bluez
- dbus-org.freedesktop.Avahi
- hciuart
- rpi-display-backlight
- networking
- dhcpcd
- dphys-swapfile
- ssh
- systemd-journal-flush
- plymouth
- plymouth-log
All these operations gave an acceptable boot time for a portable gaming console :
|
1 2 |
$ systemd-analyze Startup finished in 1.356s (kernel) + 7.972s (userspace) = 9.328s |
Final Result: Photos & videos

