Arduino driven 5v and 12v Smartpower
I was updating my personal home “pico data center” in order to get more processing power (swarm cluster) and arrange all my ARM based servers in a cabinet.
I wanted to use only on power supply for all my servers (mostly arm based) instead of multiple 5v power adapters. I also had some 12v needs for my router and my NAS running an Odroid N1 (more to come about it in a future article…)
So I built a custom 1U rackable smart power which provides some remote services through HTTP…
Features
The smart power actually has the following features :
- 5V 20A capacity
- 12V 8.5A capacity
- 6 USB connectors for 5V supply
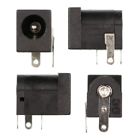
- 2 Barrel connectors for 12V supply
- One temperature sensor
- Live display of power consumption and temperature
- Hardware switch to turn on or off any of the 8 power connectors
- “Cold” power-on sequence for all connectors (eg. turn on servers in the right order)
- Gather temperature and consumption history through REST API (json)
- Toggle any connector’s status thought HTTP command
Used Hardware
Support pieces
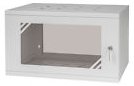
- A 19 inches 1U metal shelf for the base
- A small piece of wood (1cm thick) to fix all electronic parts
- Some wood skrews
- A piece of plastic I had to cover electronic parts (seems to be a fridge’s bottom grid…)
- A “U” in metal to fix the female main power plug
Electronics parts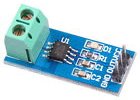
- Two power supplies : one of 5V 20A and one of 12v 8.5A
- An Arduino Mega (more memory for data history)
- A W5100 ethernet shield
- A 8 relays board that provides a dedicated power line to drive relays
- USB and Barrel connectors
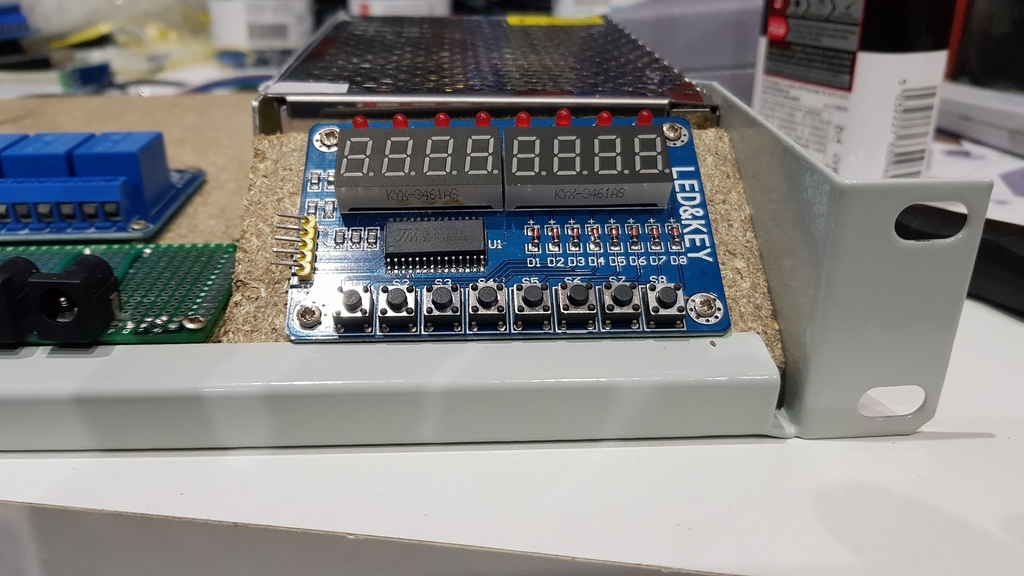
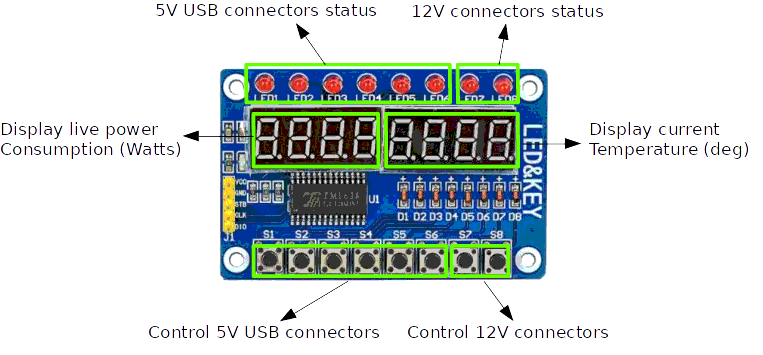
- A TM1638 Board (display + buttons)
- Cables (dupont, and others small ones)
- 2 HAL effect sensors rated for 20A
- A cheap DTH11 temp sensor
- Some prototyping boards
- A 40mm fan
Assembly
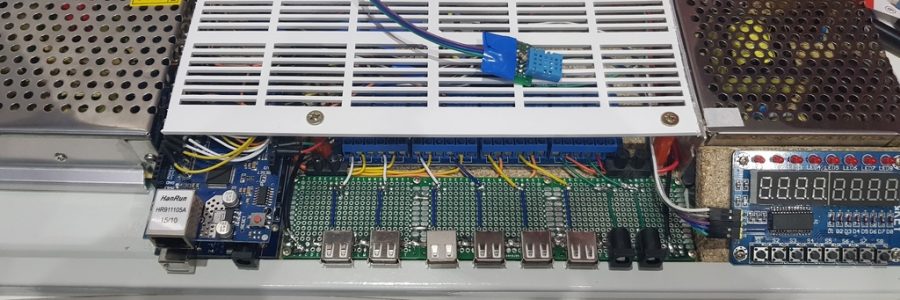
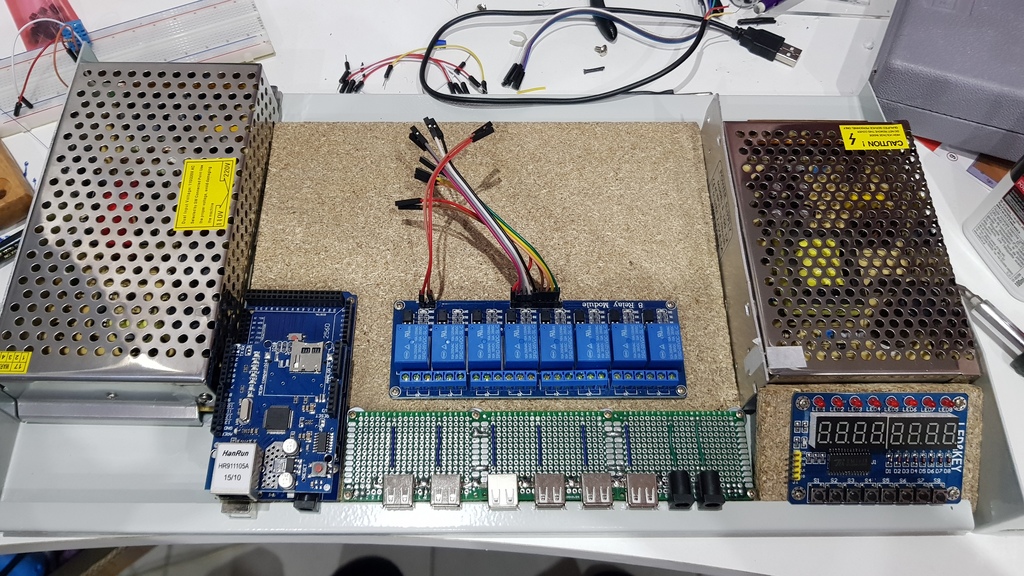
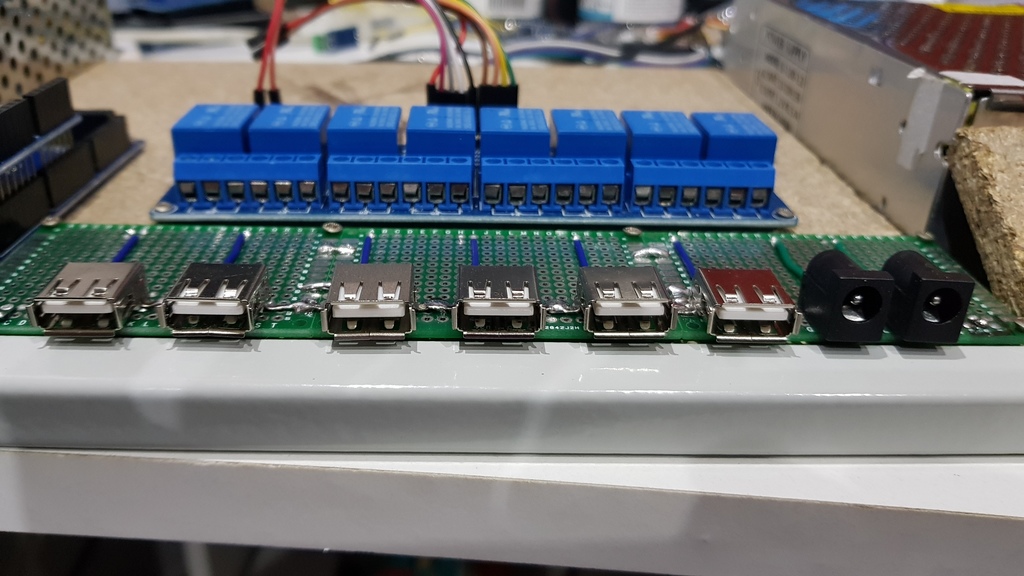
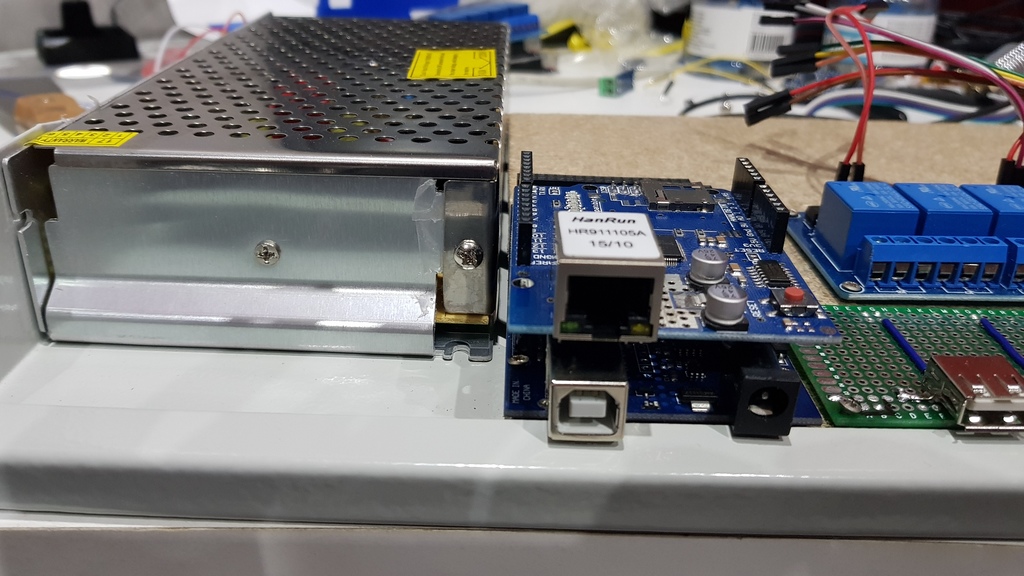
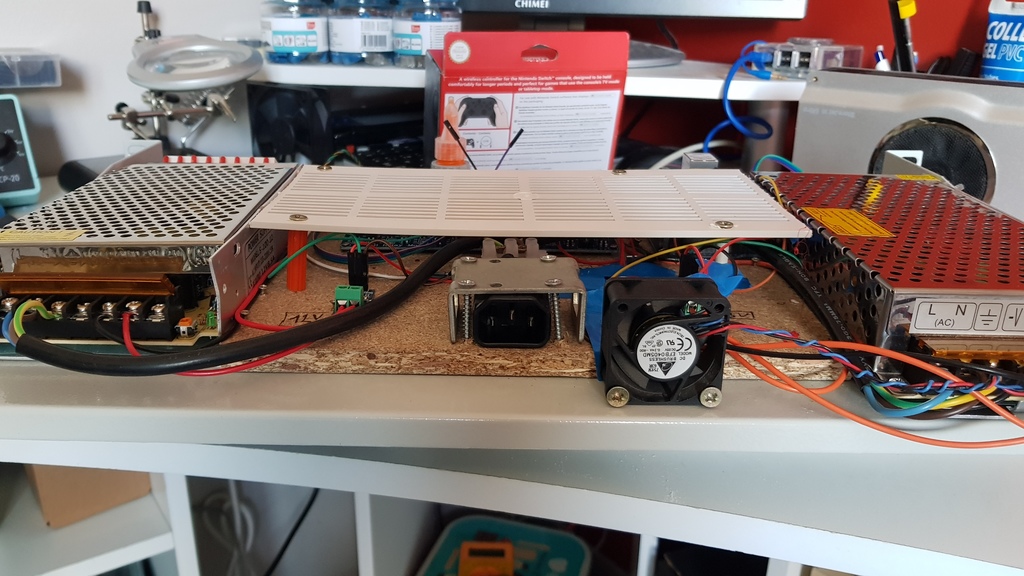
Soldering connectors and placing main parts on the shelf:
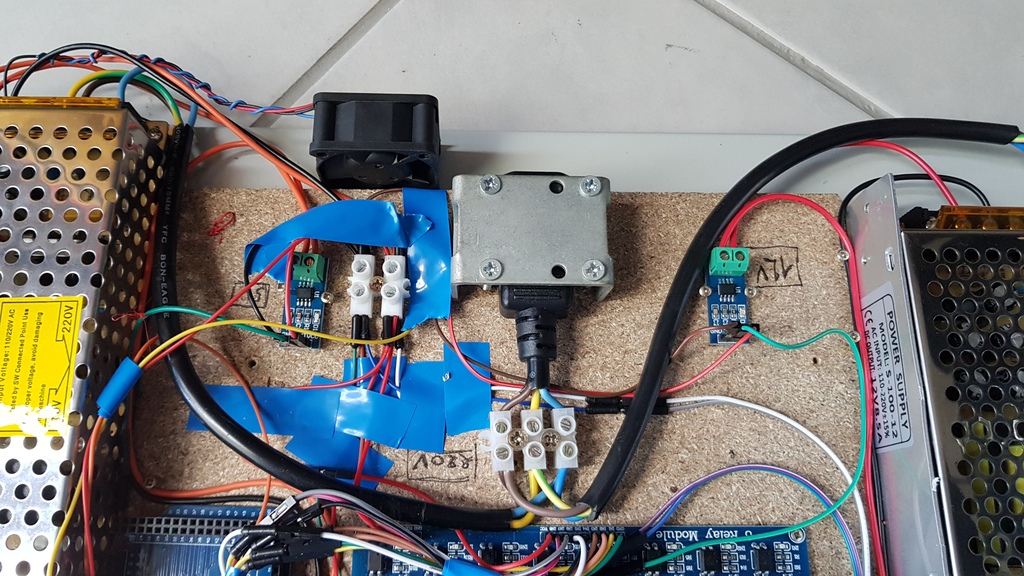
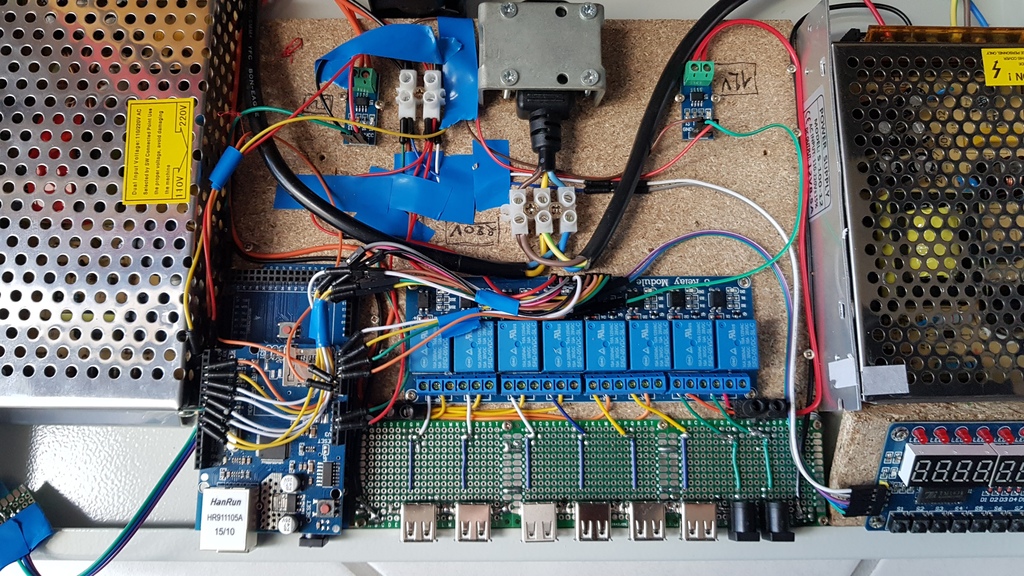
Preparing DTH11 and start wiring everthing:

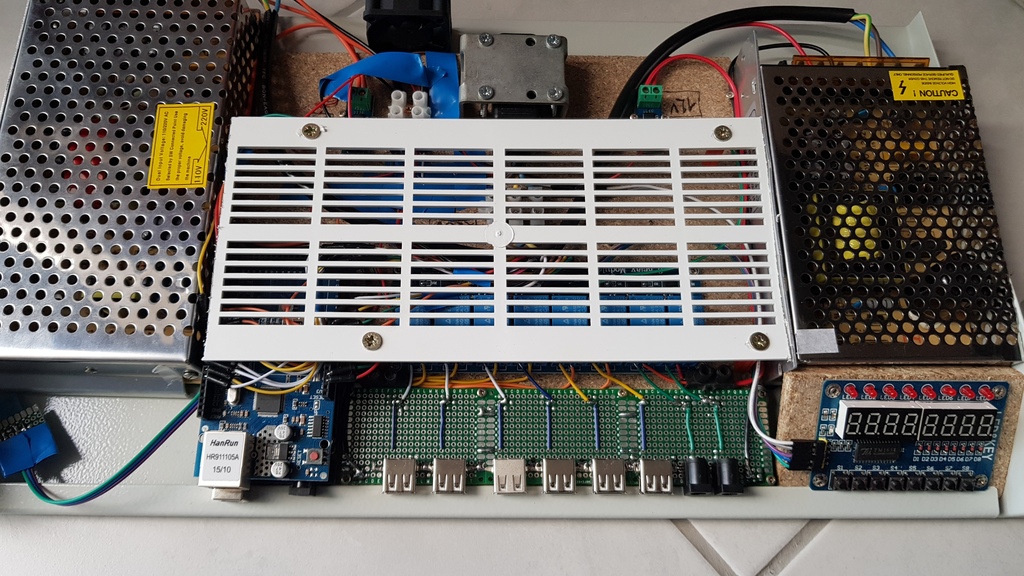
Putting the fan and covering with the plastic grid:
Arduino sketch
Wiring plan
The following wiring plan is fully compatible with Nano and Uno. However, I used an Arduino Mega in order to have a bigger data history (more ram).

Code organization
The source code of the Arduino sketch if available on my github : https://github.com/jit06/smartpower
The code should be commented enough to make it easy to read and understand.
- SmartPower.ino : the main arduino sketch, kept small to drive the main logic
- Settings.h: contains all things that can be customized without touching a line of code
- Controller.cpp and Controller.h: code that allows to drive the TM1638 module
- Http.cp and Http.h: handle REST API to get json data and change relays’ states through HTTP queries
- Sensors.cpp and Sensors.h: handle hall effect and temperature sensors as well as in-memory data storage
- Timehandler.cpp and Timehandler.h: allow to set time via NTP in order to add a timestamp for each recorded value
Local Usage
Schema of how the smartpower hardware interface works:
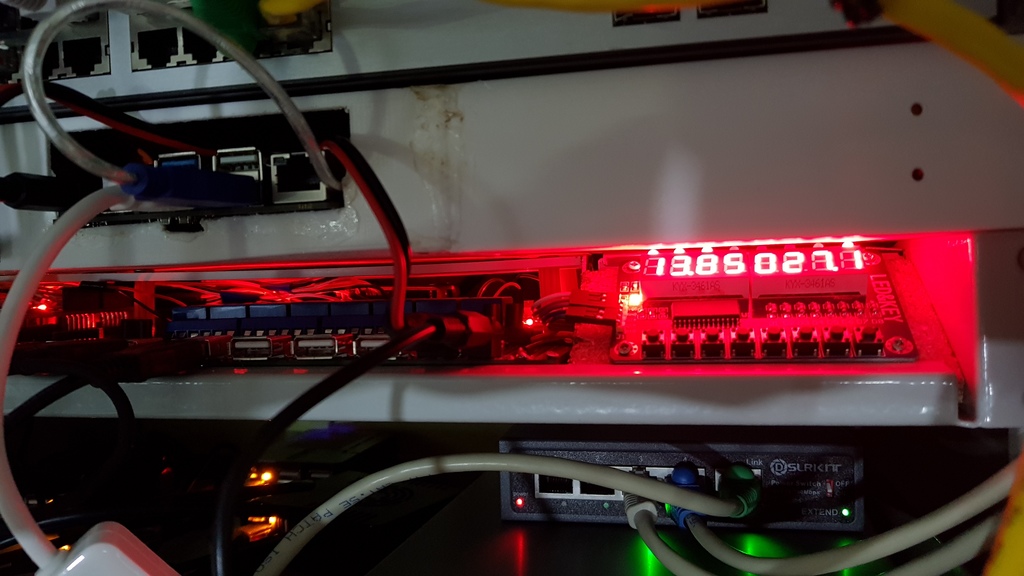
Below a photo of the smartpower in action on my 19 inches cabinet:
Remote Usage (HTTP)
- “/” (default page) : gives a html page with live 5v and 12v power consumption (in Ah), total power consumption (in Watts) and current temperature
- “/TEM”: gives current temperature in JSON
- “/05V”: gives 5V live power consumption (Ah) in JSON
- “/12V”: gives 12V live power consumption (Ah) in JSON
- “/PWR”: gives live total power consumption (Watts) in JSON
- “/ALL”: gives all previous values in one JSON
- “/HIS”: gives history of all values with timestamps in one JSON
- “/TGx”: where x between 0 and 7, toggles switch status if option is enabled (make sure to use it in a secure LAN, has there is no HTTPS support)
Sample of HTML page
Note that the default HTML page is refreshed automatically every 10 seconds (http header “Refresh: 10”).
![]()
Sample of “/ALL” response
|
1 2 3 4 5 6 |
{ "temp":"30.53", "5V current consumption in Ah":"2.86", "12V current consumption in Ah":"1.60", "Power consumption in Watt":"30.31" } |
Sample of “/HIS” response
|
1 2 3 4 5 6 7 8 9 10 11 12 13 14 15 16 17 18 19 20 21 22 23 24 25 |
{ "values":[ { "temp_ts":"1535055136", "temp":"28.00" }, { "current5v_ts":"1535055136", "current5v":"2.77" }, { "current12v_ts":"1535055136", "current12v":"1.32" }, { "power_ts":"1535055137", "power":"29.84" }, [...] {"end":"OK"} ] } |
Pingback: Odroid N1 as a NAS in a home made 19 inches rack mount
Pingback: Odroid HC1 based swarm cluster in a 19″ rack | bluemind.org
Pingback: Arduino driven 5v and 12v Smartpower – maker.wiznet.io