Custom Arduino Shield that provides MQTT to Rflink
Since a couple of years, I used to use a french home automation box : the Zibase. In its time, it was the only one to support a large number of protocols and to allow a some degrees of freedom (xml output, UDP access). I even wrote a binding for Openhab. But even with OpenHab, the box still needs a dedicated cloud service to register some peripherals, and nowdays, the number of supported protocols seems pretty limited compared to Rflink.
So, I decided to build my own Rflink box, including an homemade “all-in-one” arduino shield that provides Rf modules and serial to MQTT/Json converter for Rflink messages.
Source code is available on github : https://github.com/jit06/RflinkToJsonMqtt
3d enclosure is available on thingiverse : https://www.thingiverse.com/thing:2600538
Rflink runs on an arduino mega (2560) and need some easy to find RF modules. You can even found shields that work out-of-the-box.
The problem is that Rflink output is plain text over serial. As I wanted something more easy to broadcast and decoupled from my automation server (OpenHab), I chose tcp/ip for the transport layer, and json for the message format (simple to parse and human readable). Thus, MQTT seemed to be the easiest protocol to use.
For now, my Rflink box only support 433 Mhz protocols, but I’m planning to add 868 Mhz.
Hardware build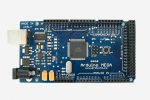

Used parts
- Arduino Mega 2560 (Rflink)
- RBX6 as 433 Mhz receiver
- The cheap and well known XD-FST FS1000A for transmitting
- An external high gain Antena for very good reception (the most critical thing)
- An internal spring antenna to improve orders sending
- One SMA connector
- An Arduino nano for the Serial to MQTT/Json convertion
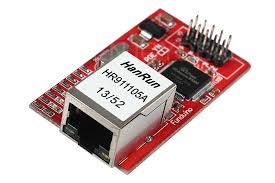
- A mini W5100 ethernet shield for TCP/IP transport
- 2 prototypes PCBs
- Male Pin headers
Build steps
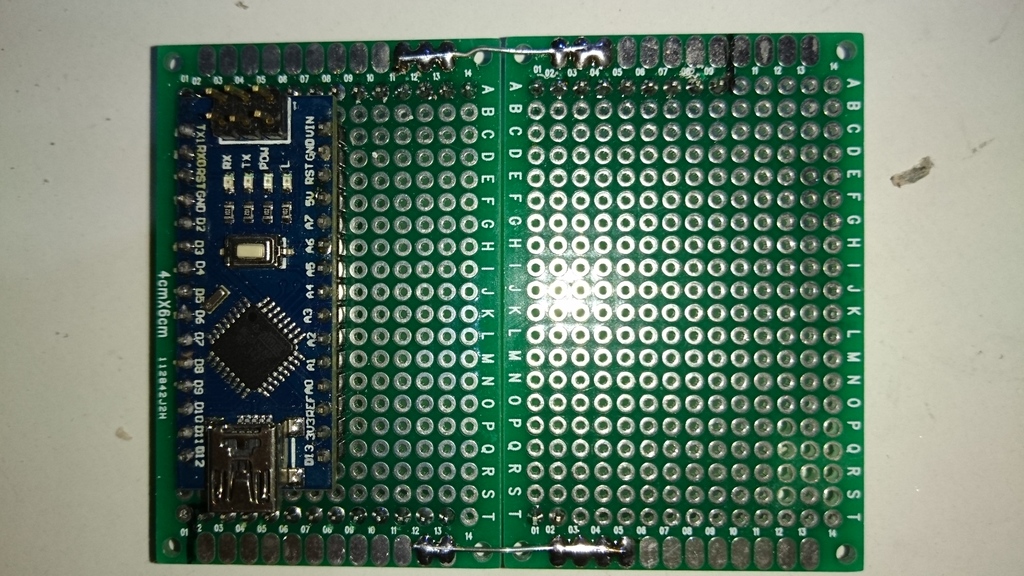
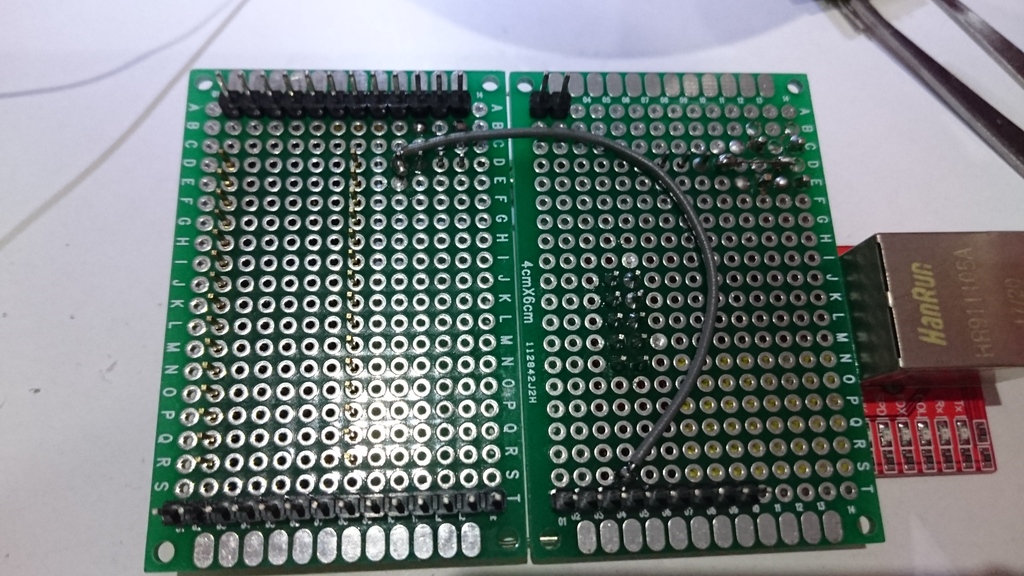
Prepare the shield with prototype PCBs and pin header:
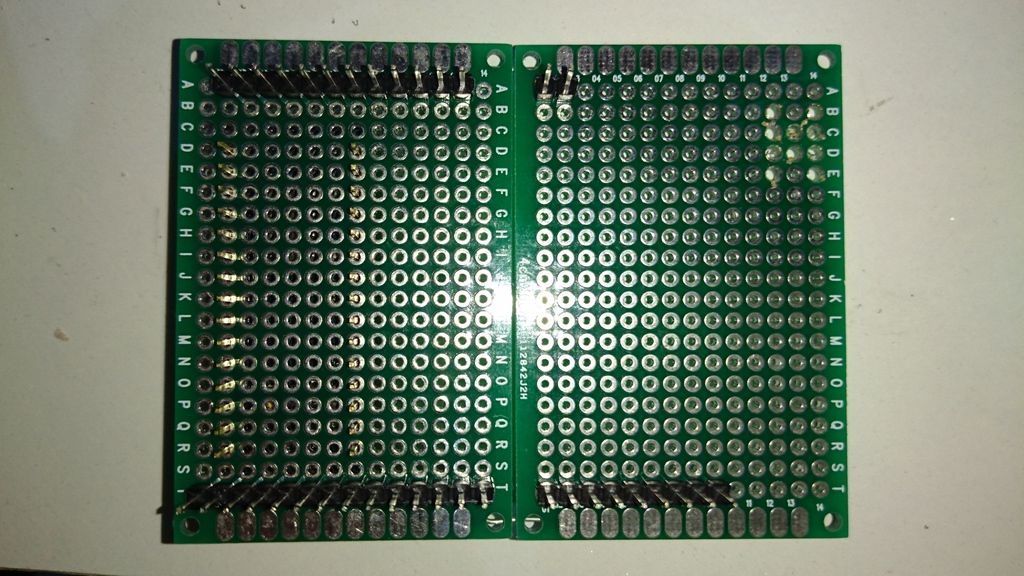
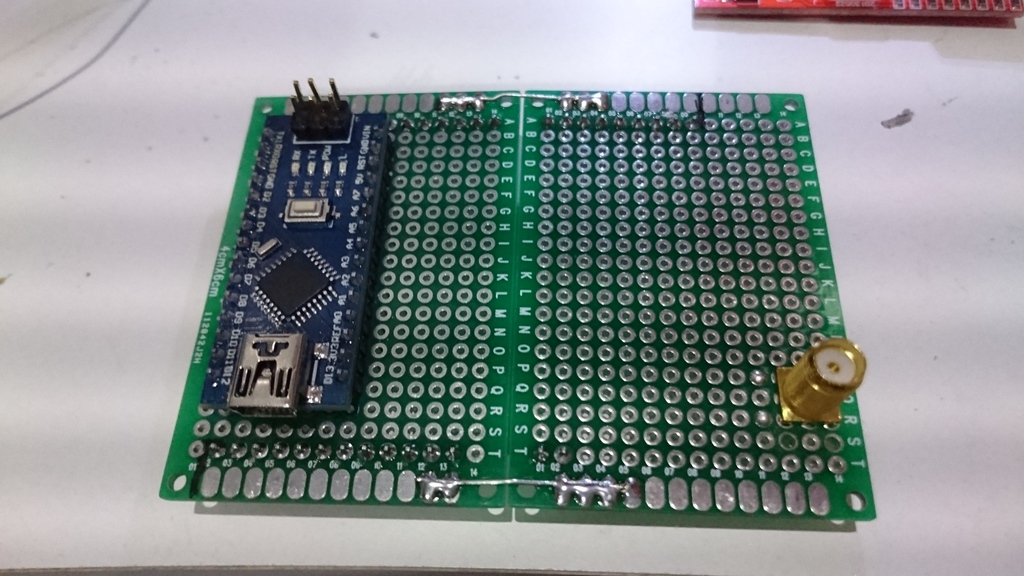
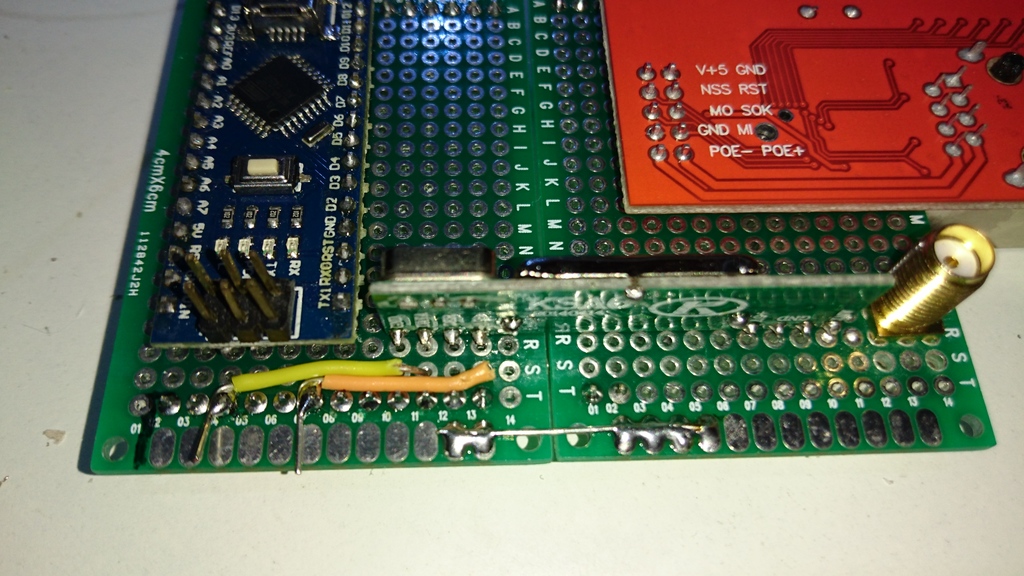
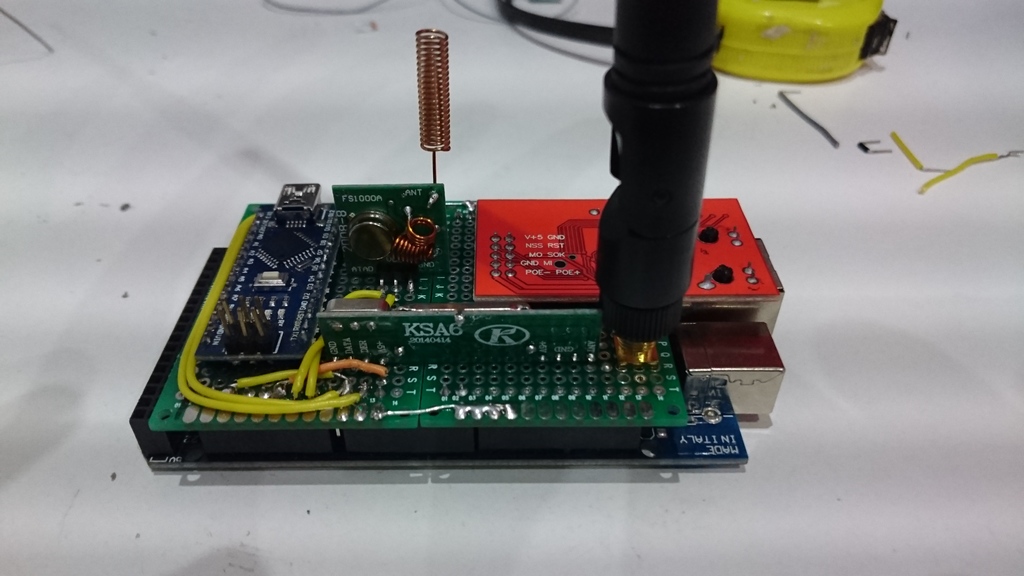
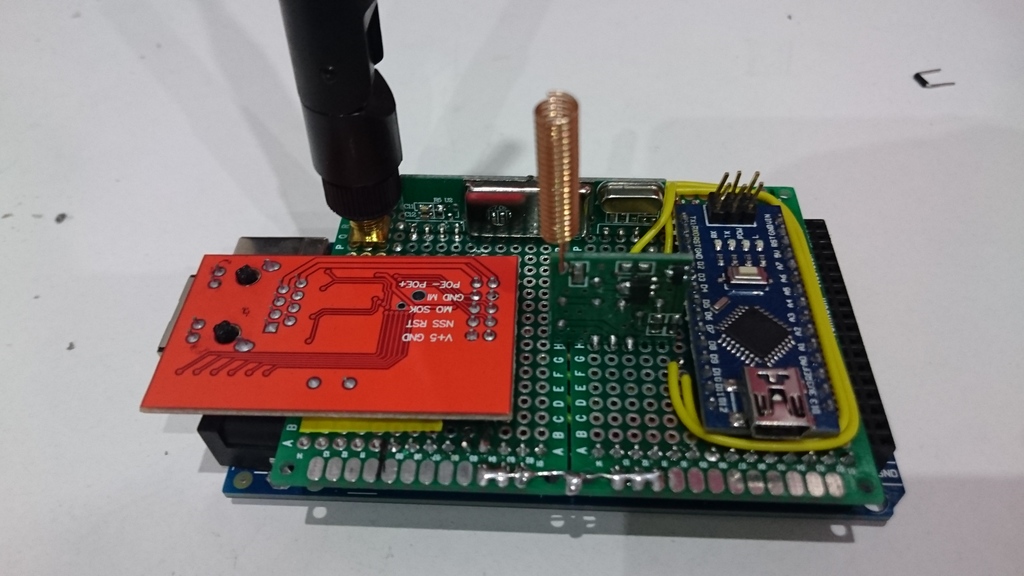
Then start adding and soldering components on the shield:

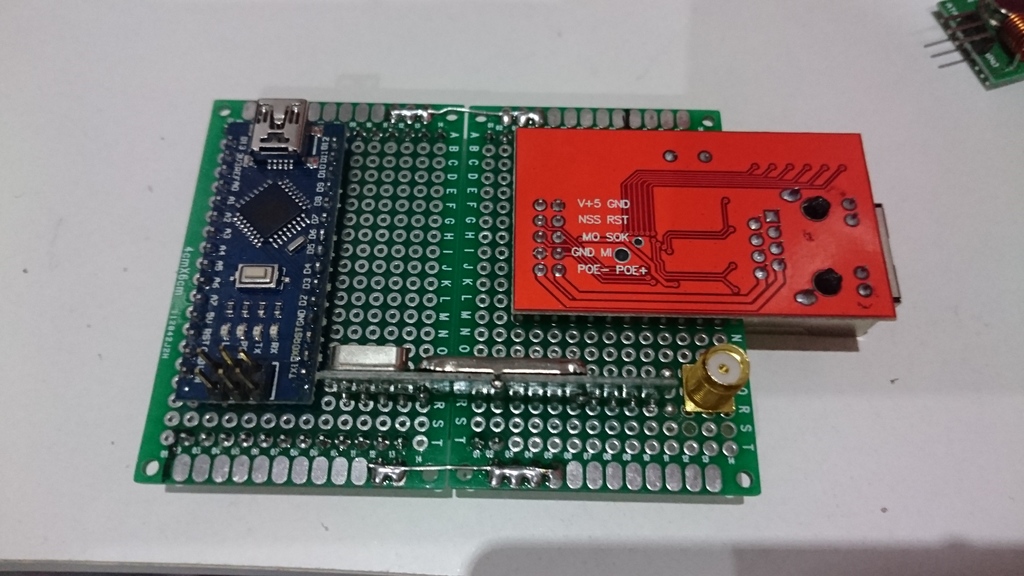
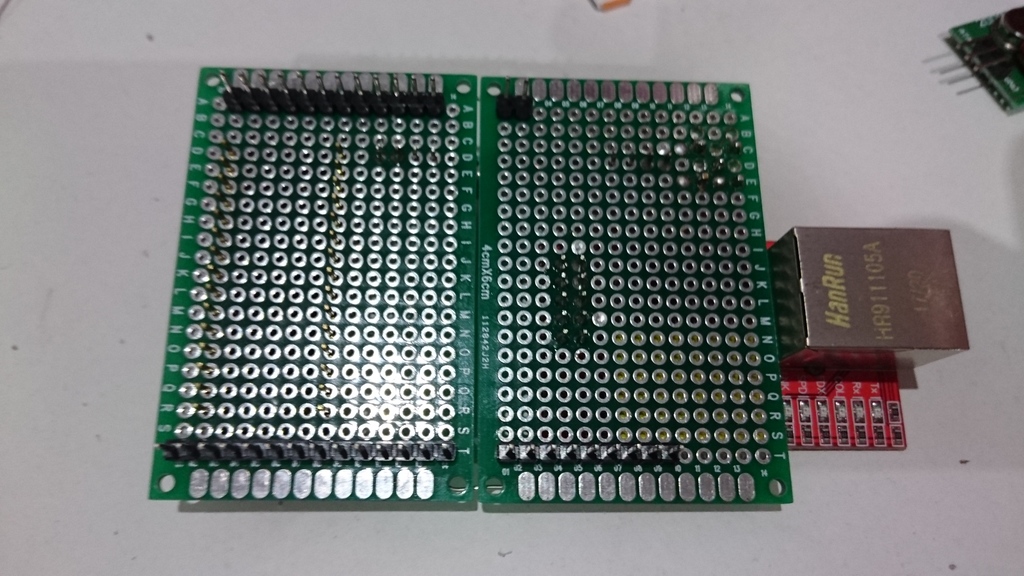
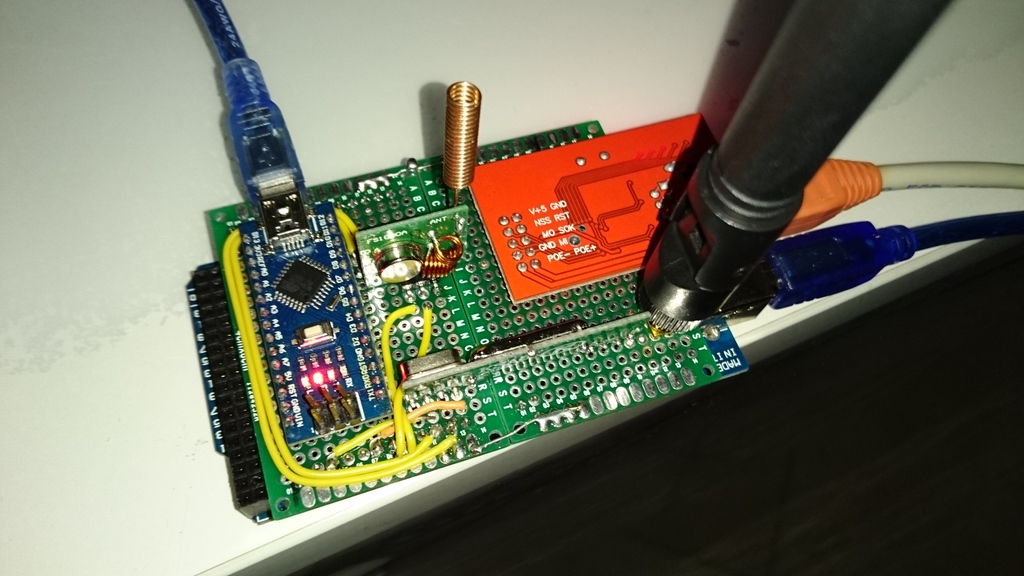
Finaly, wire and solder everything:

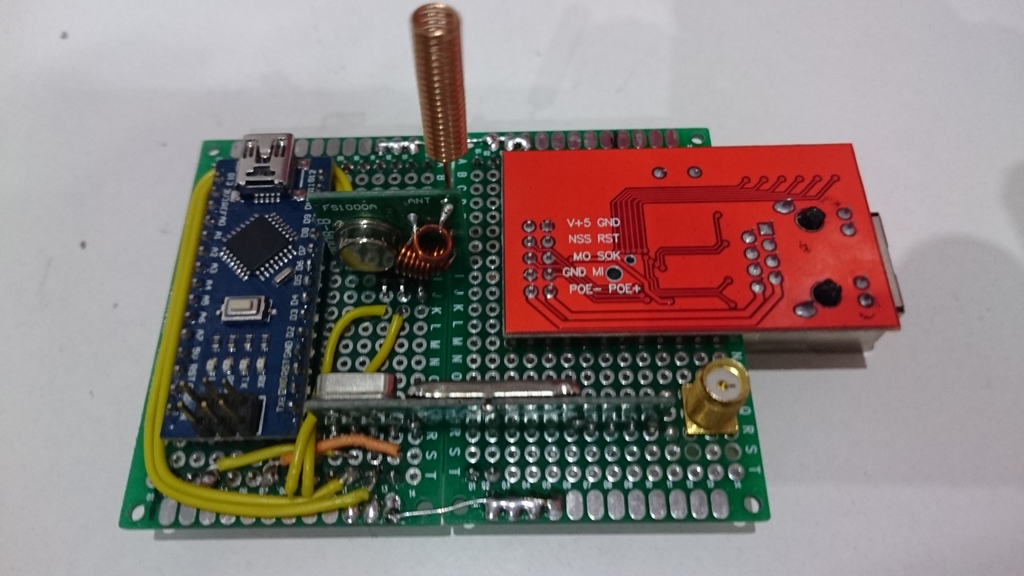
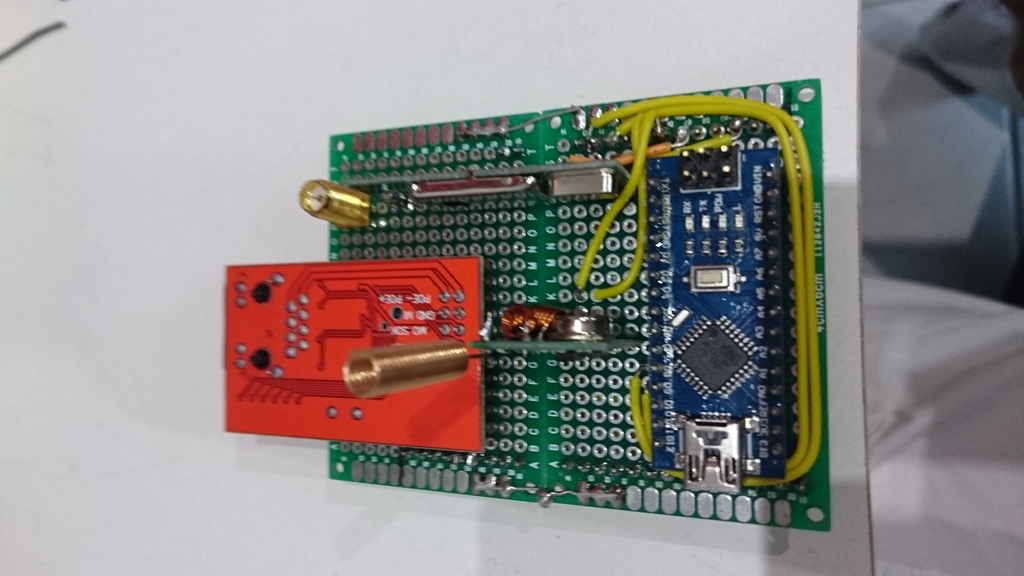
The shield can then be mounted on top the the Mega (the nano is powered by the Mega from the 5V-out pin to the nano’s V-in. Cable is only used for debugging / programming purpose on the nano)

Note that detailed instructions can be found on Rflink website for Rf modules and everywhere on the internet for Arduino nano and w5100 module.
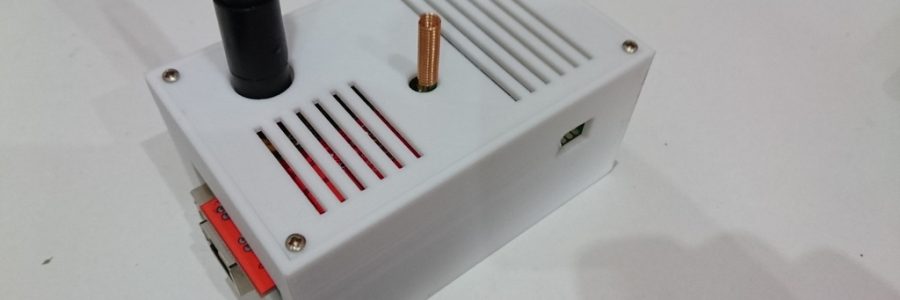
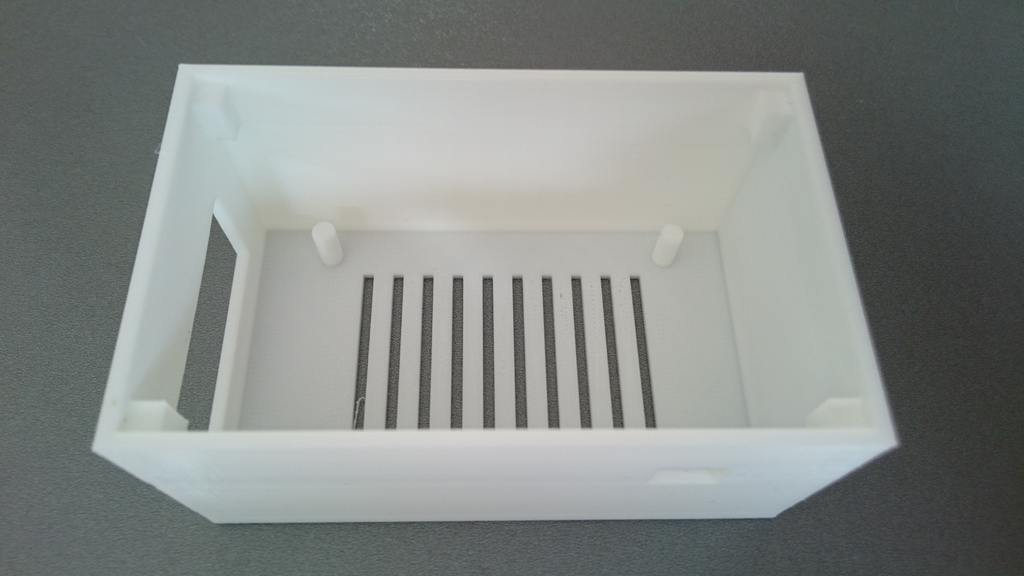
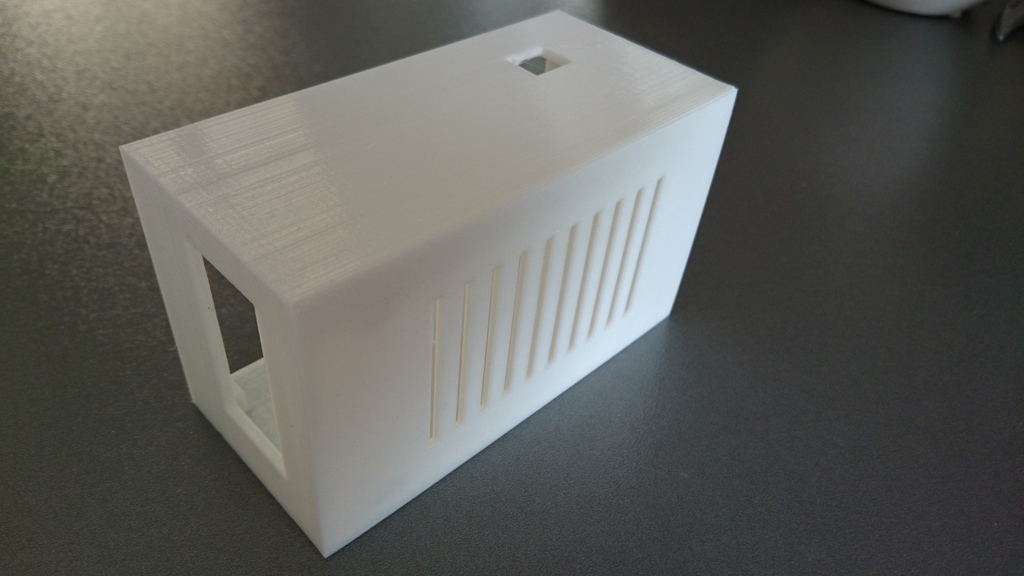
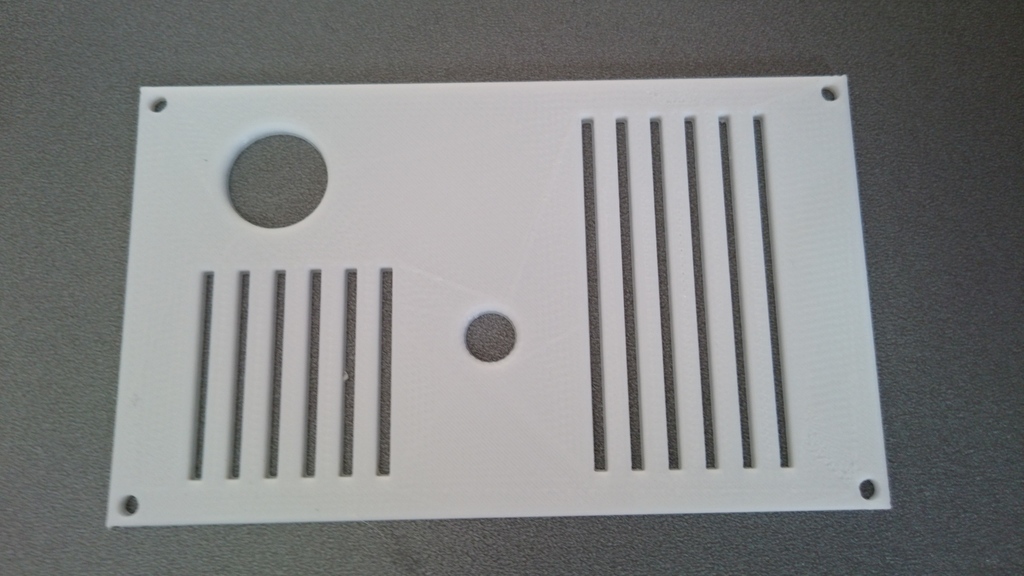
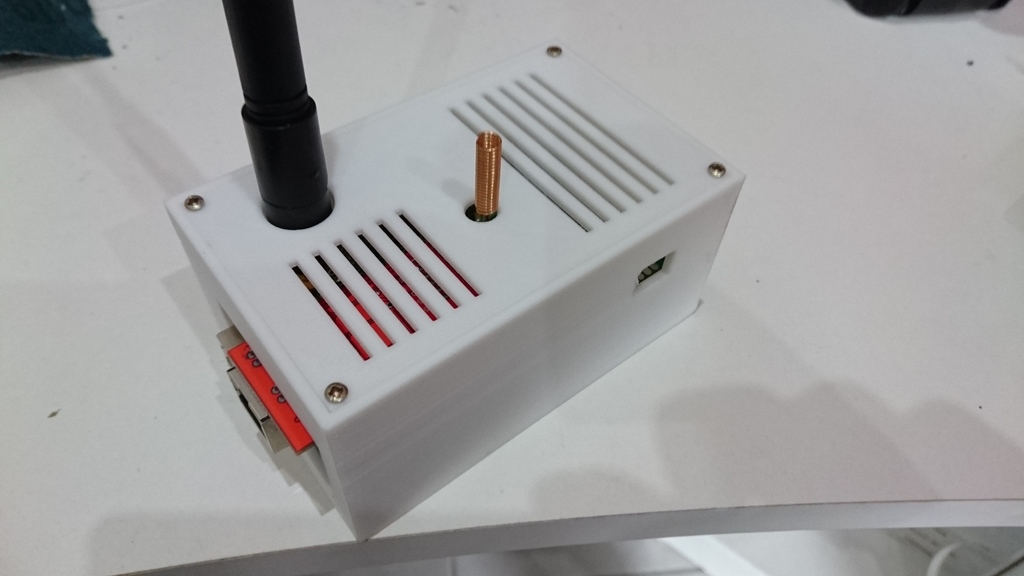
3D printed enclosure
Because the “wife compliant” property does always mater for homemade devices, a nice enclosure is a must… Here are photos of the box that host my Rflink+Shield package.

Serial to MQTT/Json converter
The arduino sketch is available on github : https://github.com/jit06/RflinkToJsonMqtt
It runs on an arduino nano / uno. Mine is running since more than 30 days now, 3 to 5 messages per seconds without any problem.
The goal was to make the sketch as fast as possible regarding the serial to json translation. This translation can be seen in Rflink.cpp, function readRfLinkFields(). Basicaly, it does a string copy with some modifications while copying in order to create a valid json string on the fly:
|
1 2 3 4 5 6 7 8 9 10 11 12 13 14 15 16 17 18 19 20 21 22 23 24 25 26 27 28 29 30 31 32 33 34 35 36 37 38 39 40 41 42 43 44 45 46 47 48 49 50 |
void readRfLinkFields(char* fields, int start){ int strpos=start; int fldpos=0; int valueType=0; JSON[0]='{'; JSON[1]='\0'; while(strpos < BUFFER_SIZE-start && fields[strpos] != '\n' && fields[strpos] != '\0') { // if current char is "=", we end name parsing and start parsing the field's value if(fields[strpos] == '=') { FIELD_BUF[fldpos]='\0'; fldpos=0; // Tag field regarding the name... if(RfLinkFieldIsString(FIELD_BUF)) valueType=RFLINK_VALUE_TYPE_STRING; else if(RfLinkFieldIsOregon(FIELD_BUF)) valueType=RFLINK_VALUE_TYPE_OREGON; else if(RfLinkFieldIsHexInteger(FIELD_BUF)) valueType=RFLINK_VALUE_TYPE_INTEGER; else valueType=RFLINK_VALUE_TYPE_RAWVAL; RfLinkFieldAddQuotedValue(FIELD_BUF); // if current char is ";", we end parsing value and start parsing another field's name } else if(fields[strpos] == ';') { FIELD_BUF[fldpos]='\0'; fldpos=0; strcat(JSON,":"); // Handle special cases... switch(valueType) { case RFLINK_VALUE_TYPE_STRING: RfLinkFieldAddQuotedValue(FIELD_BUF); break; case RFLINK_VALUE_TYPE_OREGON: RfLinkFieldAddOregonValue(FIELD_BUF); break; case RFLINK_VALUE_TYPE_INTEGER: RfLinkFieldAddIntegerValue(FIELD_BUF);break; default : strcat(JSON,FIELD_BUF); } strcat(JSON,","); } else { // default case : copy current char FIELD_BUF[fldpos++]=fields[strpos]; } strpos++; } int len = strlen(JSON); JSON[len-1]='}'; } |
The whole code is optimized to use the program memory as much as possible.
Example of output with mosquitto:
|
1 2 3 4 5 |
#> mosquitto_sub -h mqtt.local.lan -v -t '#' rflink/OregonV1/000A {"TEMP":19.6,"BAT":"OK"} rflink/X2D/003f040 {"SWITCH":"21","CMD":"ON","EXT":PIR,"BAT":"OK"} rflink/Oregon_TempHygro/2D27 {"TEMP":20.6,"HUM":41,"HSTATUS":1,"BAT":"OK"} |
Note that for incoming messages, this sketch acts as a pure Ethernet gateway. That is to say, any message published on the configured channel will be caught and sent as a plain serial message to Rflink.
Usage example with OpenHab
First, Openhab must be able to subscribe to your mqtt server (mosquitto in my case). I used the addon “org.openhab.binding.mqtt” and named the mqtt instance “mosquitto”
The previously seen Oregon temperature and humidity sensor (ID “2D27”) can then be used with some items :
|
1 2 3 |
Number Temp "Temperature [%.1f ]" { mqtt="<[mosquitto:rflink/Oregon_TempHygro/2D27:state:JSONPATH($.TEMP)]" } Number Hum "Humidity [%d %%]" { mqtt="<[mosquitto:rflink/Oregon_TempHygro/2D27:state:JSONPATH($.HUM)]" } String Bat "Battery state [%s]" { mqtt="<[mosquitto:rflink/Oregon_TempHygro/2D27:state:JSONPATH($.BAT)]" } |
Another example, this time to send an order to a Chacon DIO switch with RFlink:
|
1 |
Switch mySwitch "a switch test" { mqtt=">[mosquitto:rflink/Order:command:ON:10;NewKaku;000500;1;ON;], >[mosquitto:rflink/Order:command:OFF:10;NewKaku;0000500;1;OFF;]" } |
As you can see the mqtt message is a plain text message as you would send it to Rflink through a serial connection :
|
1 |
10;NewKaku;0000500;1;OFF; |
Pingback: Rflink with mqtt V2 : enhanced and minimized | bluemind.org