Mini 3D printed arcade bartop
A few years ago, I bought among other things a 8″ 4:3 LCD display for a new retro portable console project. However I abandoned this project as more and more good commercial solutions where released, including the Steam Deck. Recently, while I was browsing Thingiverse, the magic of opensource philosophy appeared once again : someone did a 3D printable model of an mini bartop that requires the exact same LCD panel I had purchased !
So I could not resist to build one…
Used materials
The 3D model I used can be found on thingiverse, thanks to the author who shared this excellent design : https://www.thingiverse.com/thing:4295854
Hardware parts
- A 8″ 4:3 LCD pannel with a 1024×768 resolution. It may still be found on
 Aliexpress
 - 8 x 24mm arcade push buttons
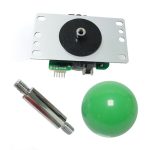
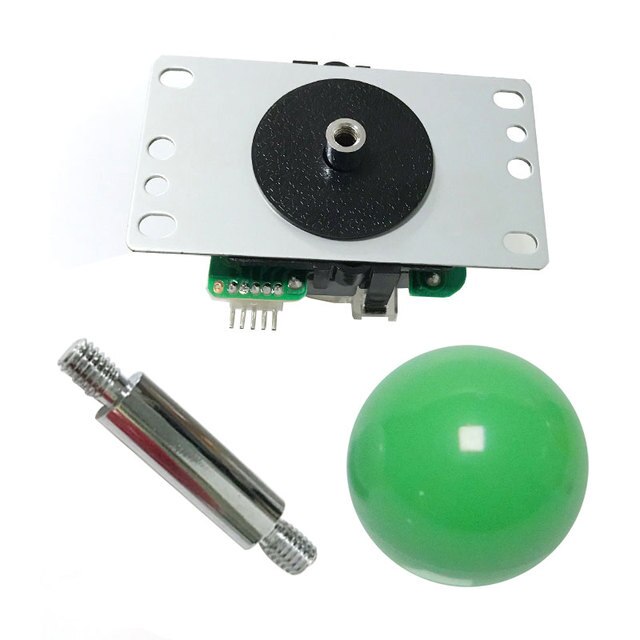
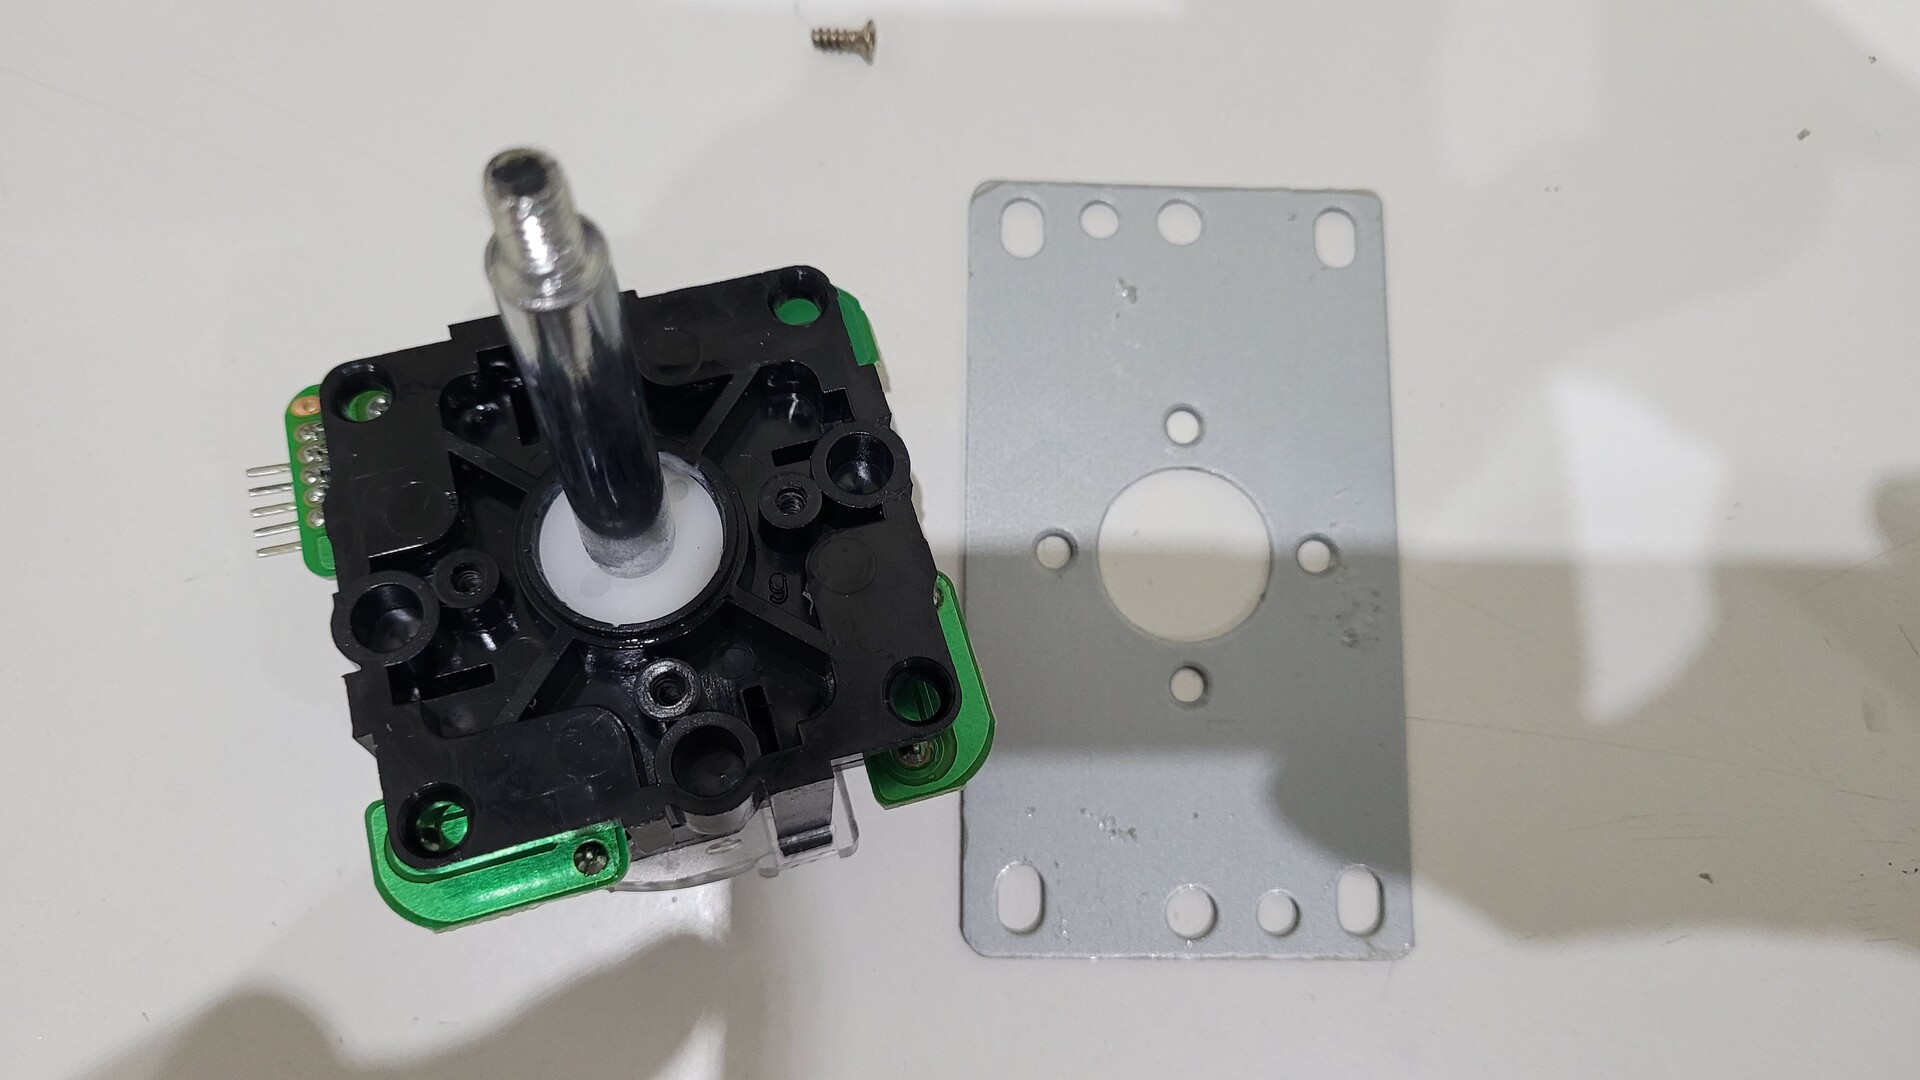
- A standard arcade micro-switch based joystick
- A cheap Arcade to USB HID controller
- A 3W numerical audio amp with embeded volume knob (PAM8403)
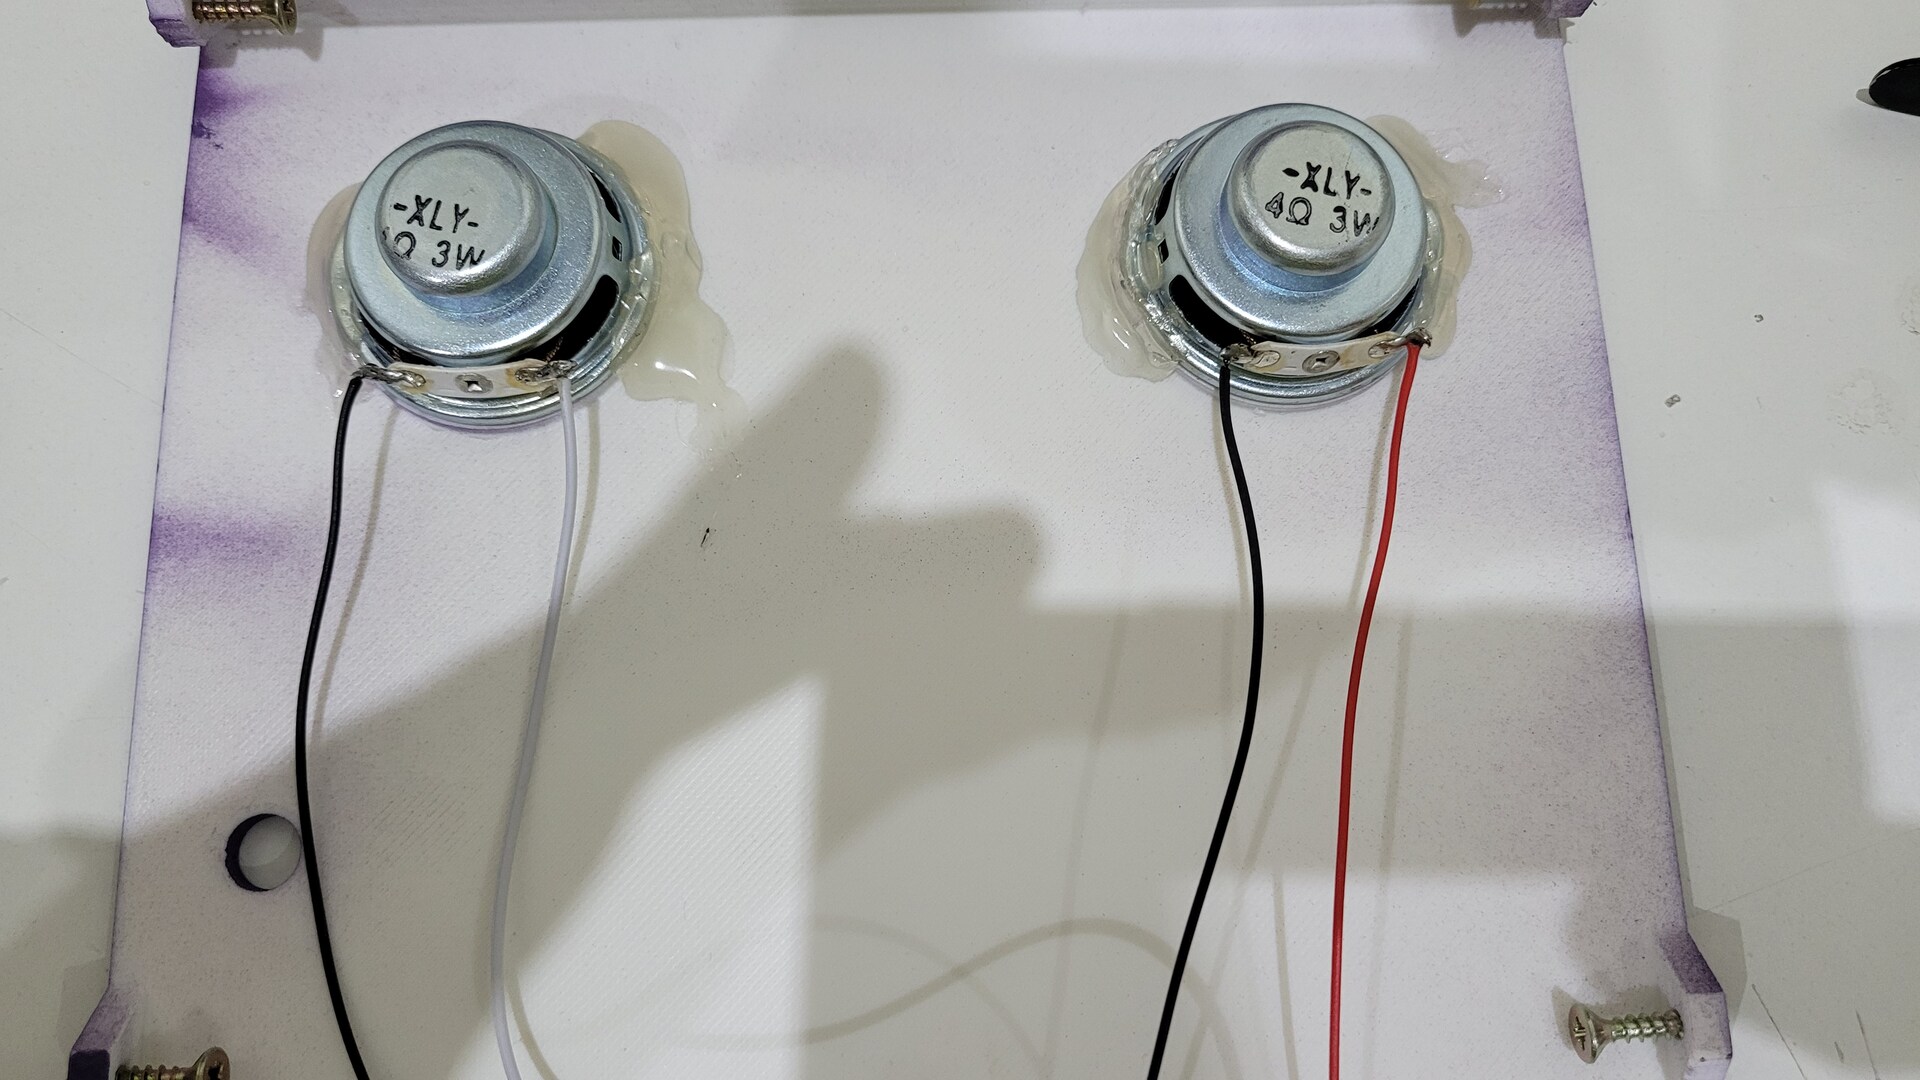
- 2 x 36mm 3W speakers
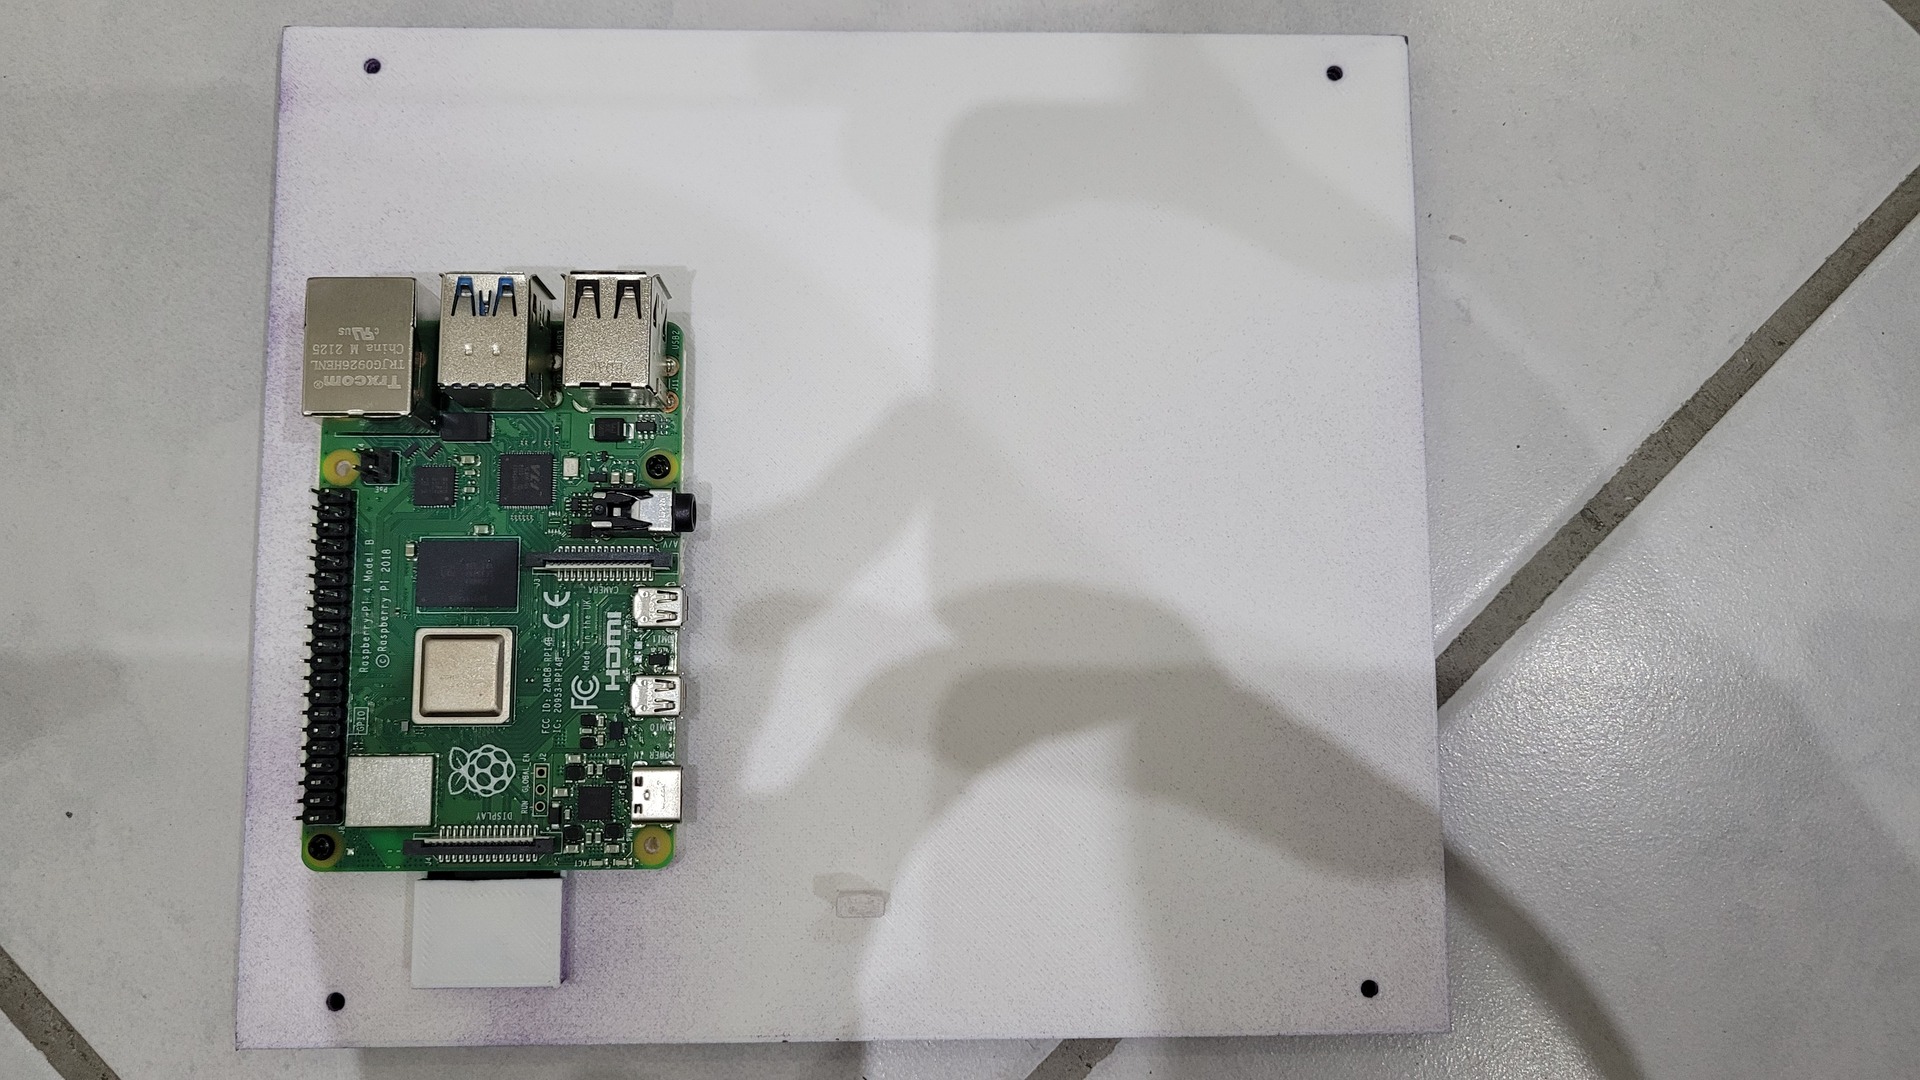
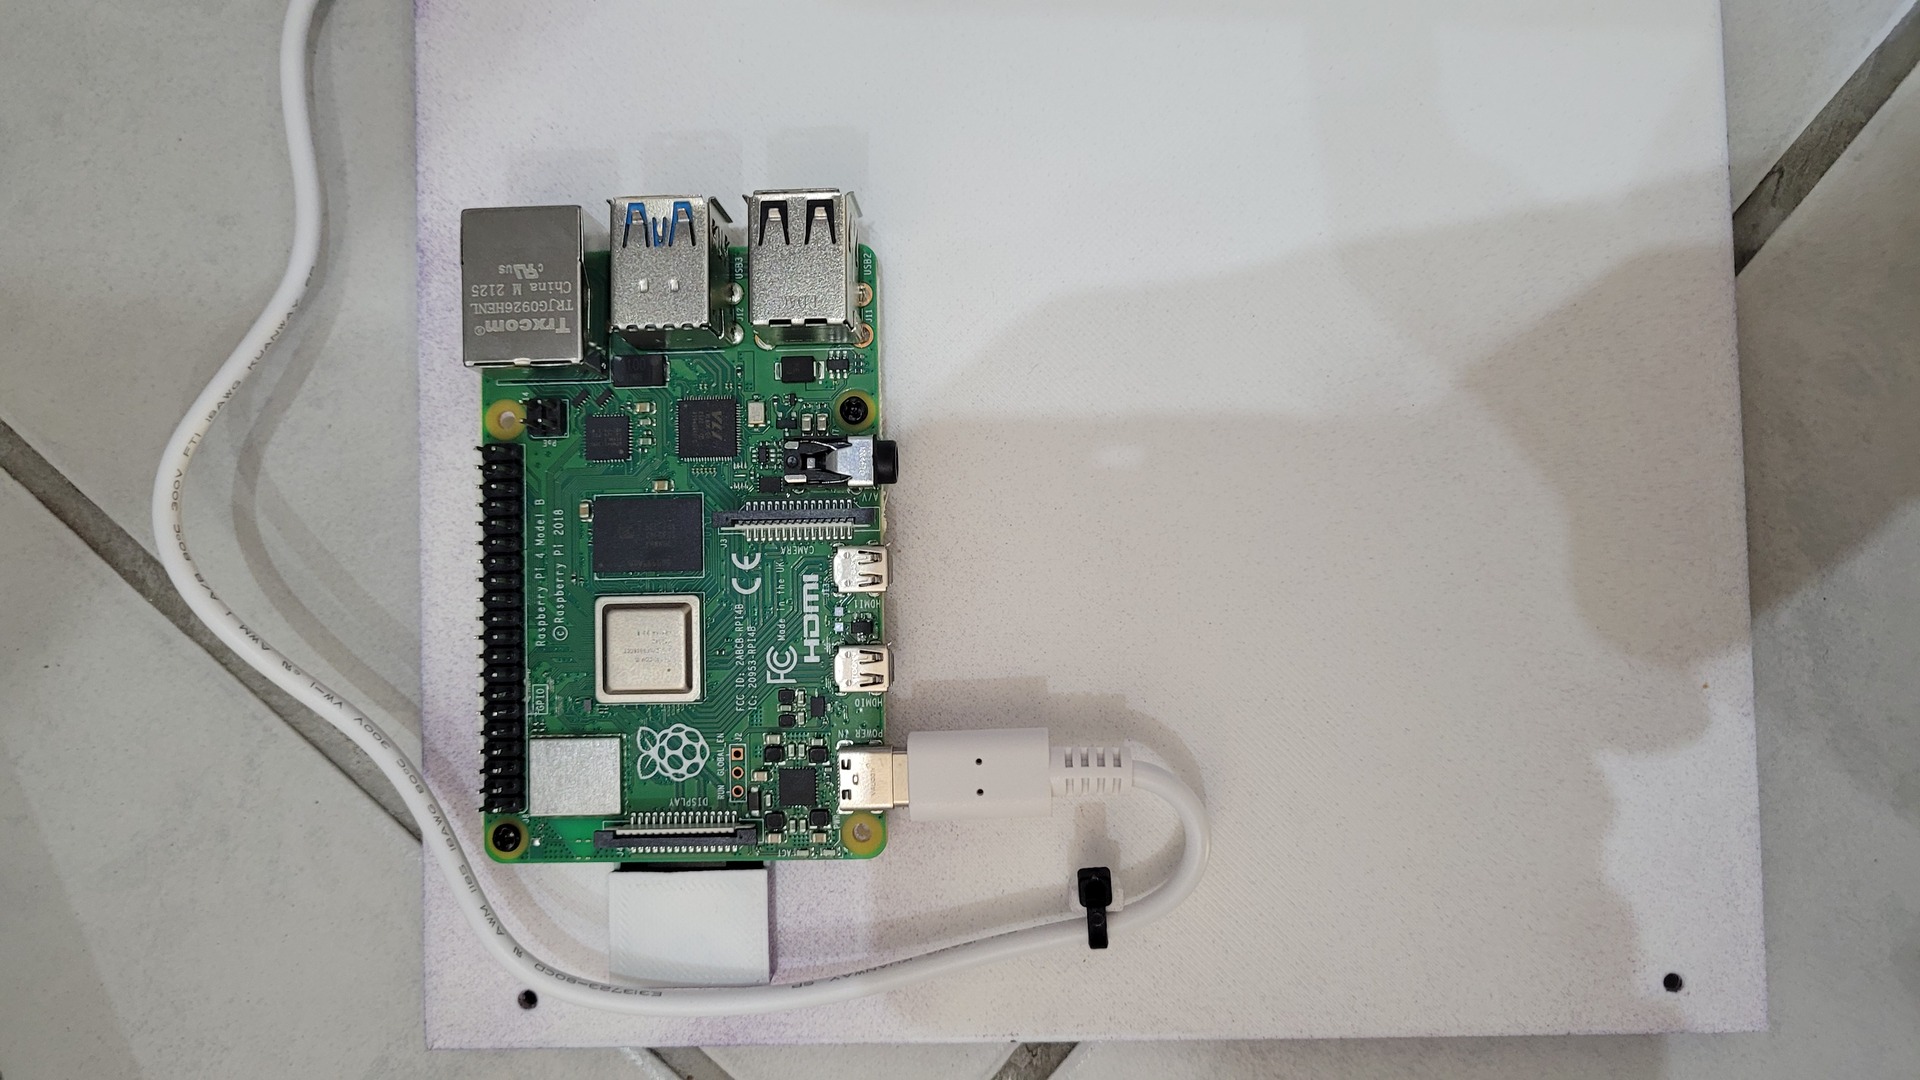
- A Raspberry pi 4 (any model should be fine)
- A fast microSD. I used a 64Gb, which is enough to store hundreds of arcade games
- Some wires and dupont cables
- 3.5mm stereo jack
- Some wood skrews
Build parts
- A 3d printer that can print 20x20x18 cm

- Paint primer : I used Vallejo 018010 (white)
- Spray paint : I used Edding 5200, good quality and good price
- Hot glue
- Inkjet printer and a sheet of transparent adhesive paper
- Double sided adhesive

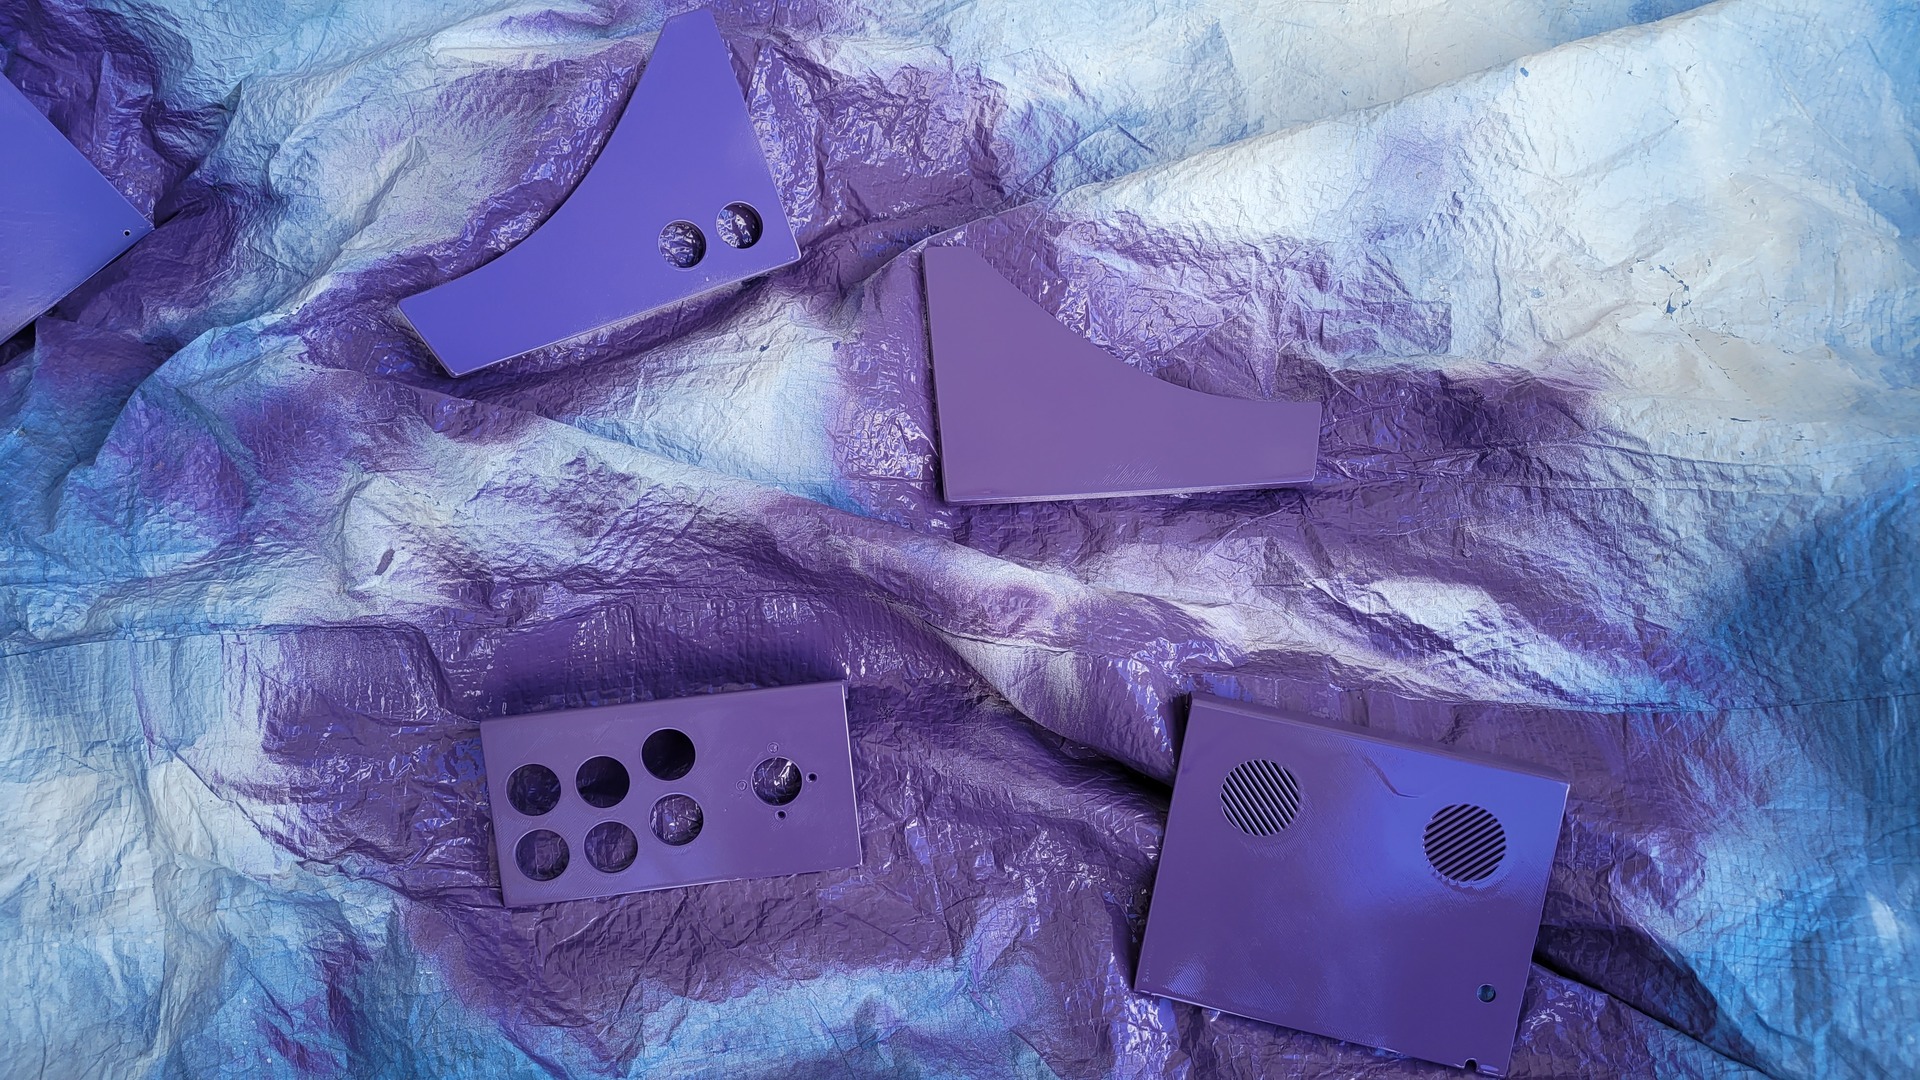
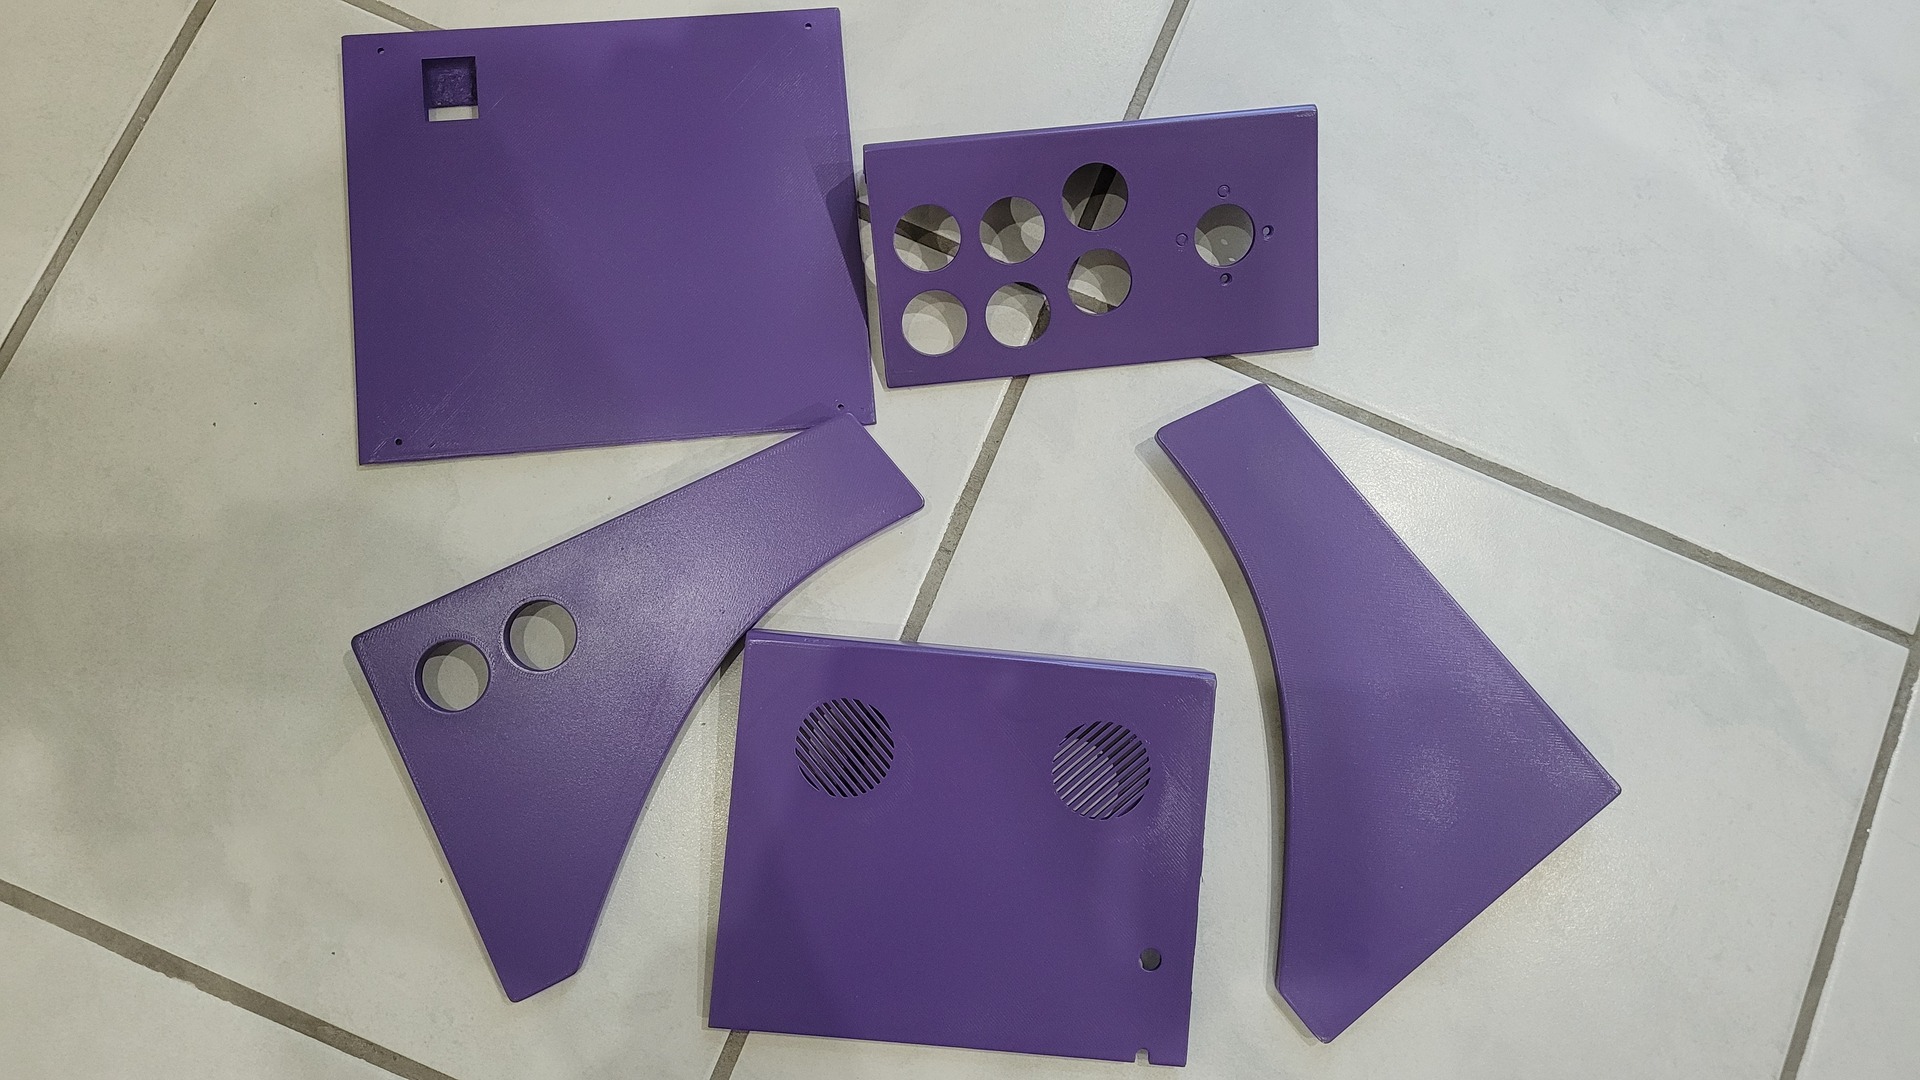
3D printed parts
All the parts have been printed in PLA :


Paint job
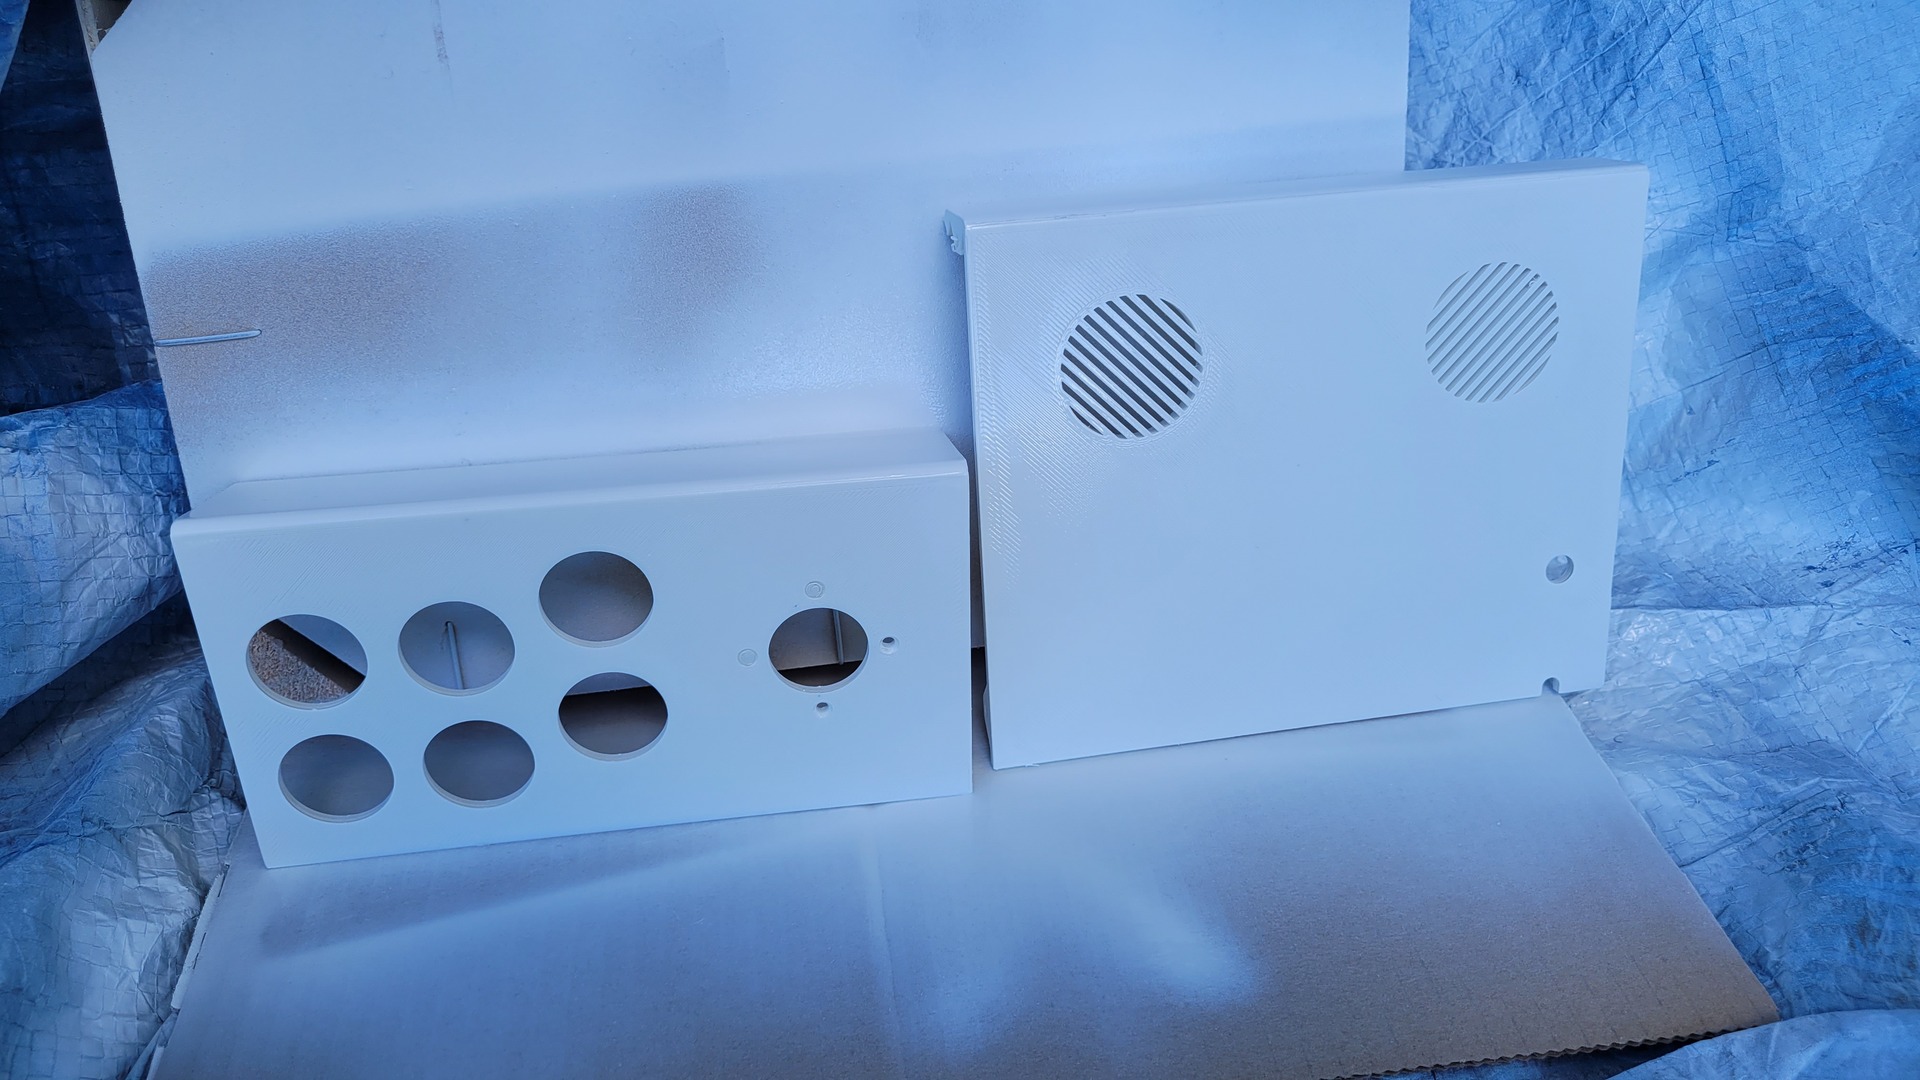
Before painting, I sanded all the parts and applied the paint primer :
With 3 layers, all the parts were correctly printed. The bottom still had visible layer lines, but it’s the bottom 🙂
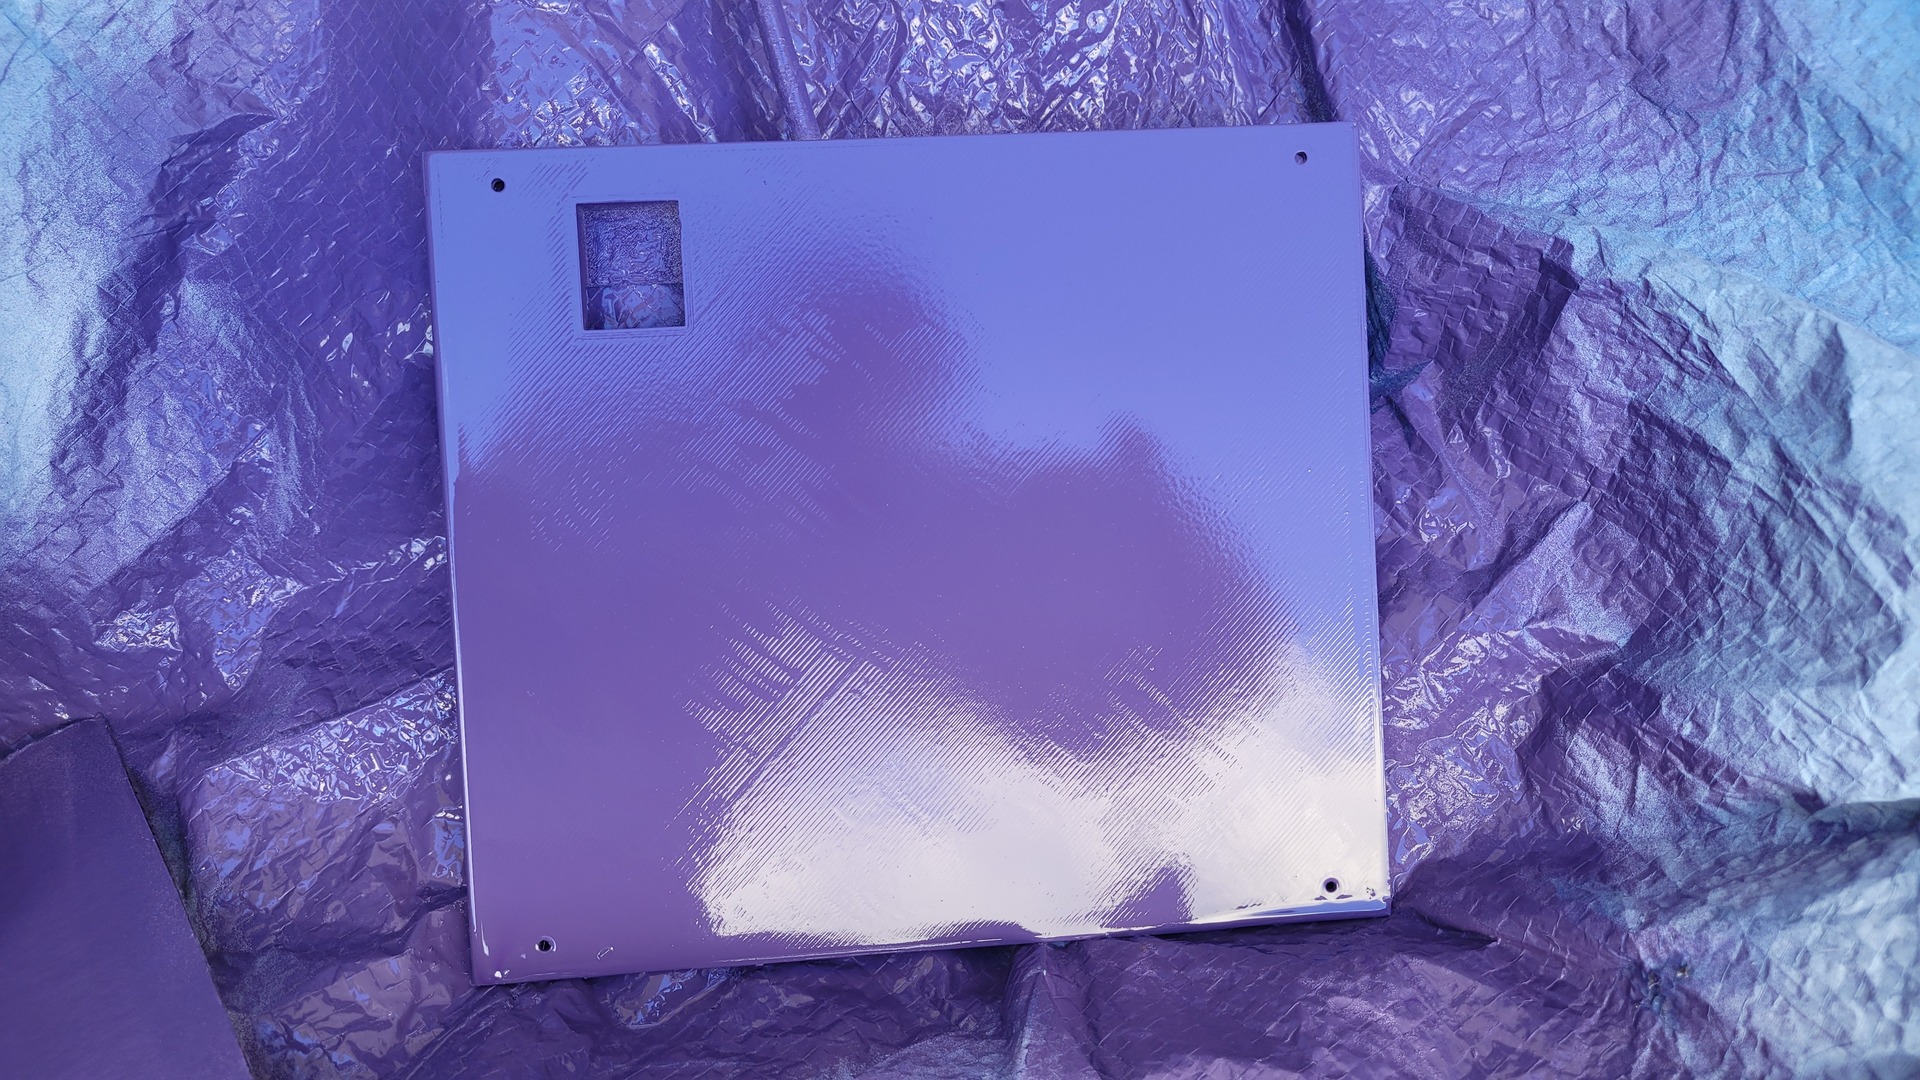
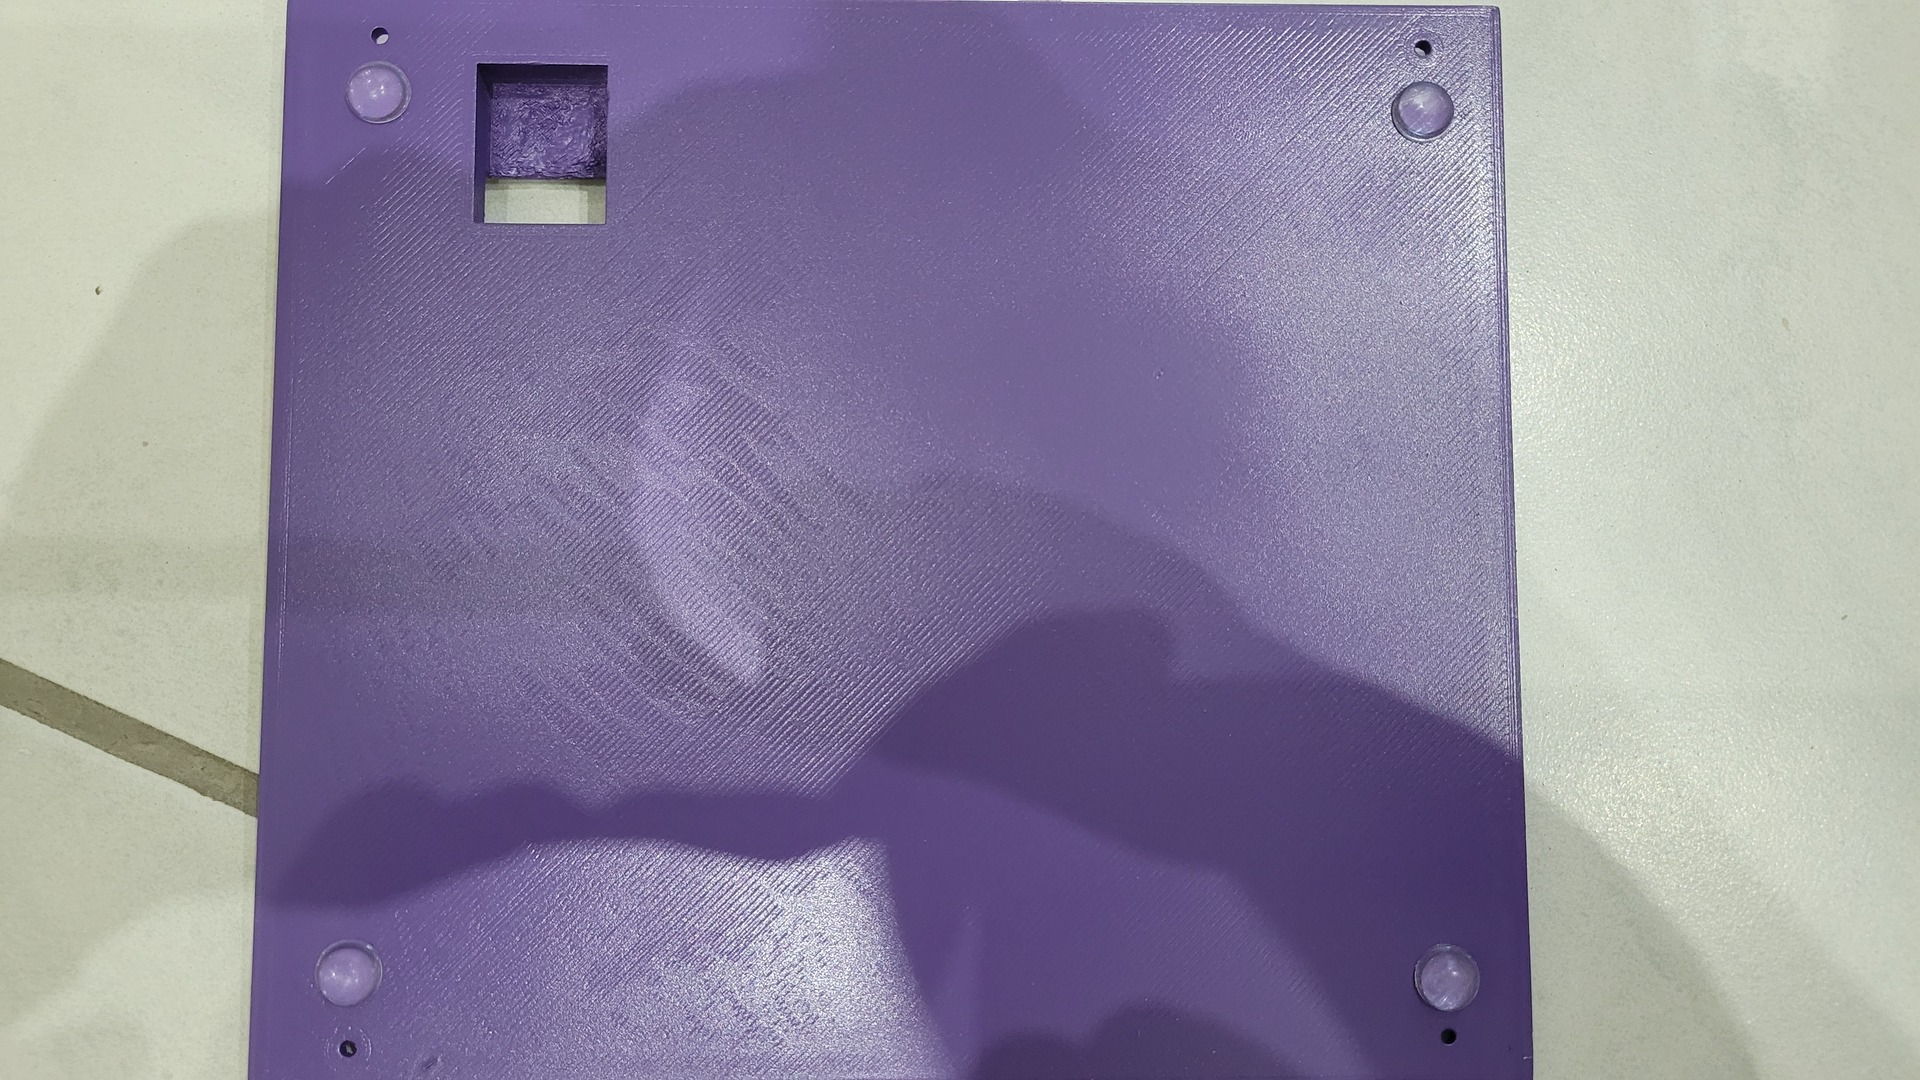
Bottom
In order to get a good grip on surface where the bartop will be used, I added 4 rubber pads on the bottom, next to each screw hole. Then I screwed the Pi directly using the dedicated holes.
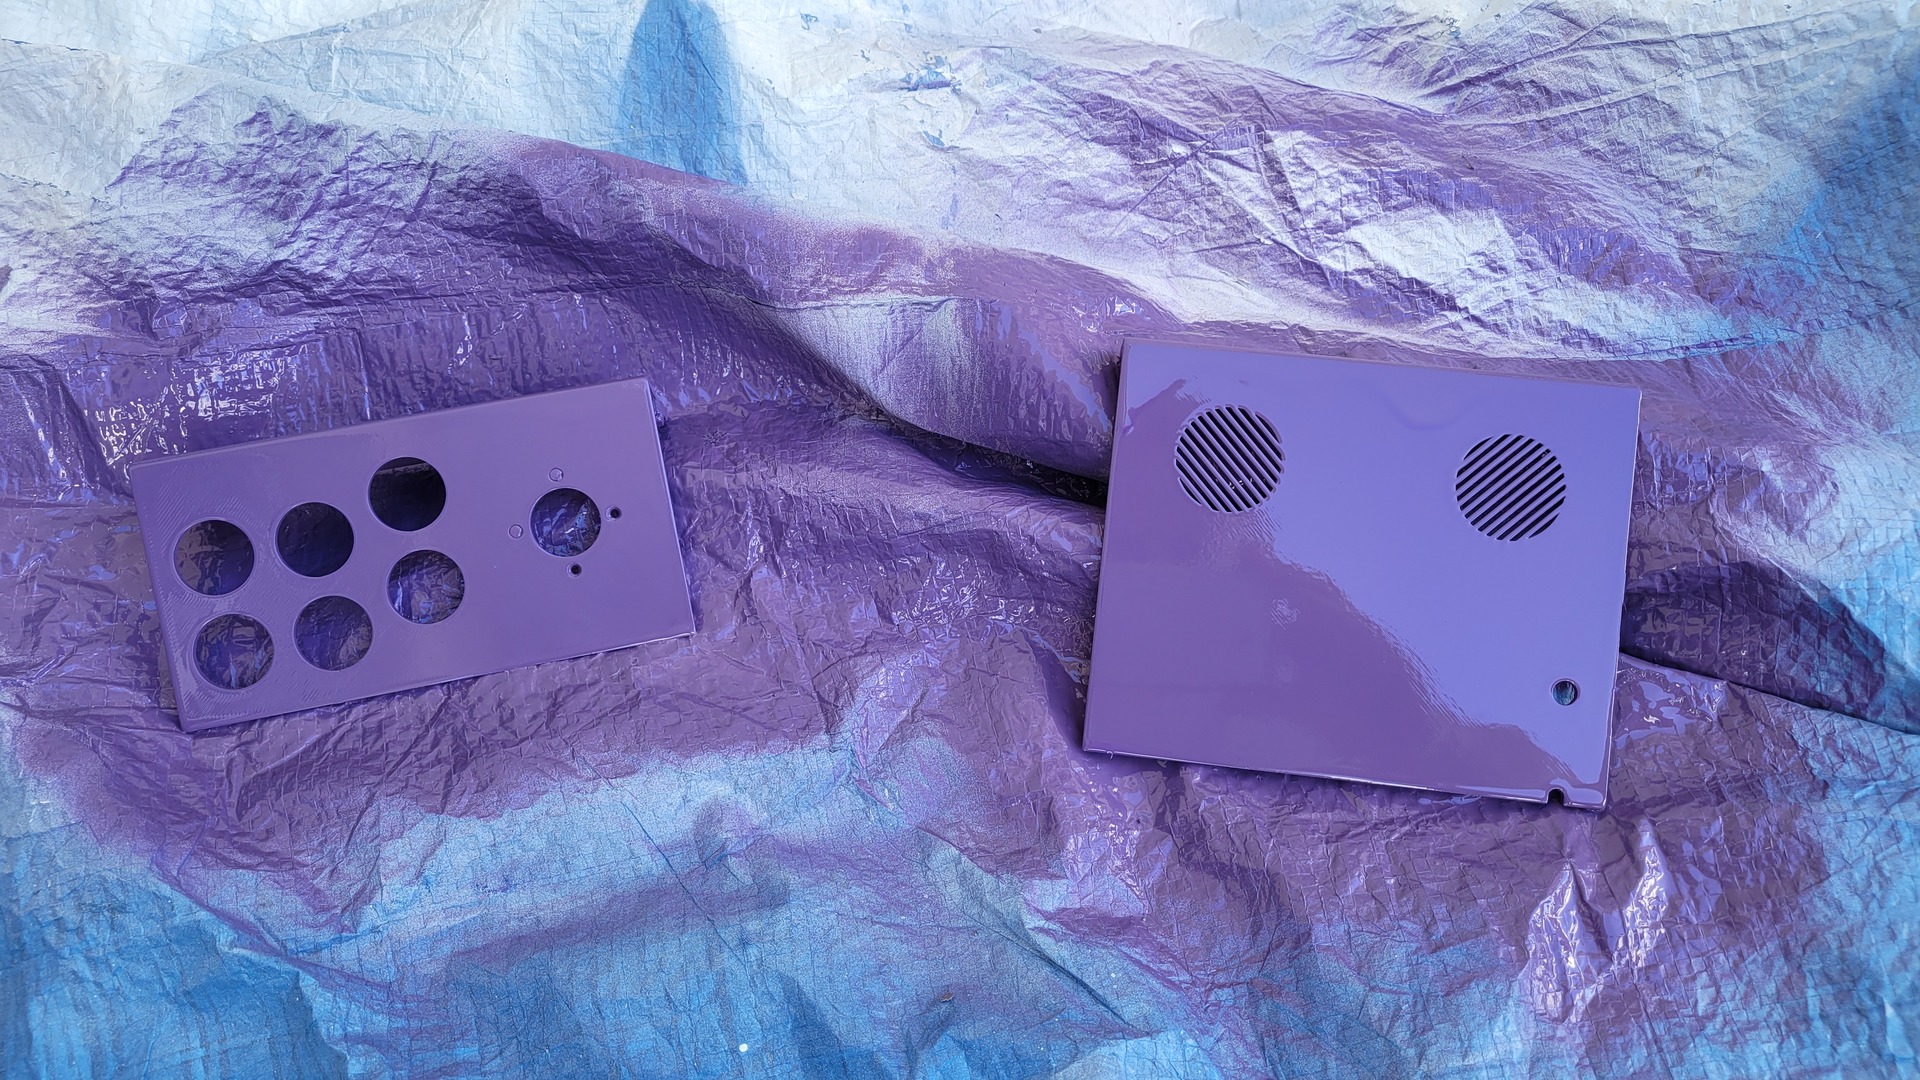
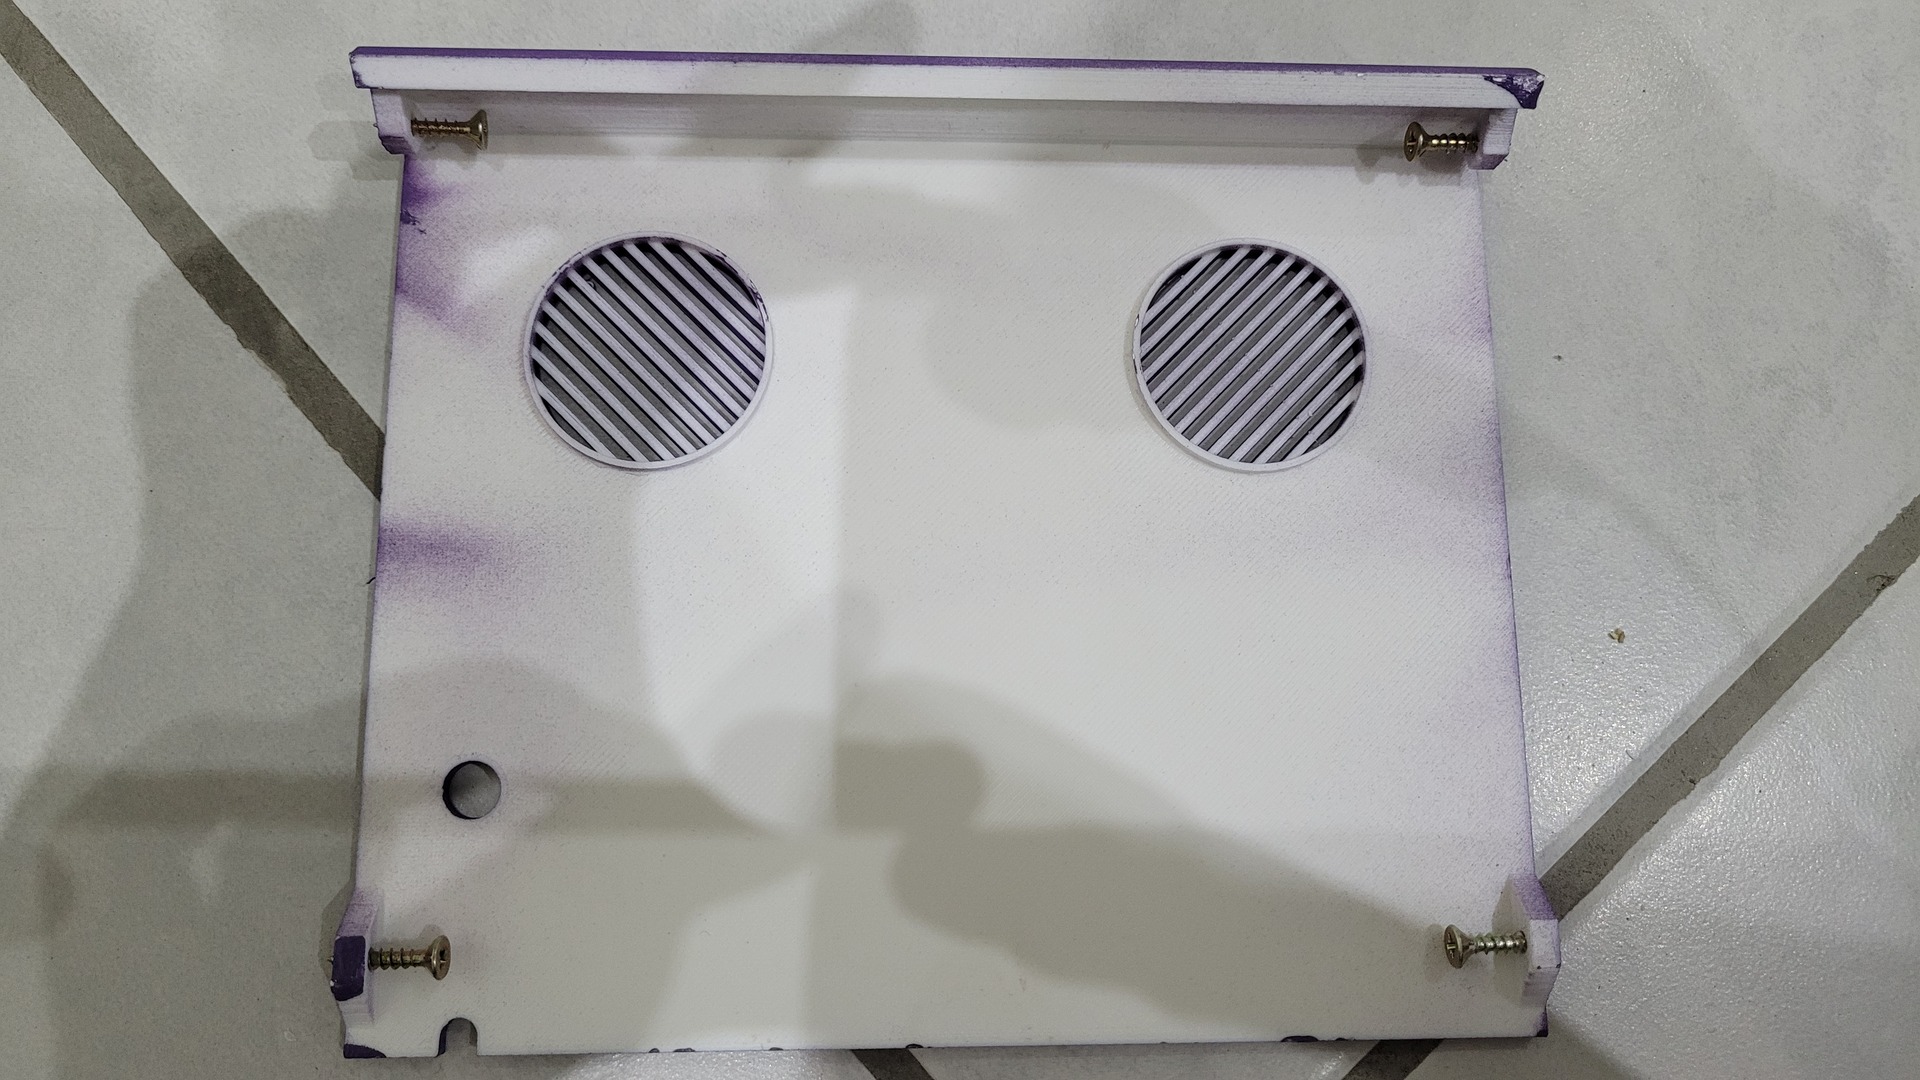
Back panel
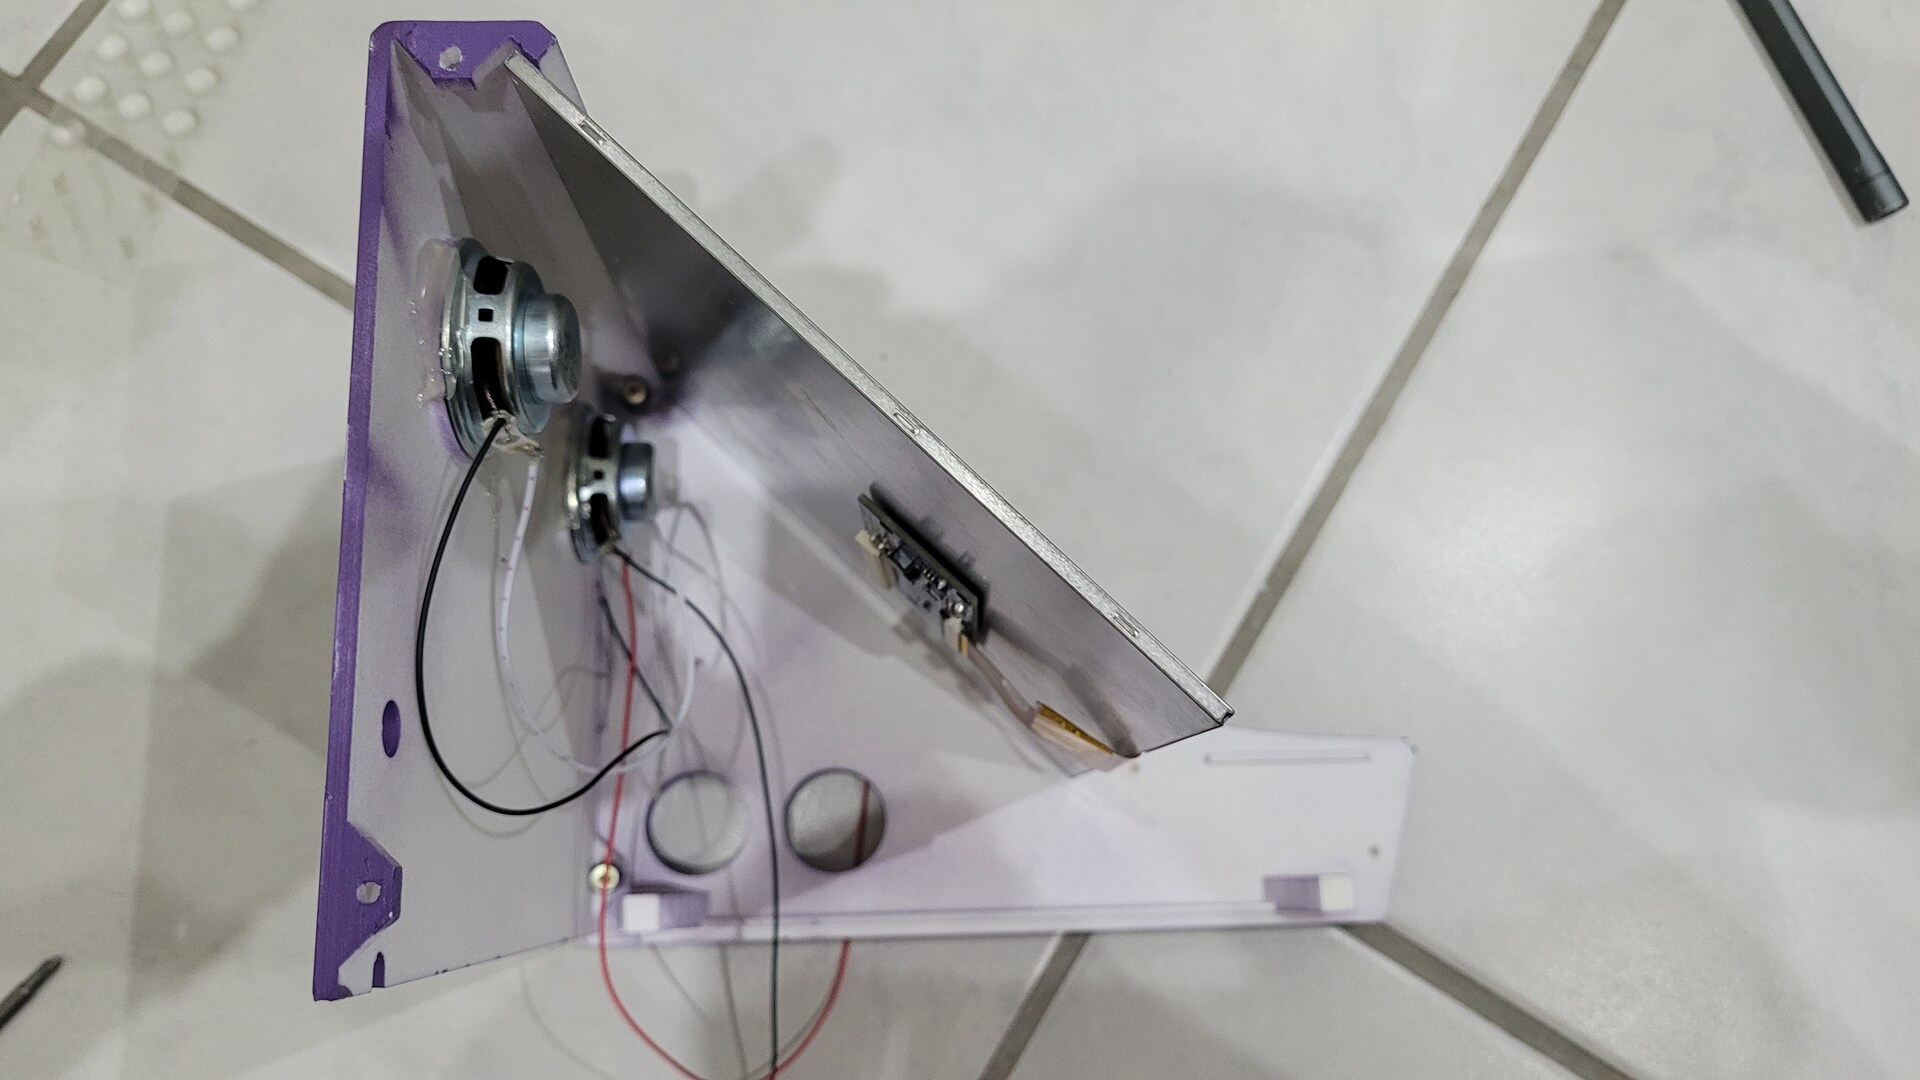
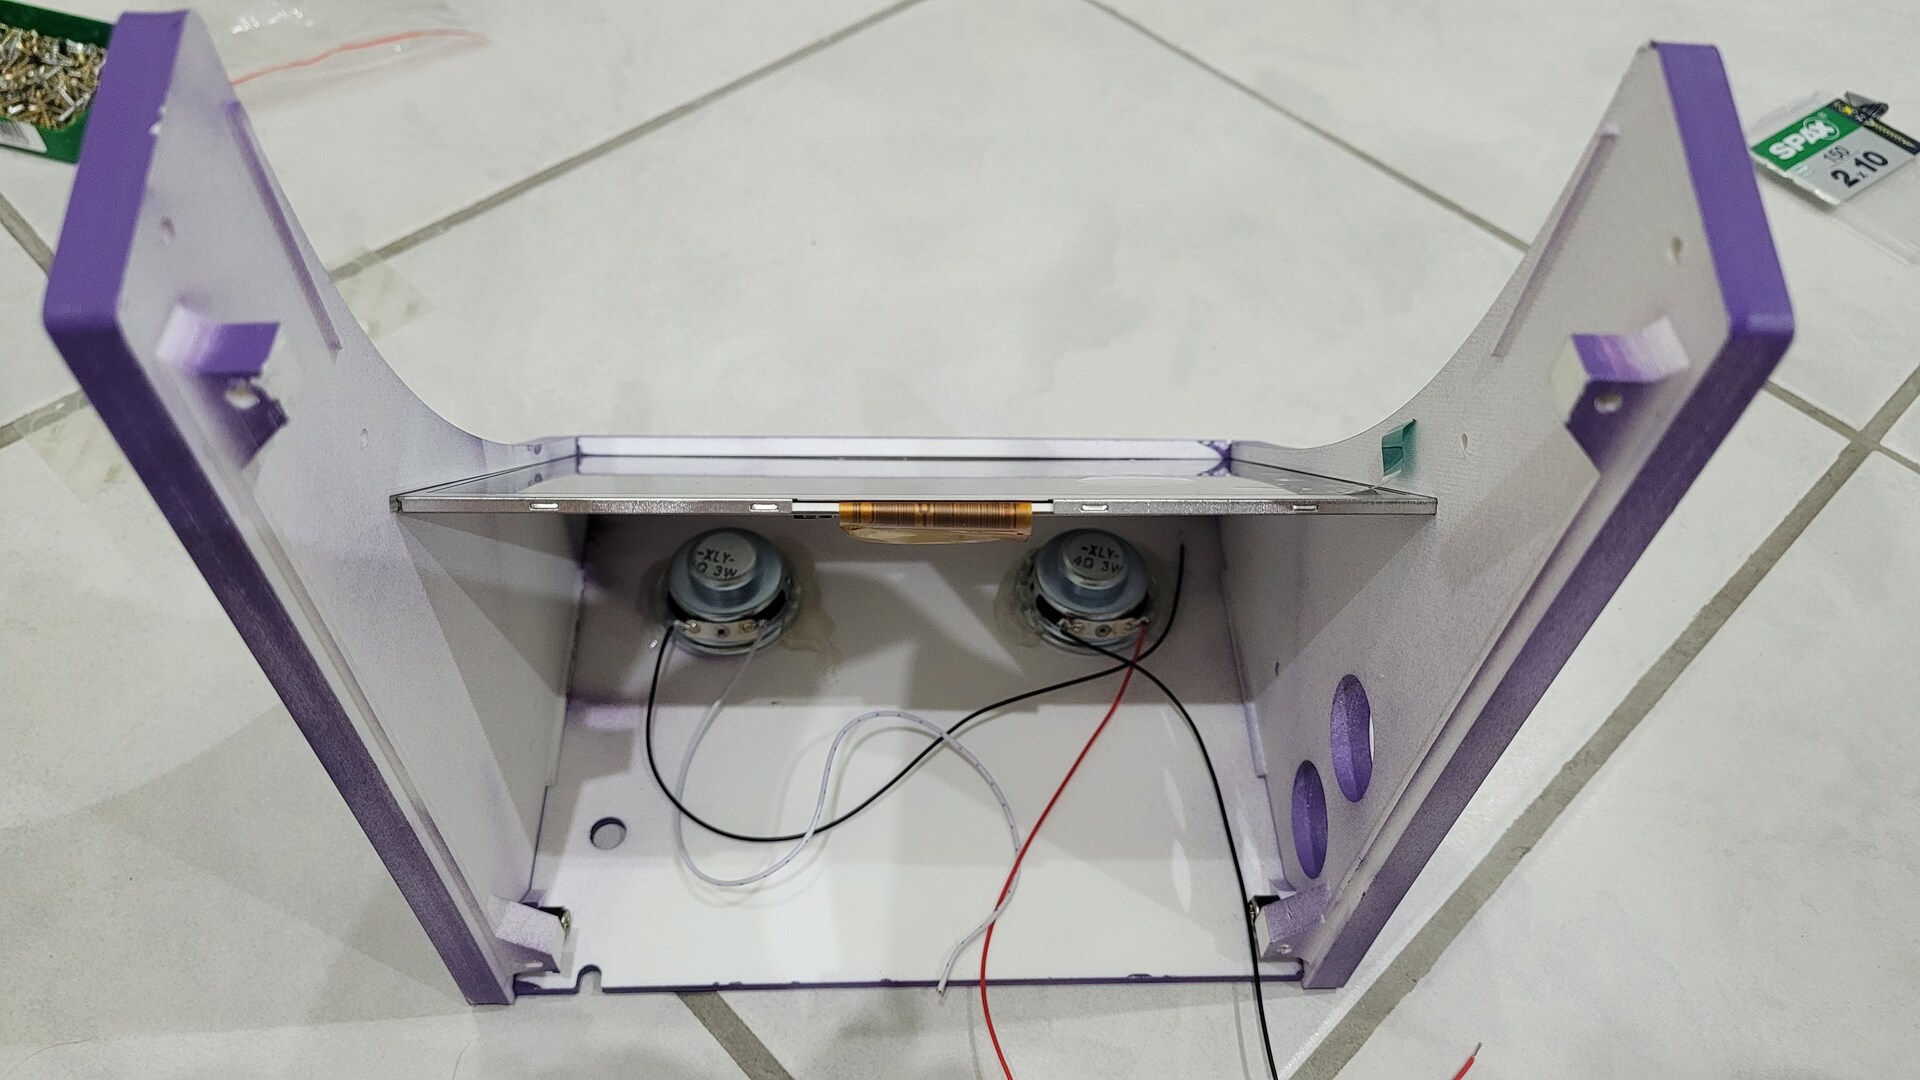
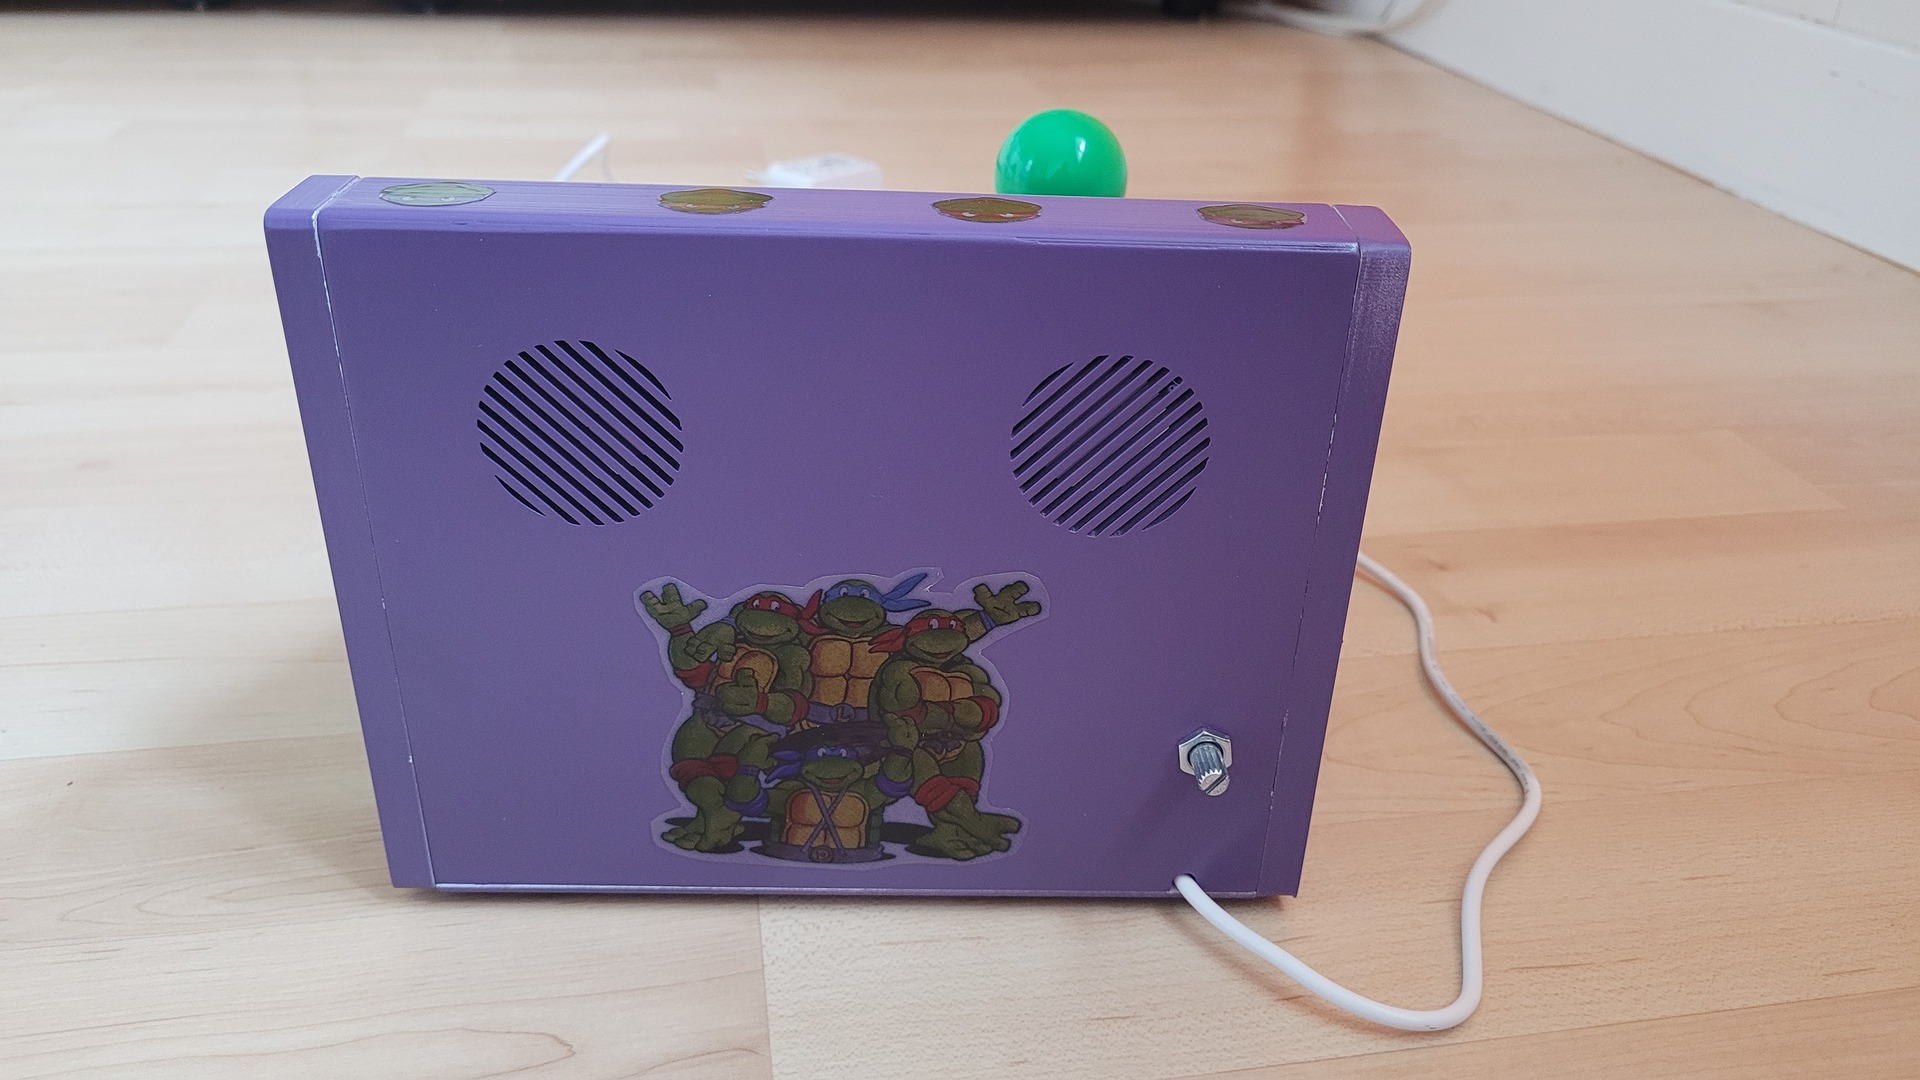
The back of the cabinet has 2 holes for 34mm speakers. Unfortunately, I didn’t find any good speakers of this size. I used 36mm speakers : the speaker edges just fit the flange so the moving part stay free. I glued them with hot glue.
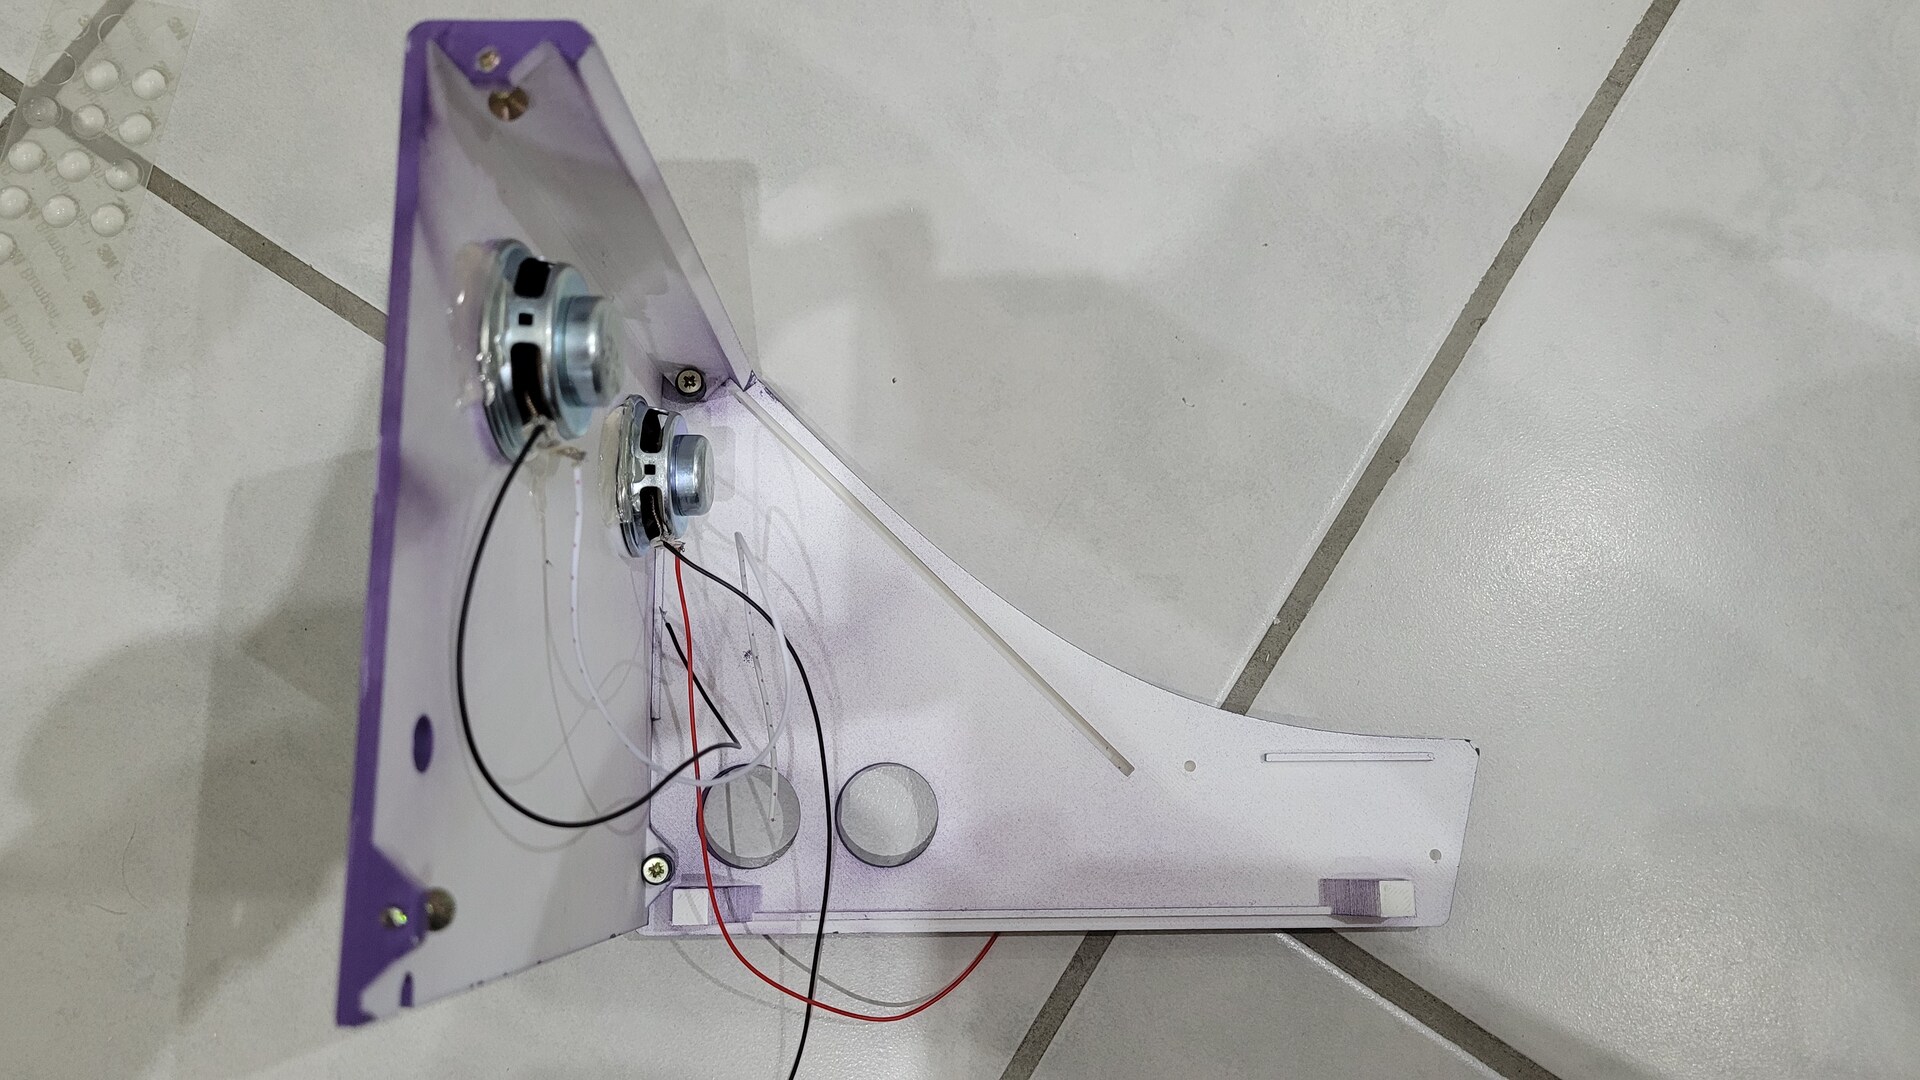
Assembly
The sides are simply skrewed with the back panel. Each side has a groove in which the bezel of the LCD display fits perfectly.
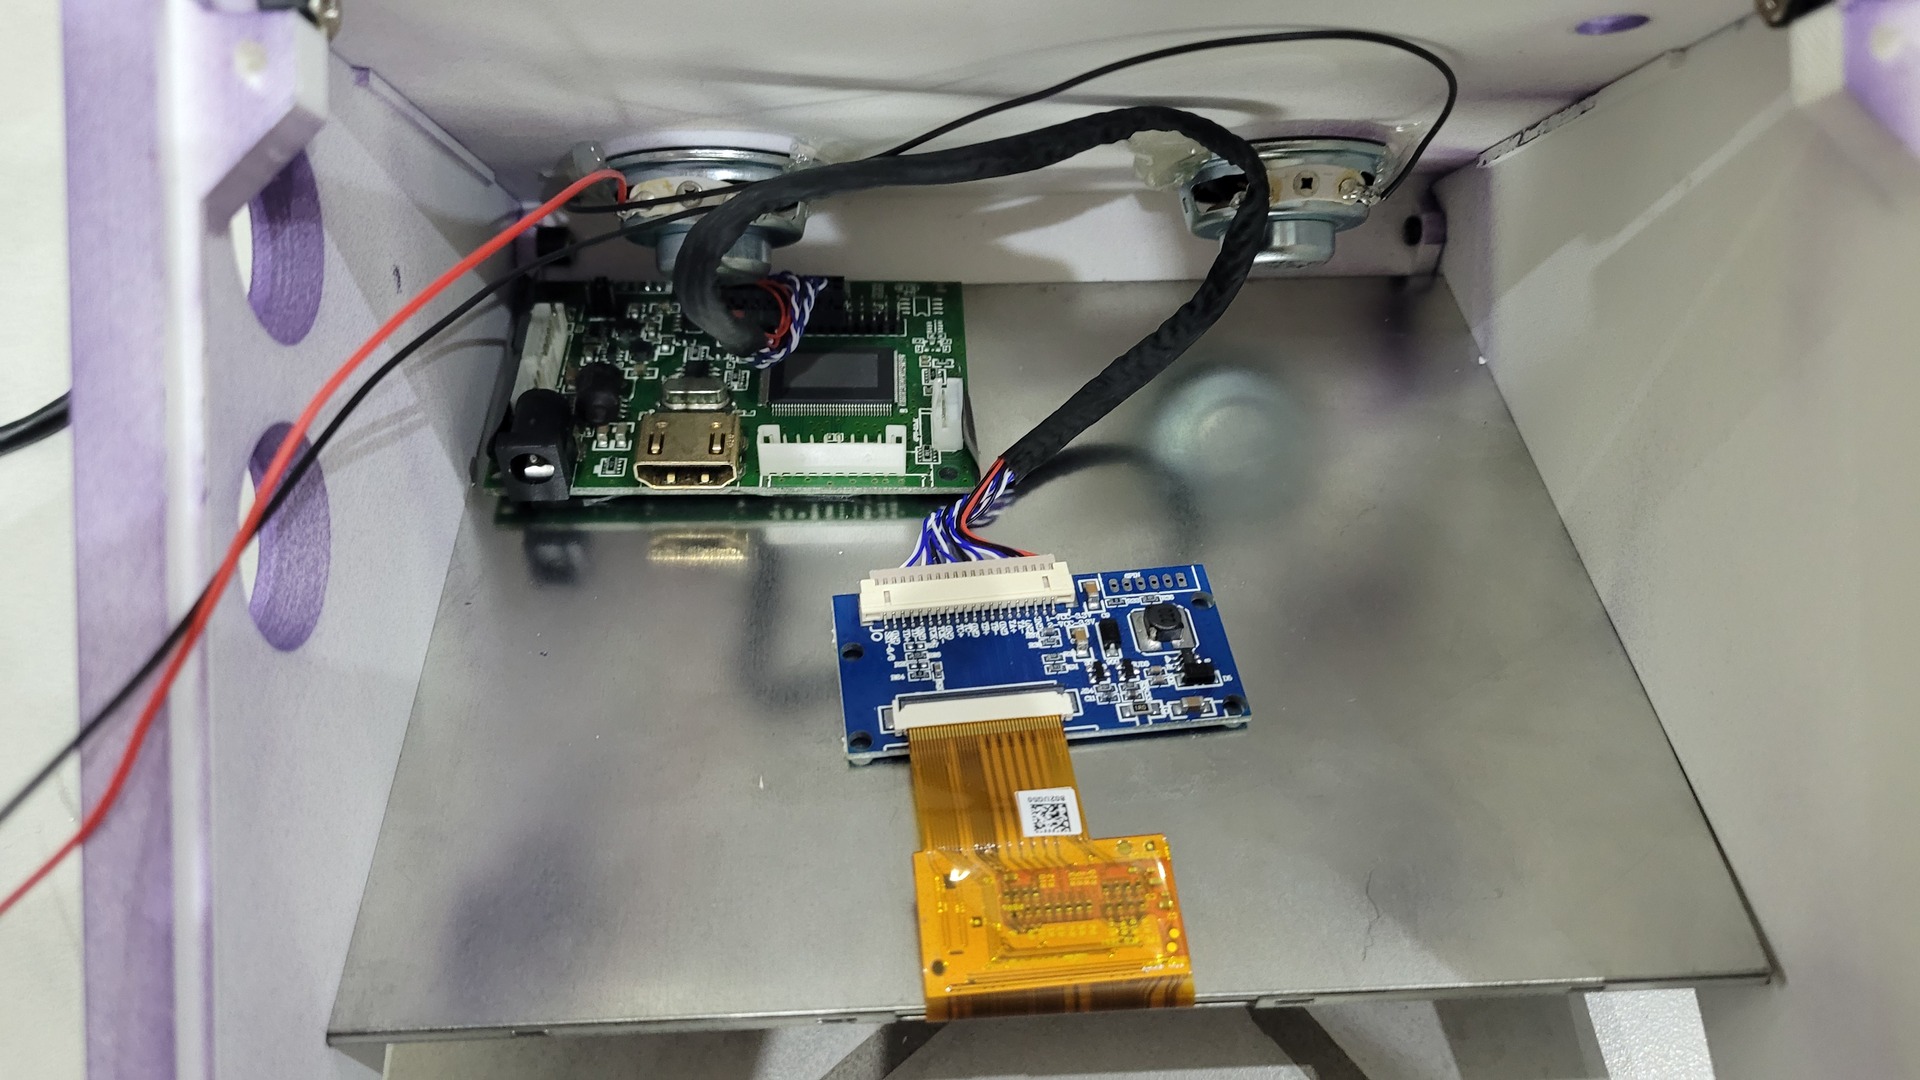
I used some thick double sided adhesive to fix the display controller and the HDMI interface boards.
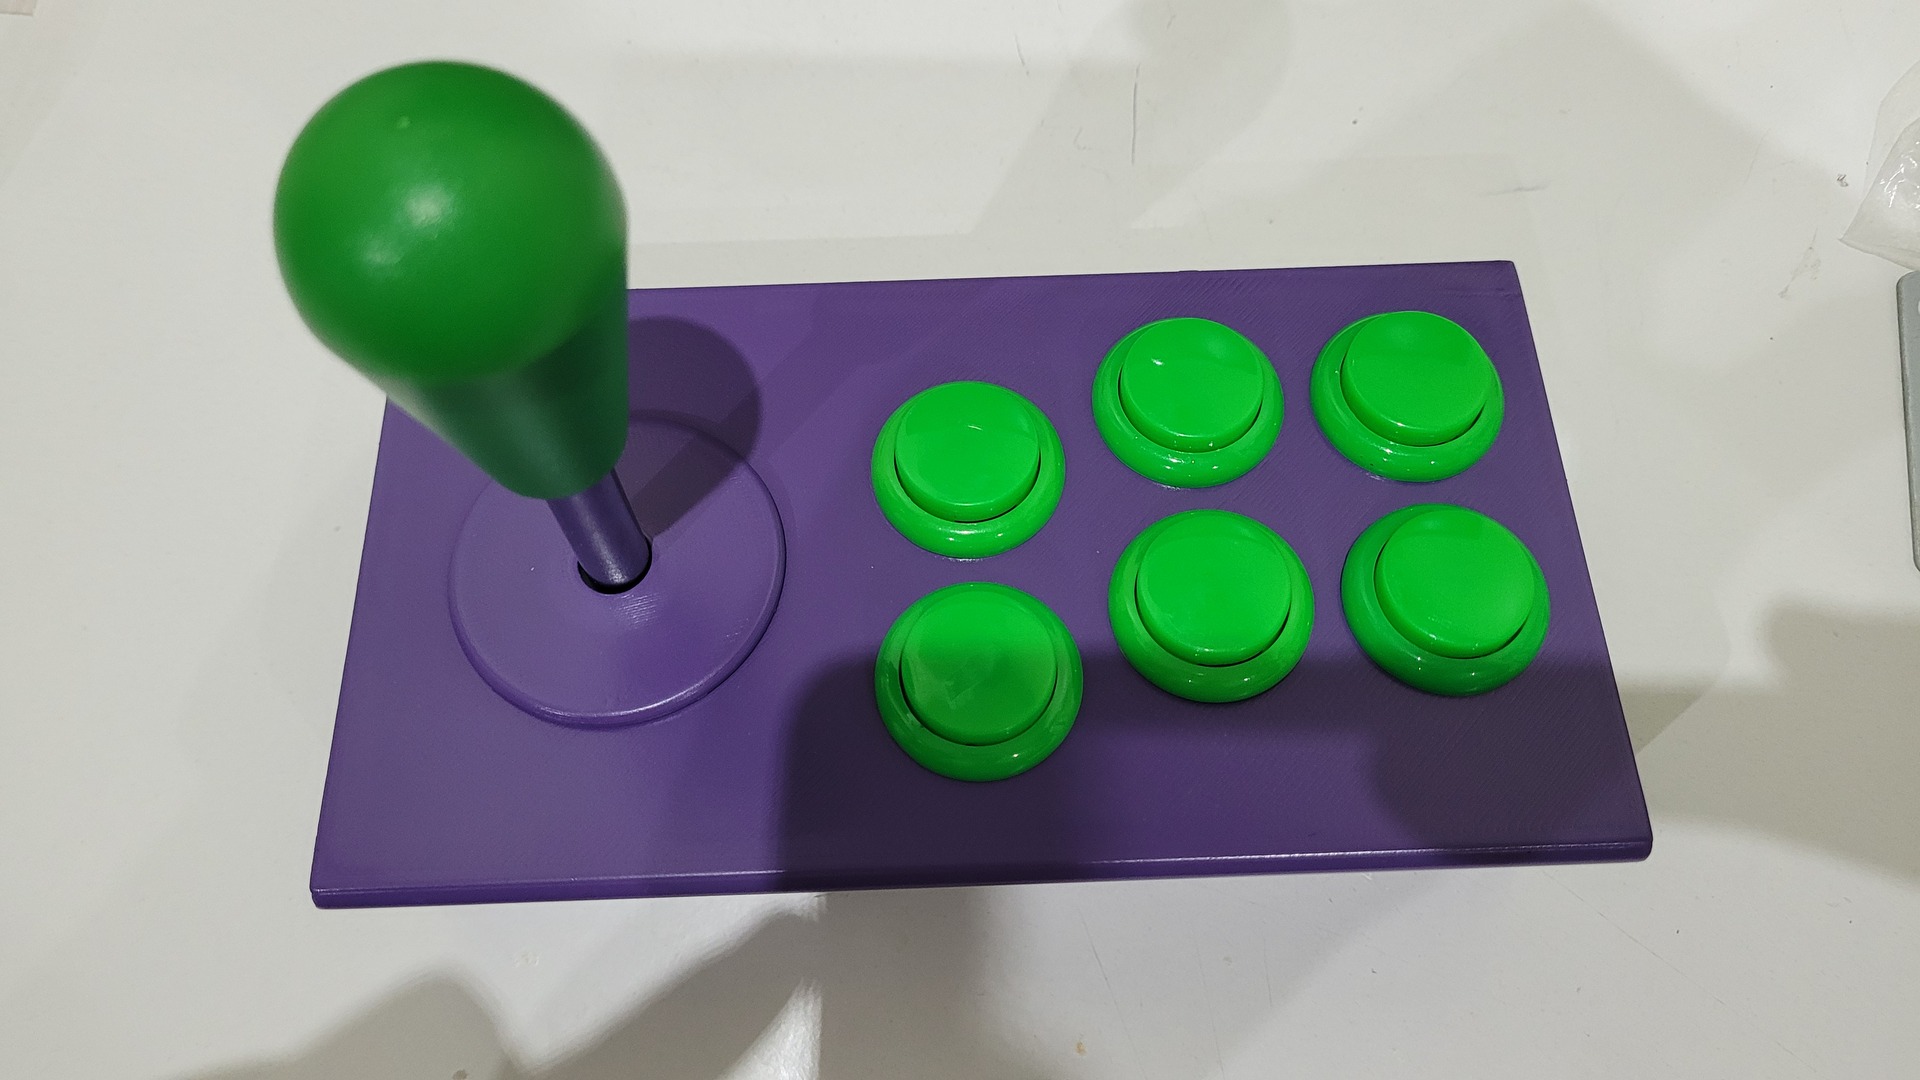
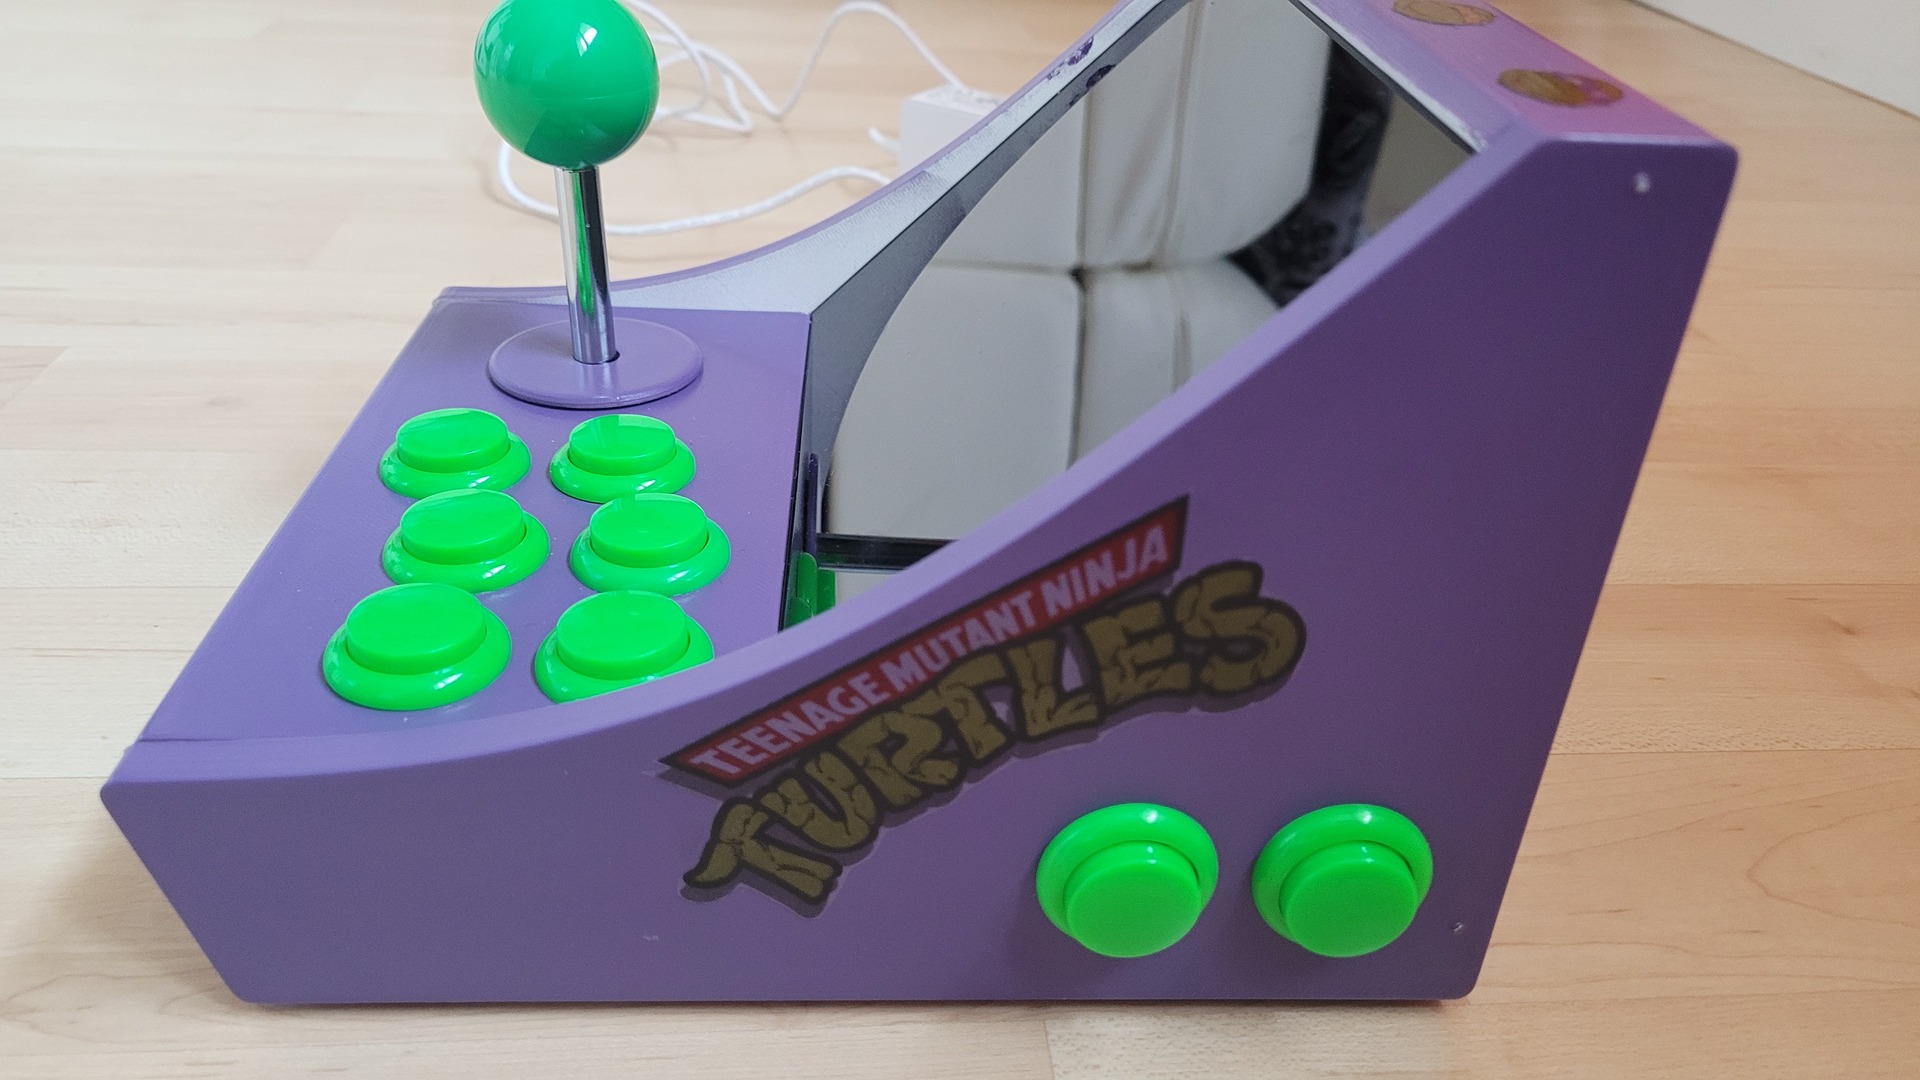
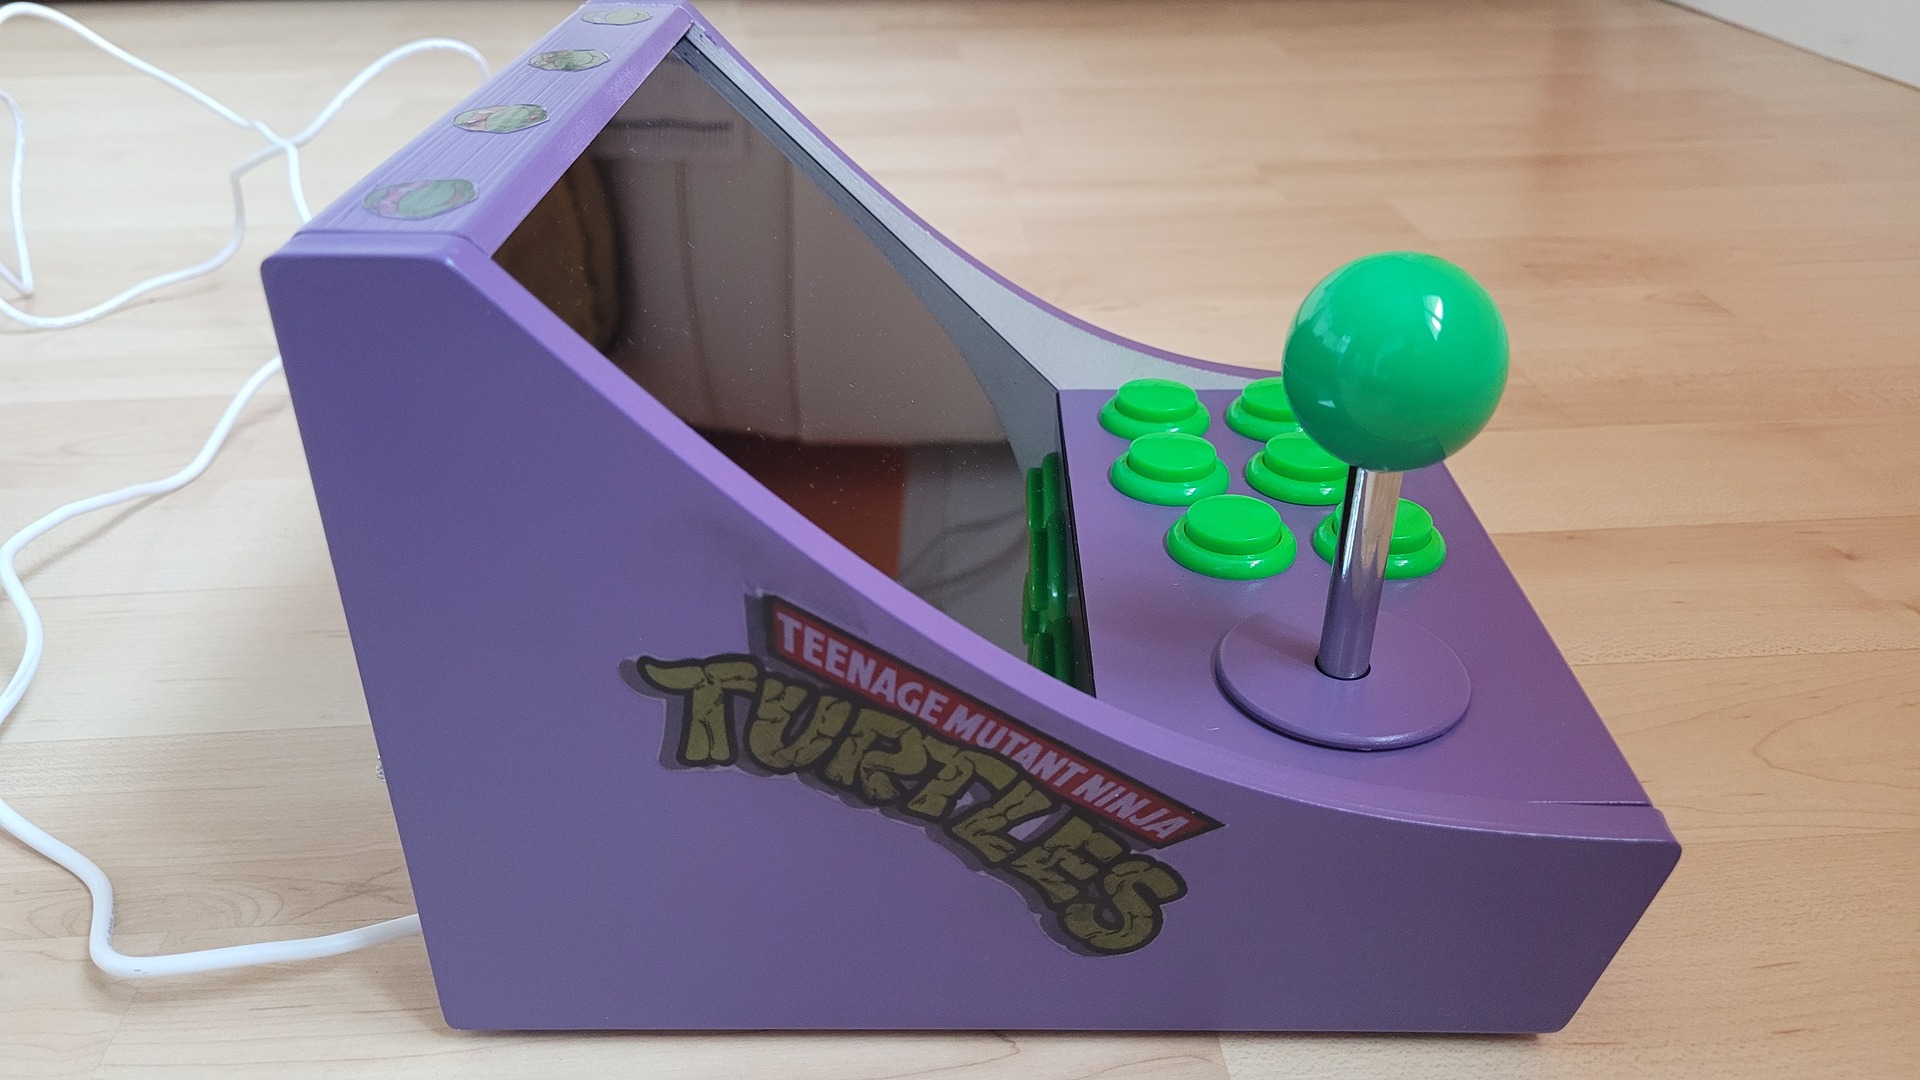
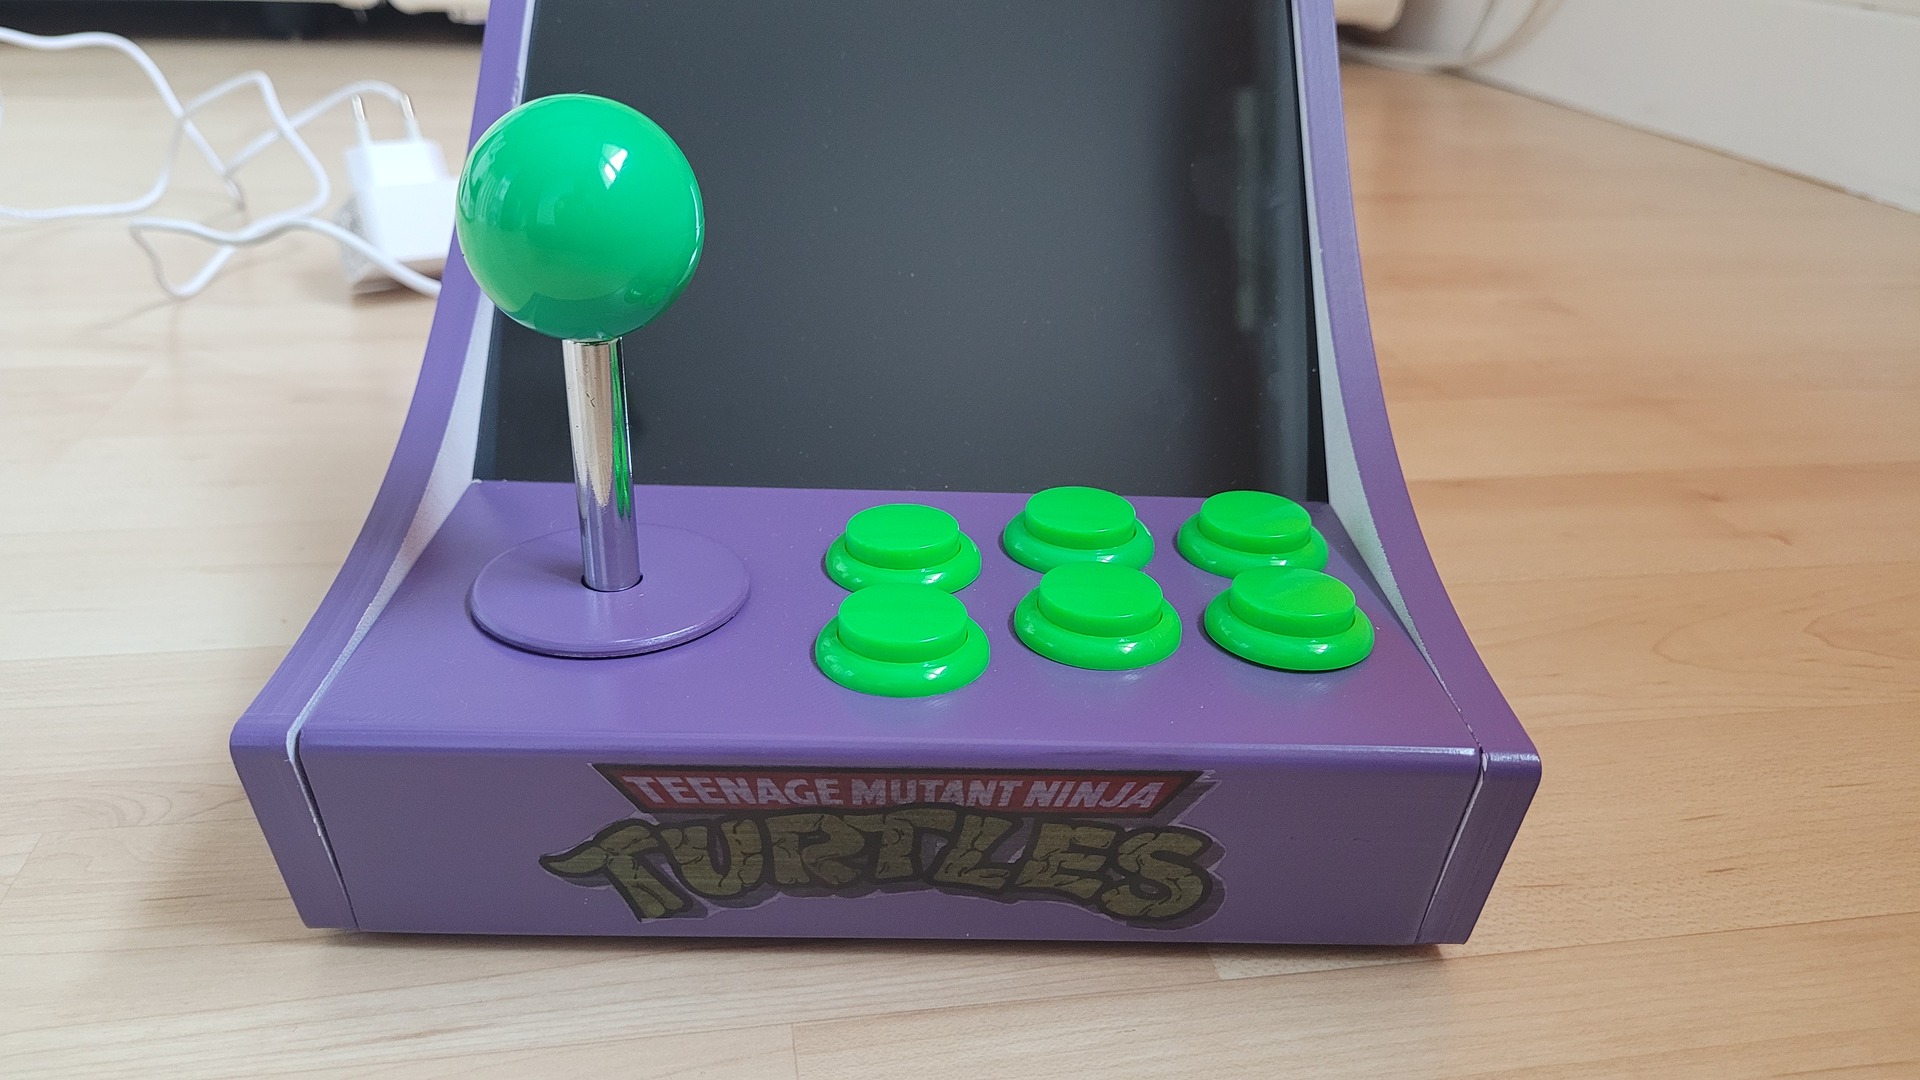
Control panel
The control panel is large enough to fit 6 arcade buttons (24mm), but to fit the stick, the metallic plate must be removed. The stick is then skrewed directly to the panel.
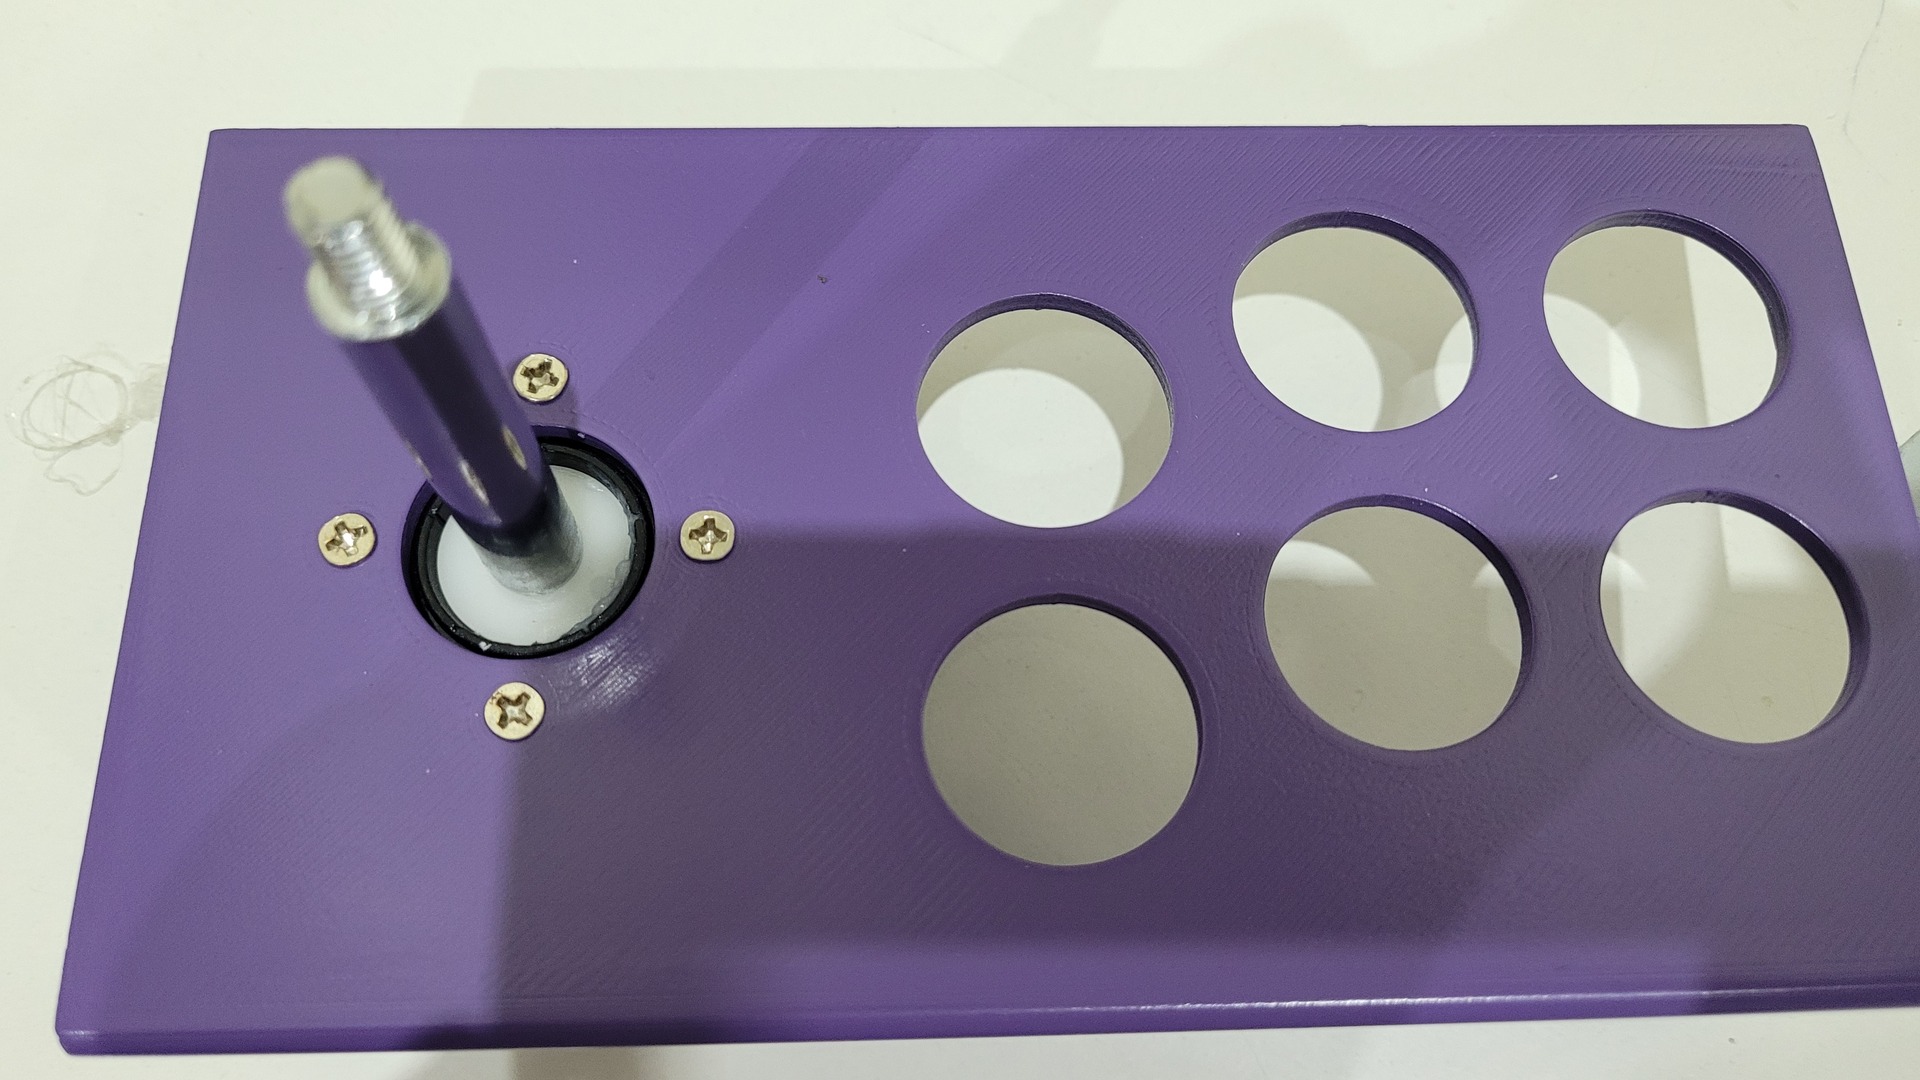
The buttons are just clipped on the holes, and the USB HID controller board is also fixed with double sided adhesive.
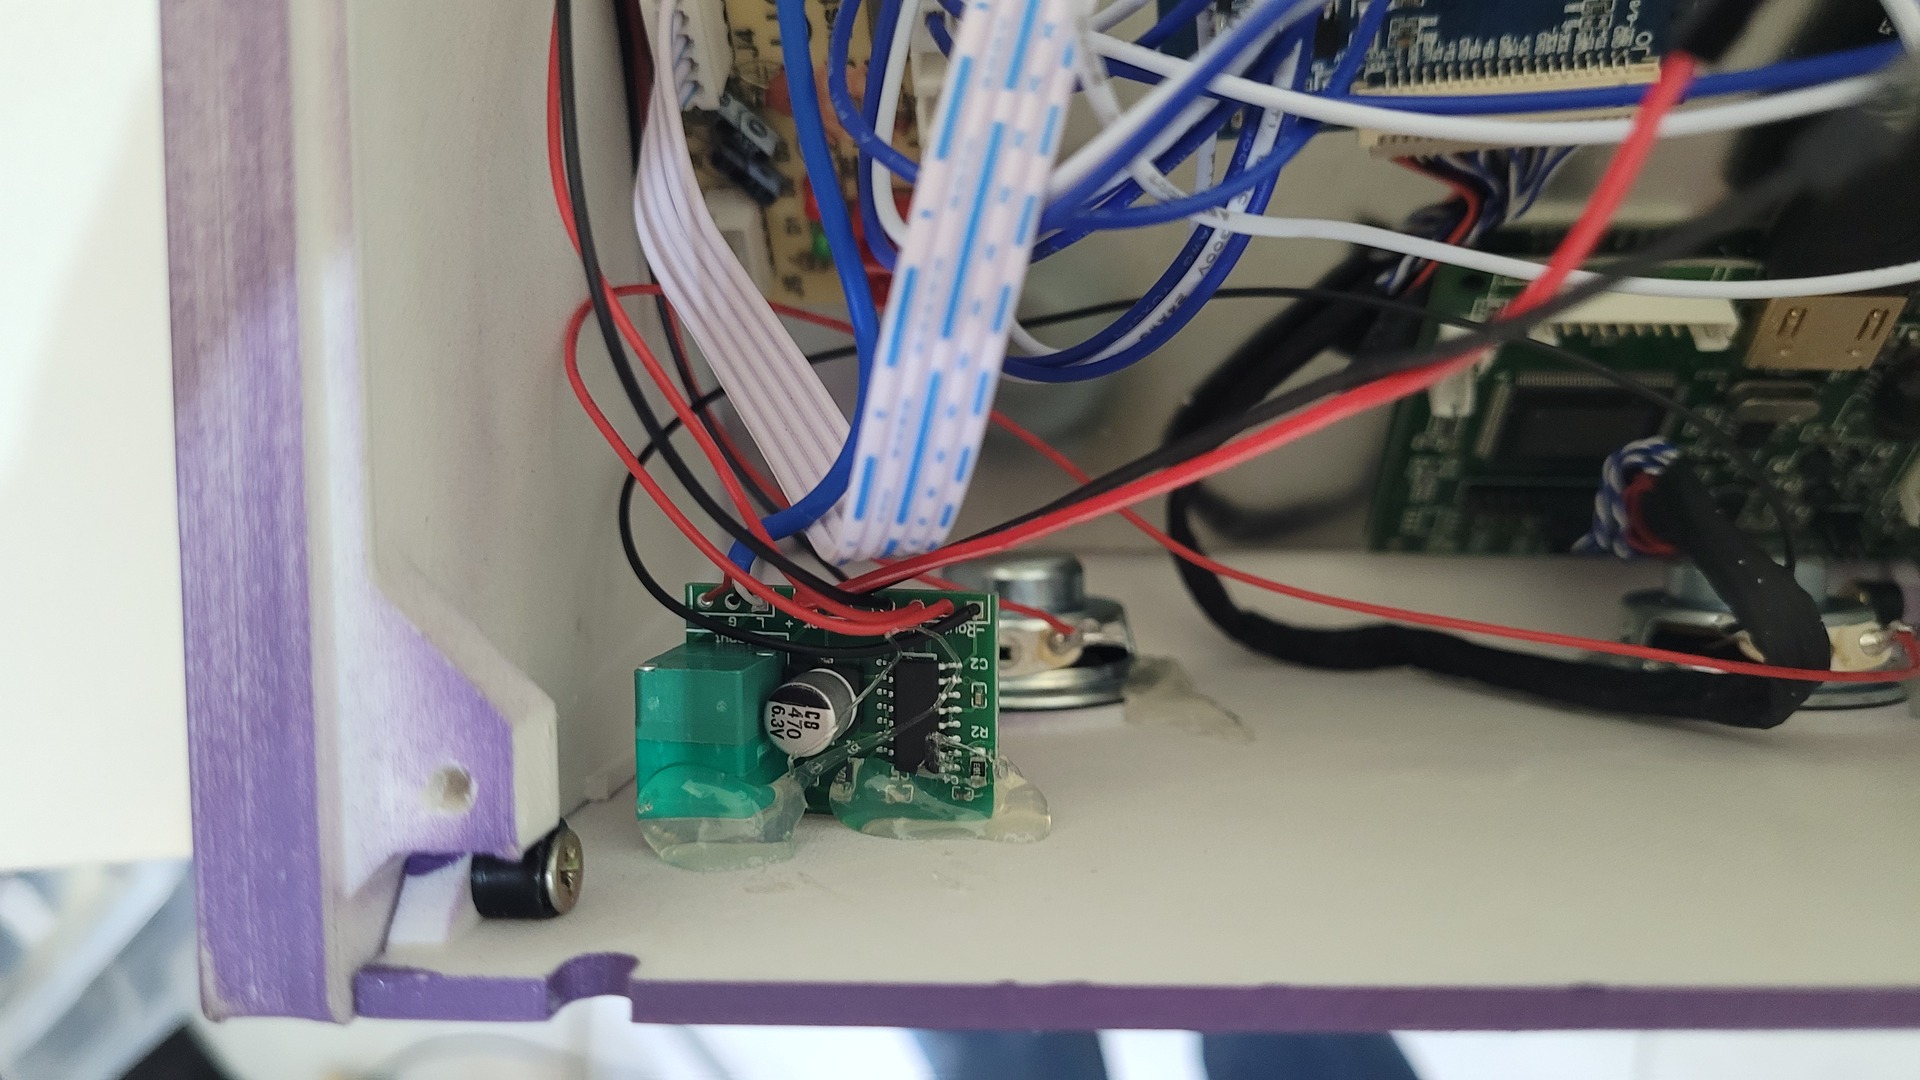
Sound amplifier
A small 3.5mm jack is used to get the audio from the standard Raspberry Pi analog output

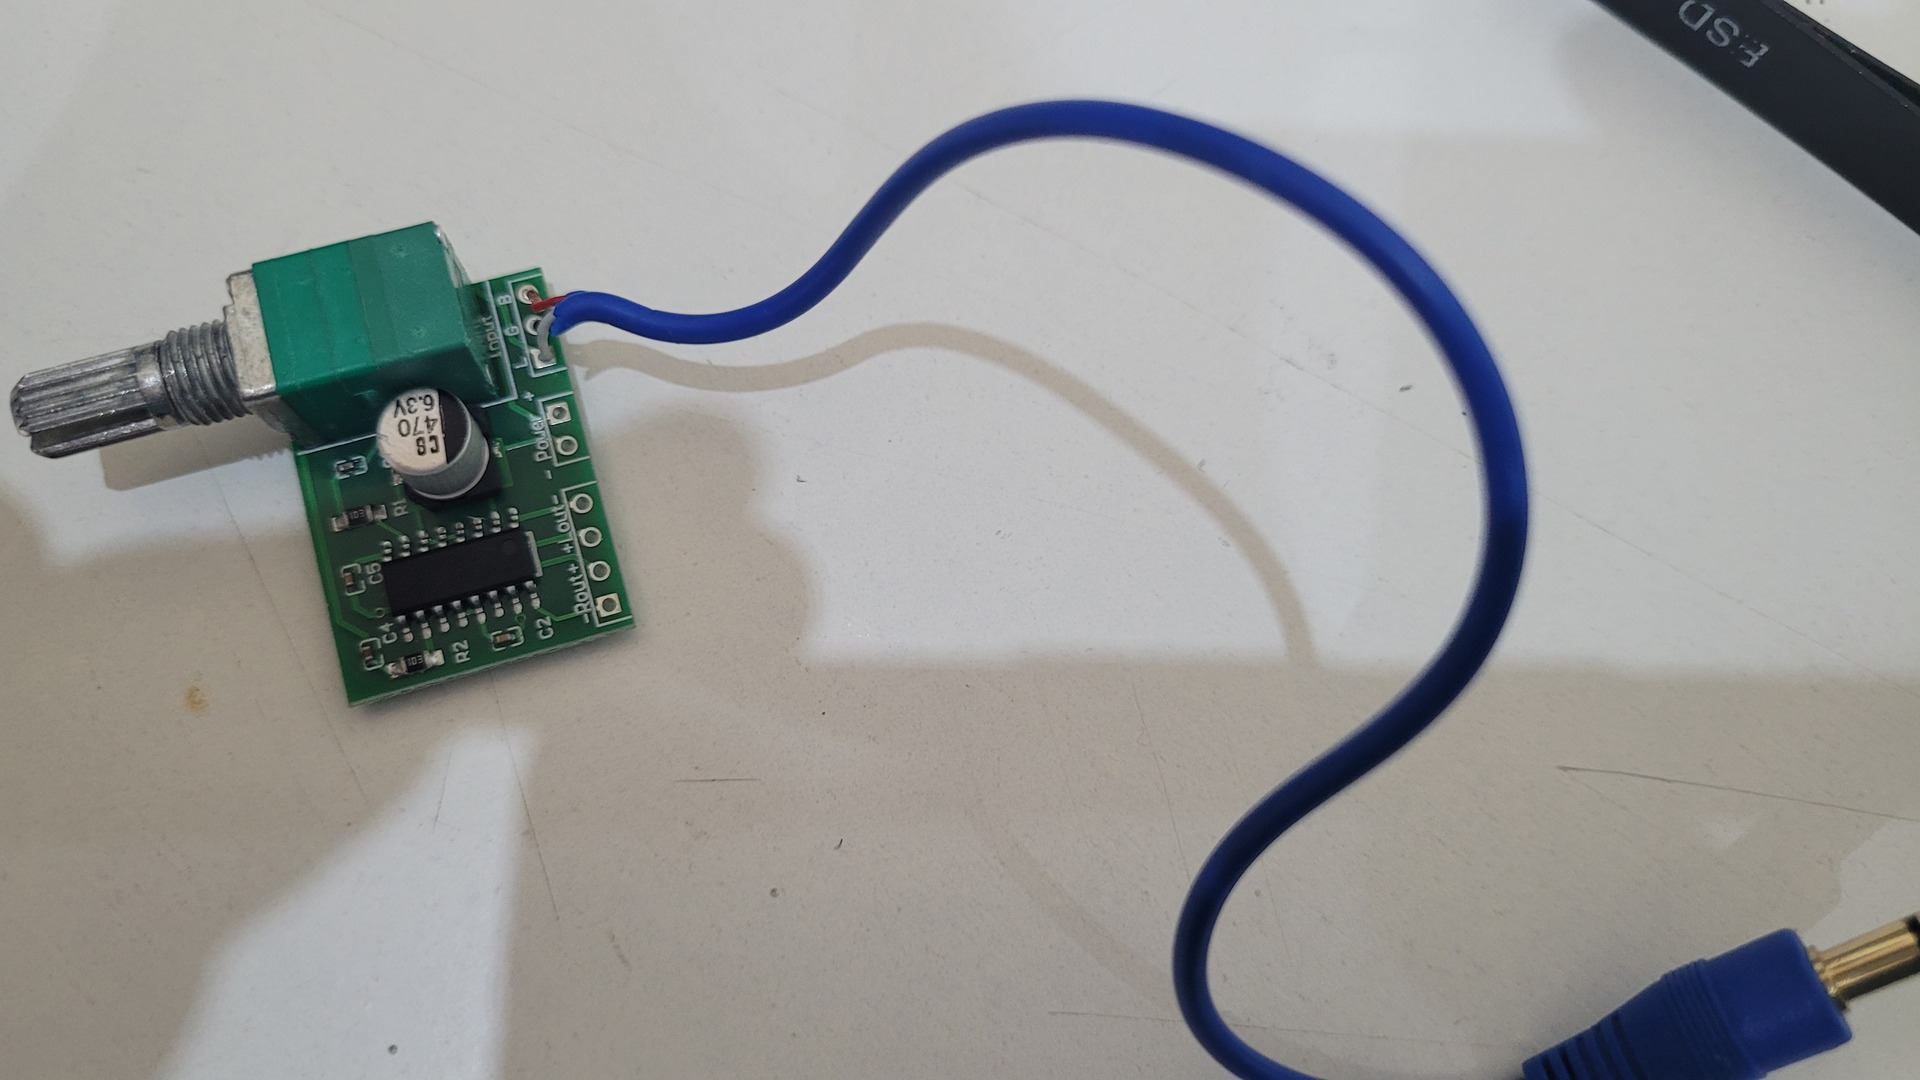
The amp need 5V to operate : I used two dupont cables and plugged them on the GPIO pins 4 (+5v) and 6 (ground).
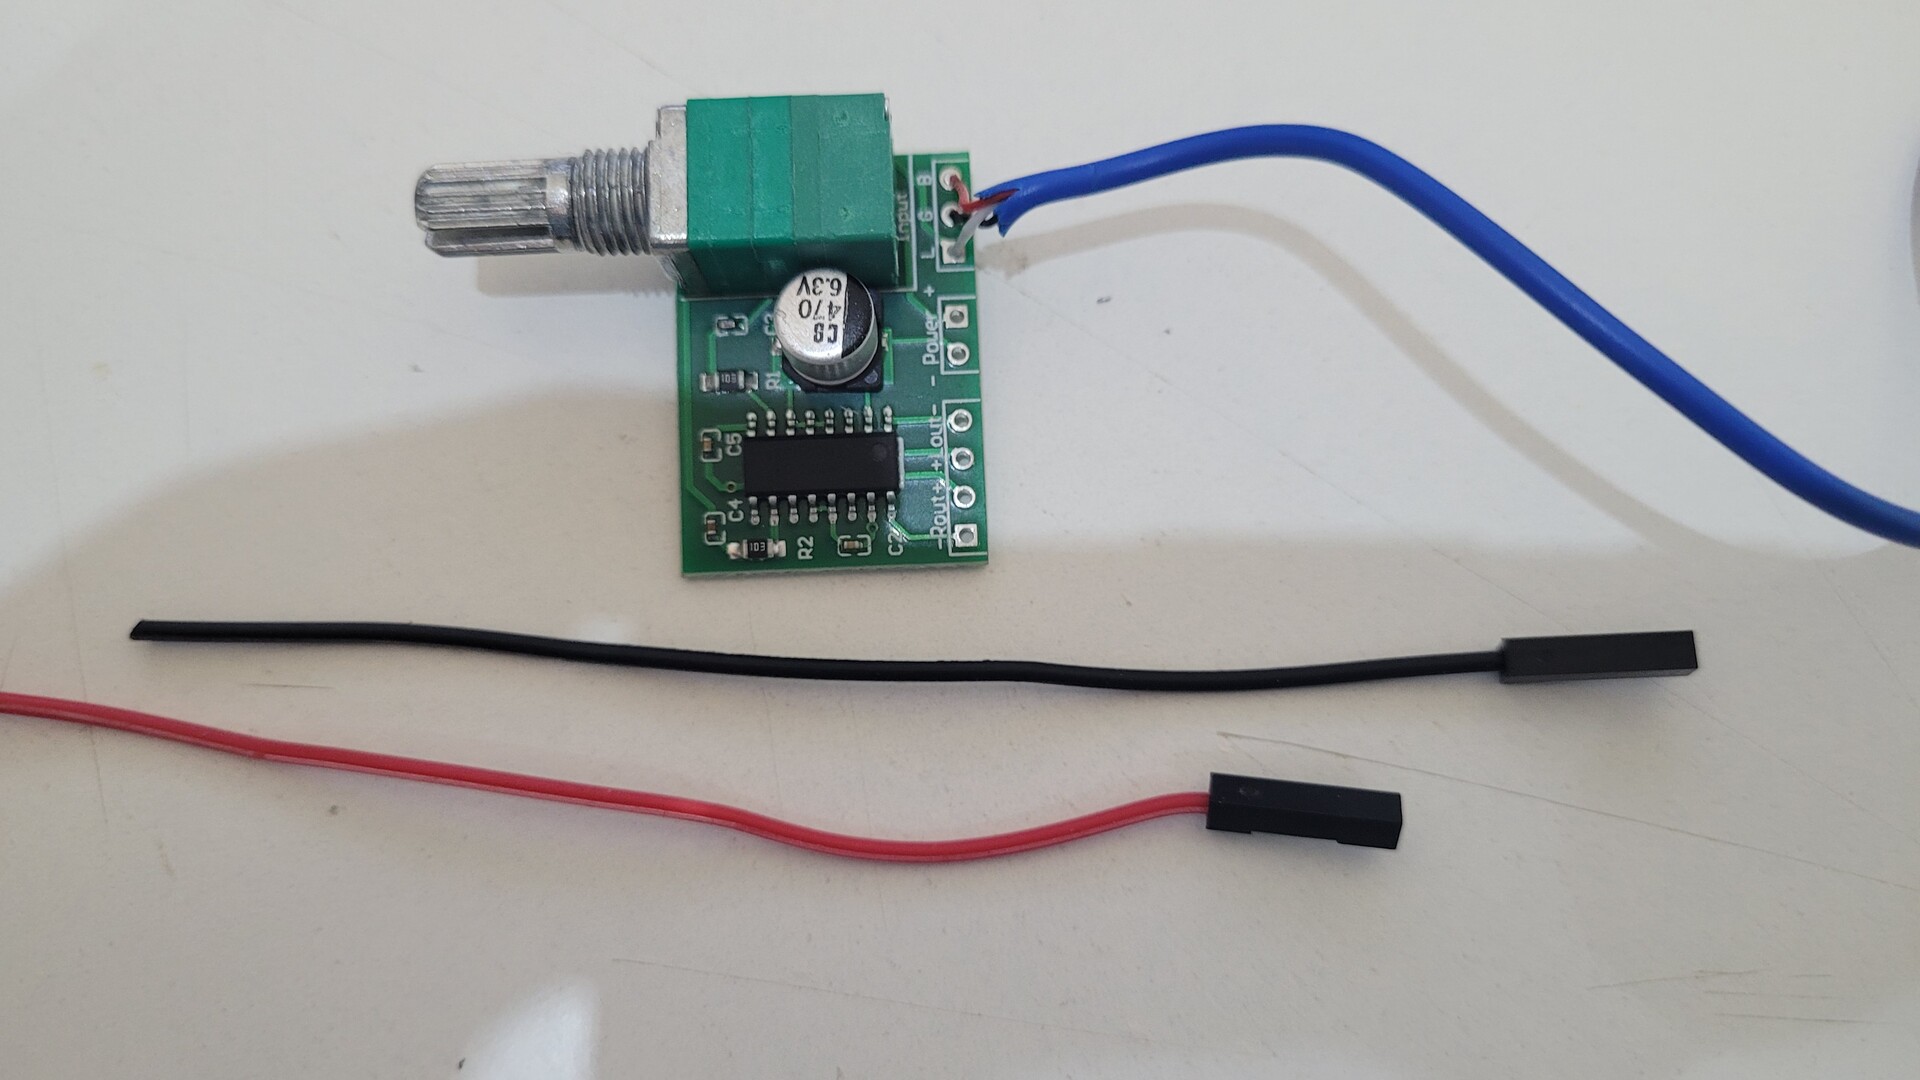
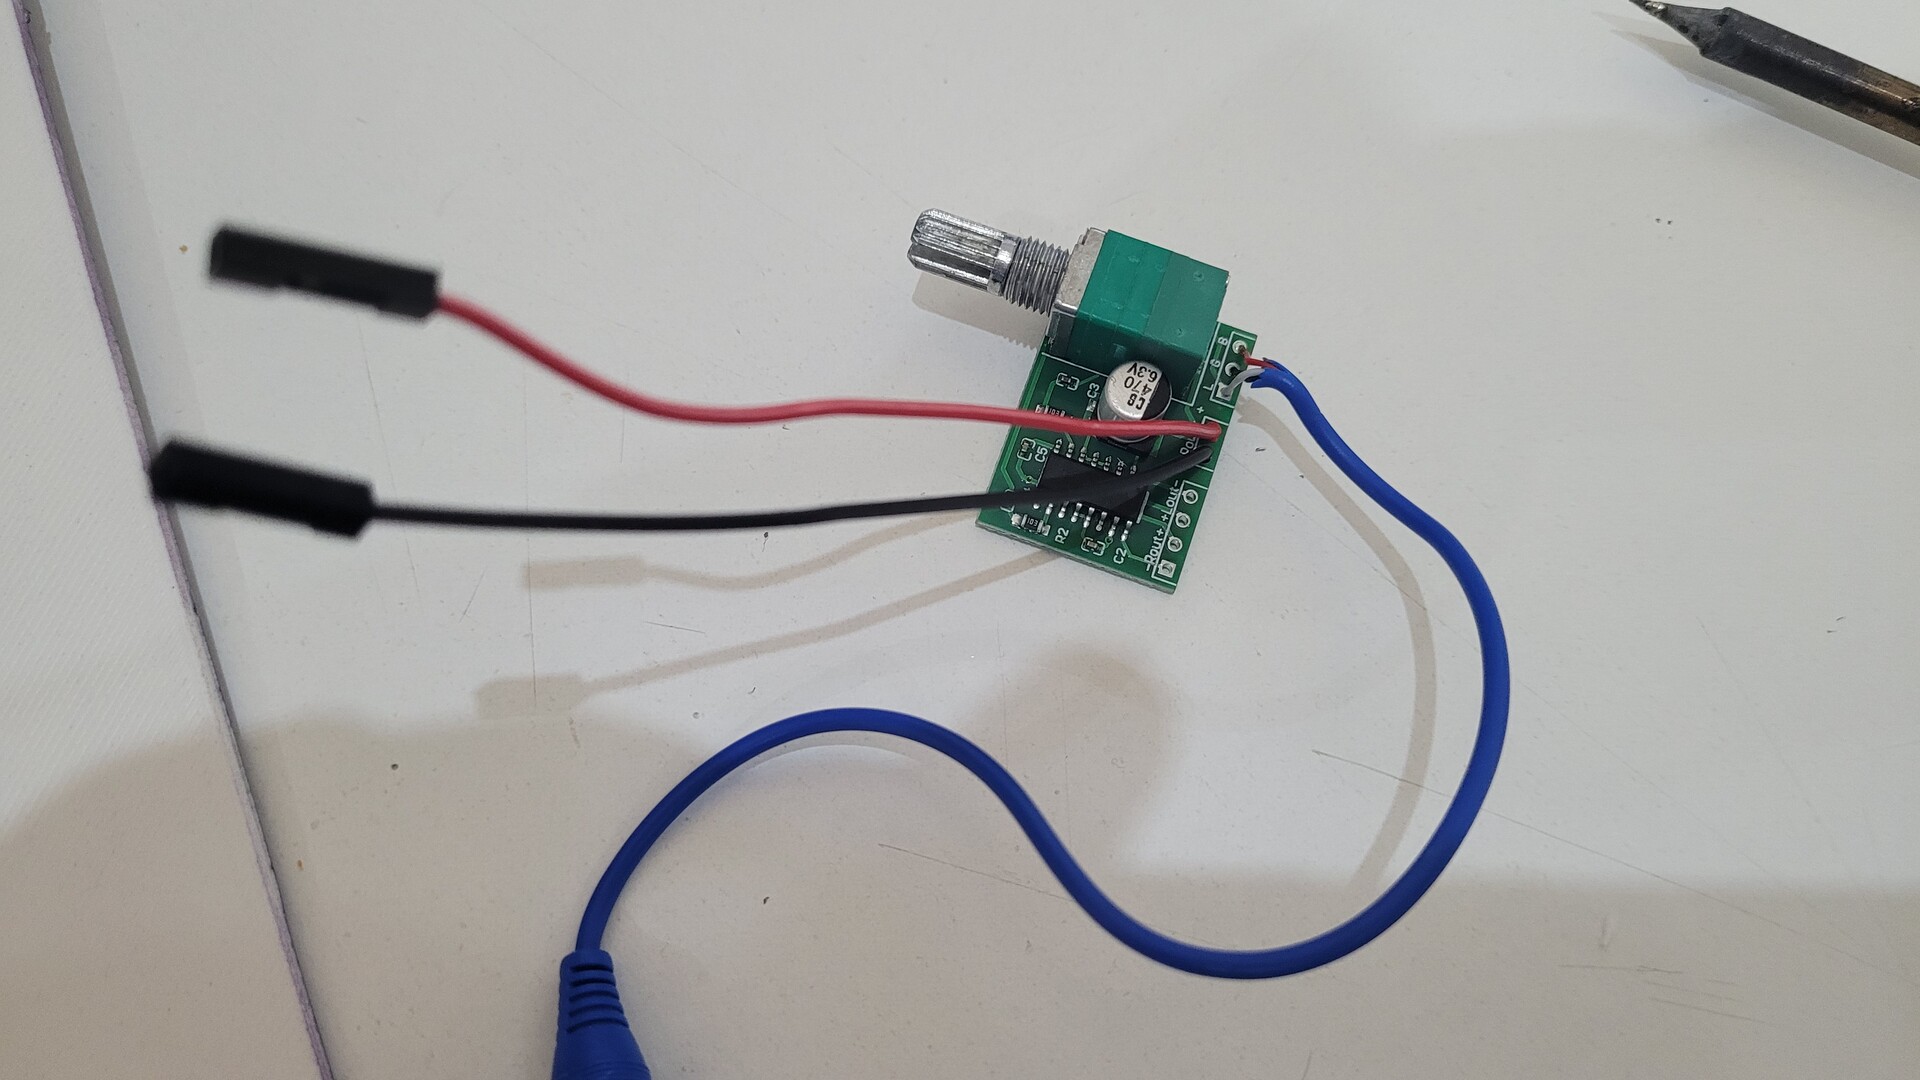
The volume knob of the amplifier comes with a bolt to mount it easily. Unfortunately, it does not provide a good grip, because of a bad quality skrew thread. So in addition, I used some hot glue to firmly fix it.
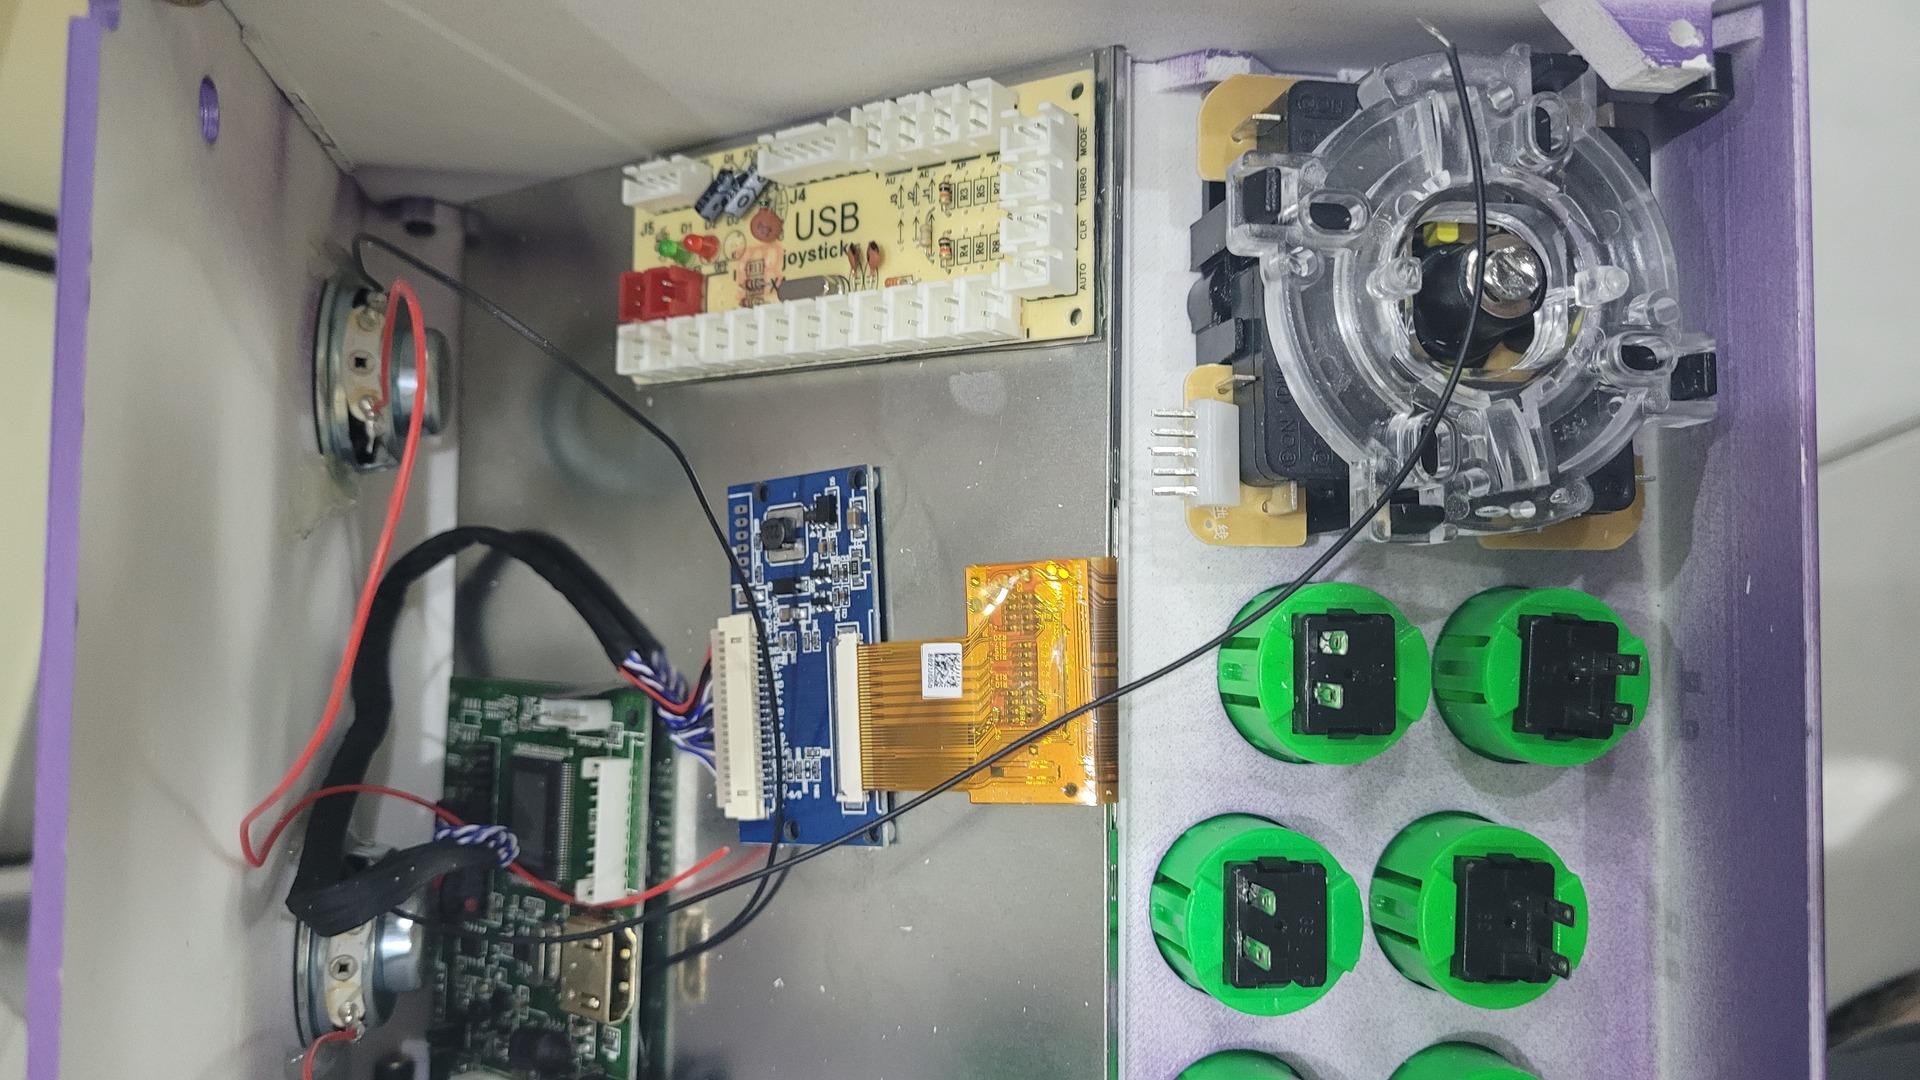
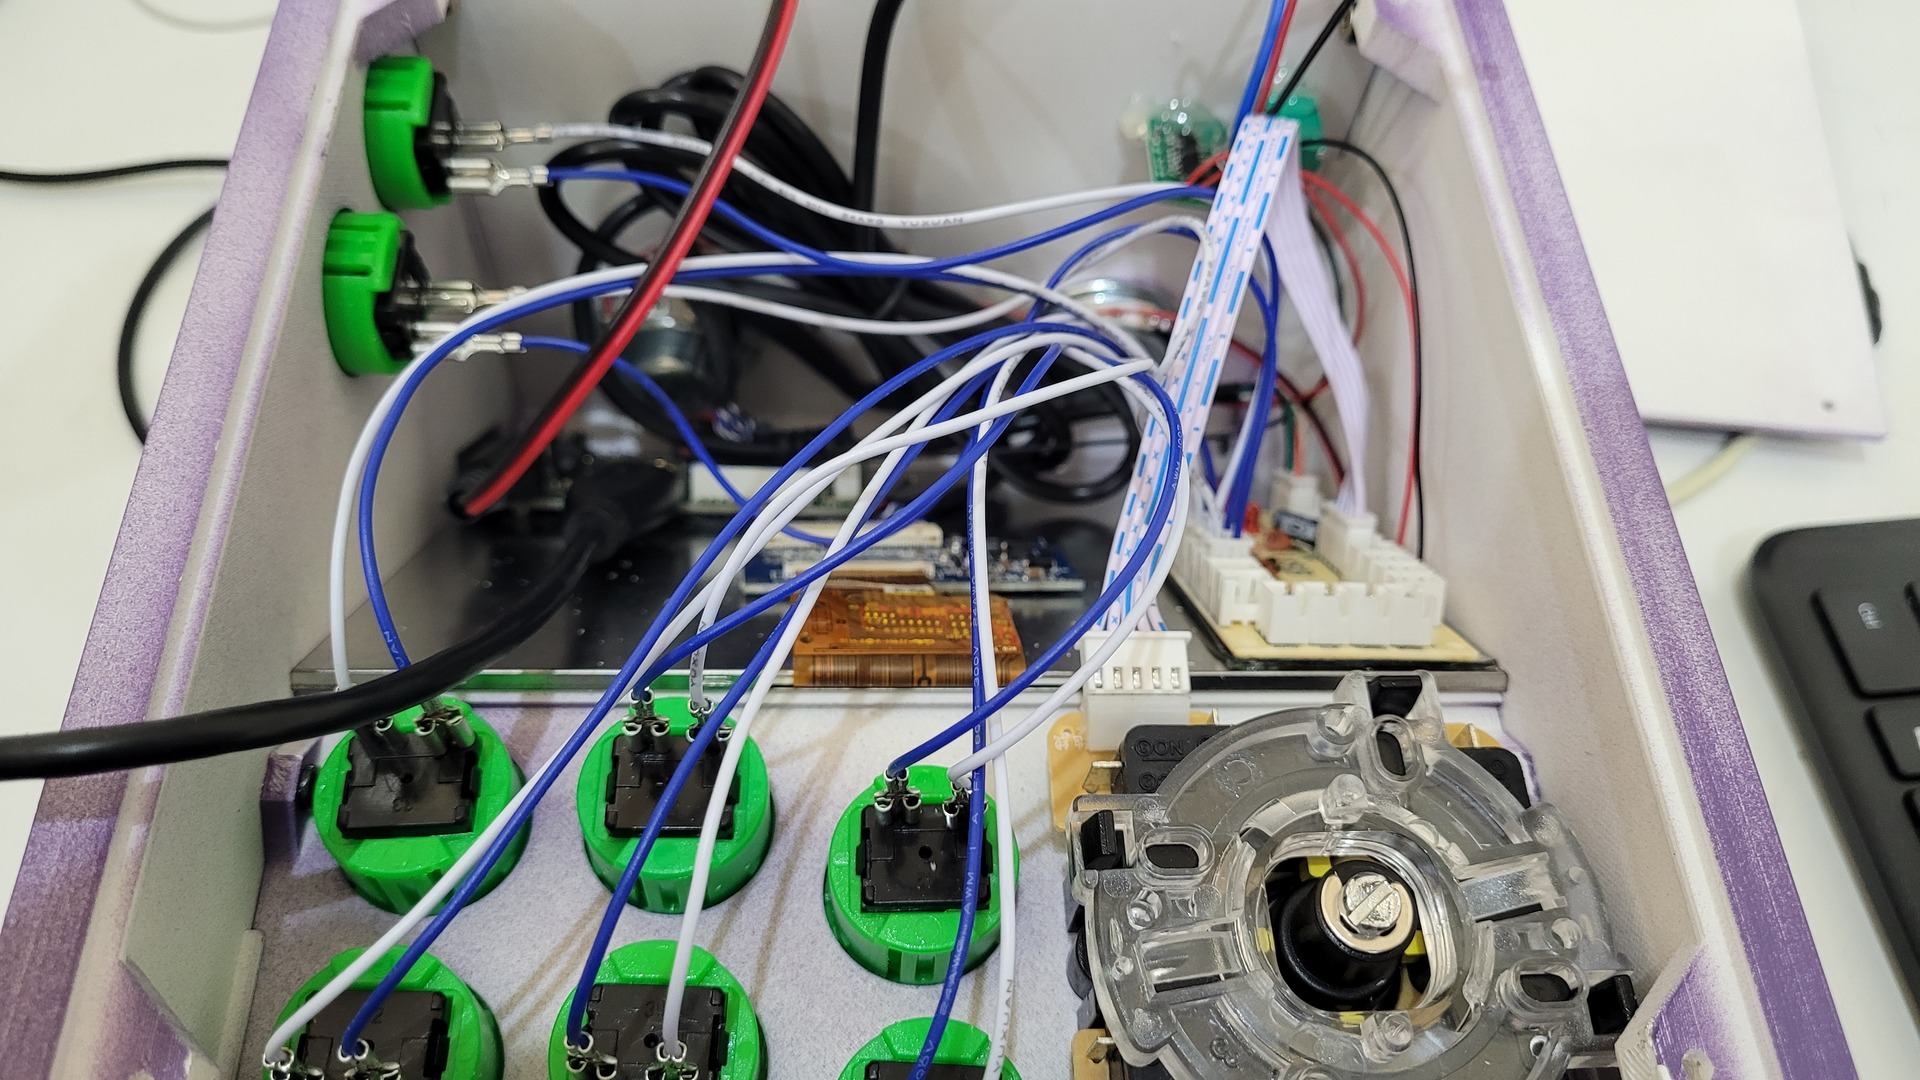
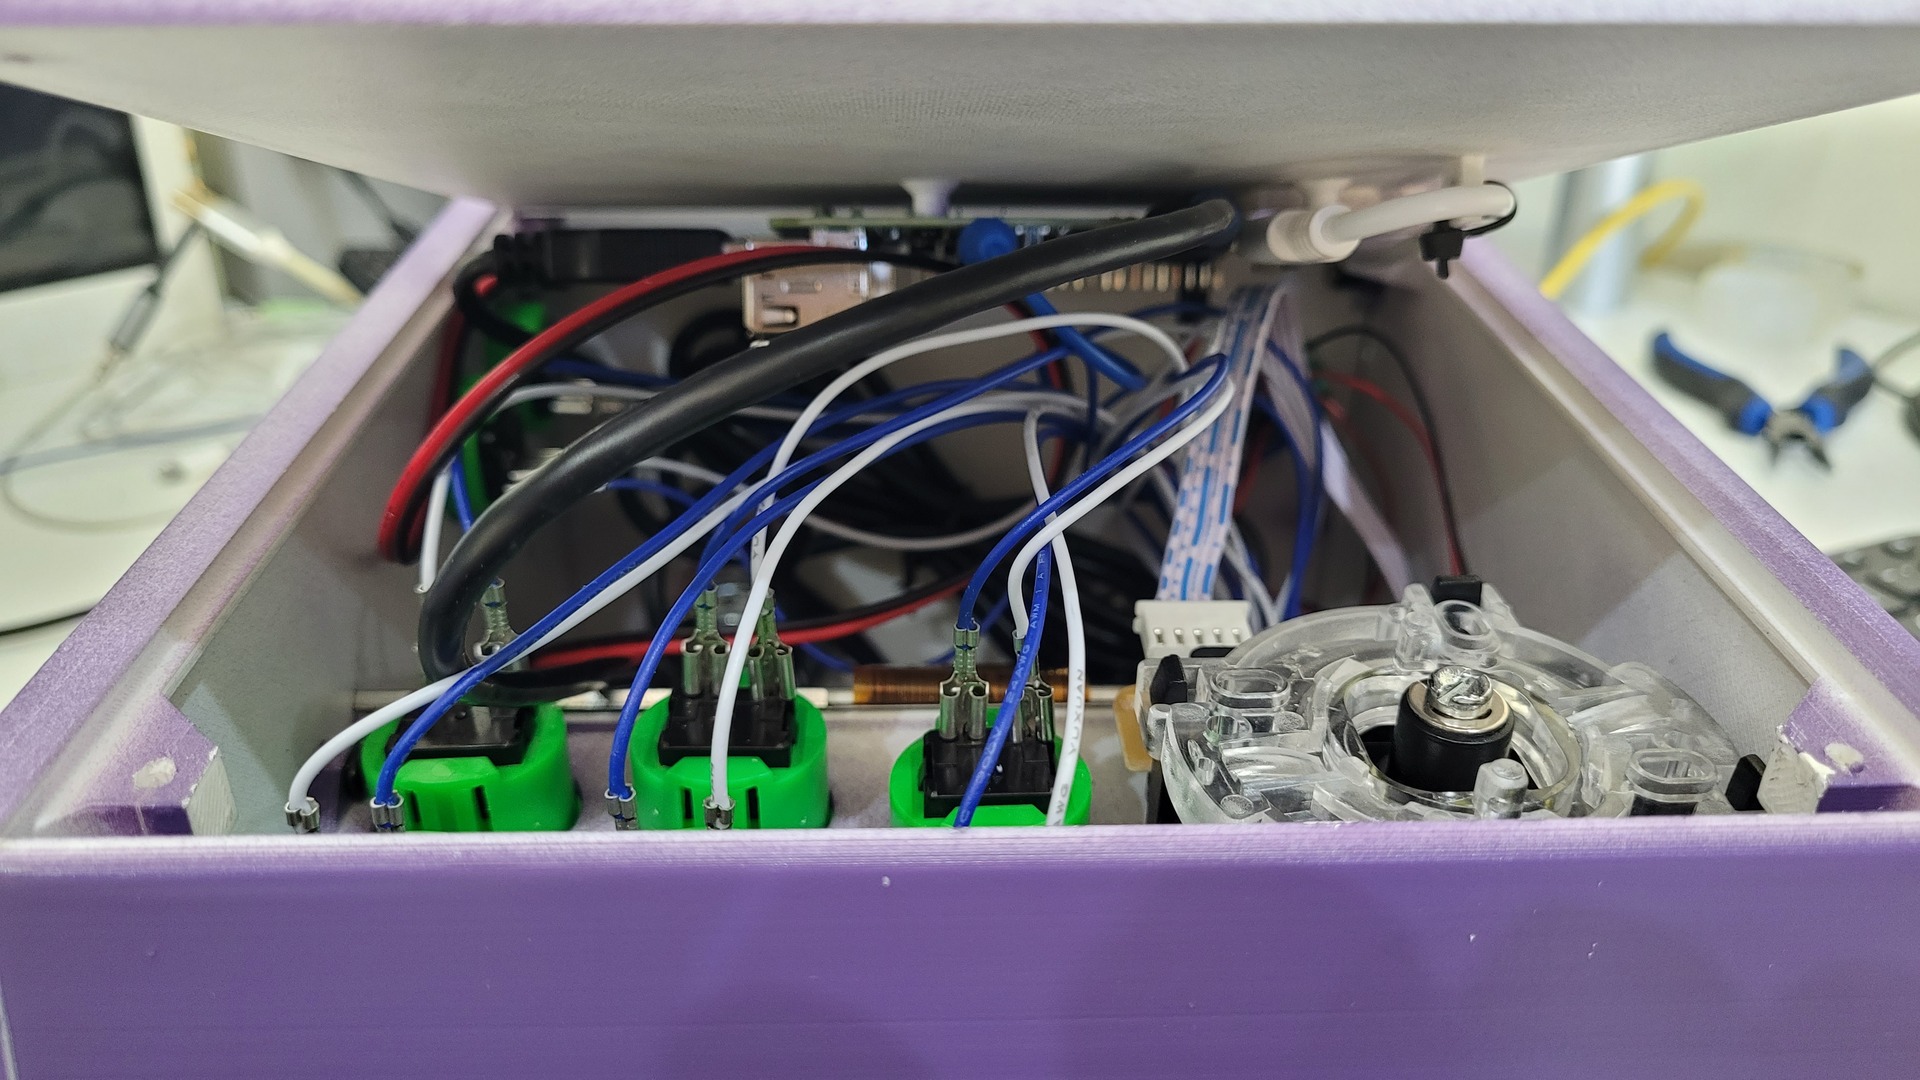
Wiring overview
At this point, the last thing to wire was all the buttons as well as the stick: here is an overview of all hardware parts mounted and wired :
The USB-C power supply cable is directly plugged in to the Pi. There is a small hole in the back panel to pass it. Note that a small loop on the bottom panel is used to fix the power cable with a small rilsan necklace
Just before closing the cabinet with the bottom panel : all fit nicely, but there is no space left !
Decorations
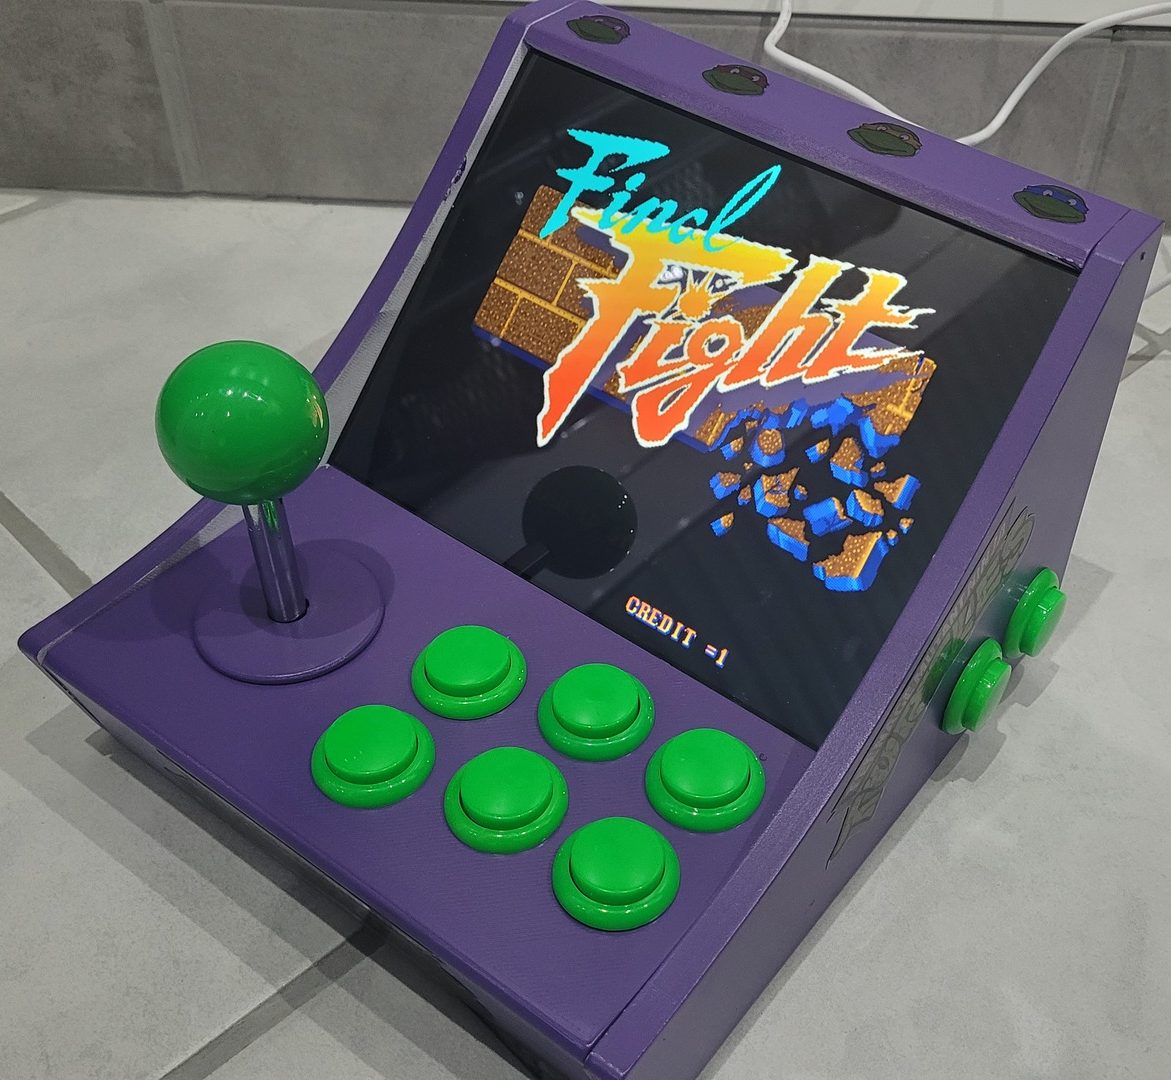
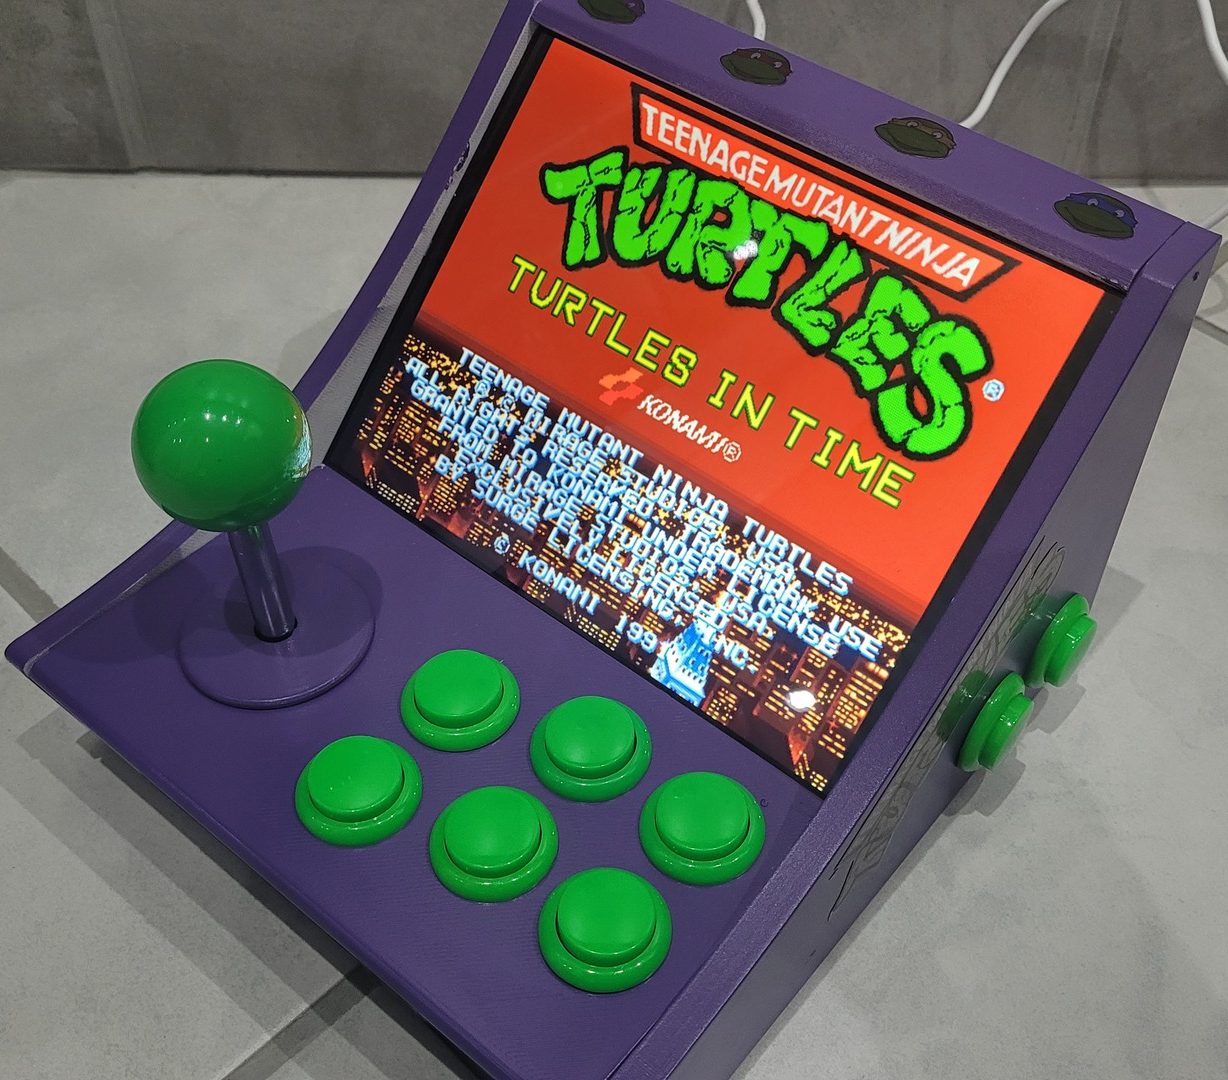
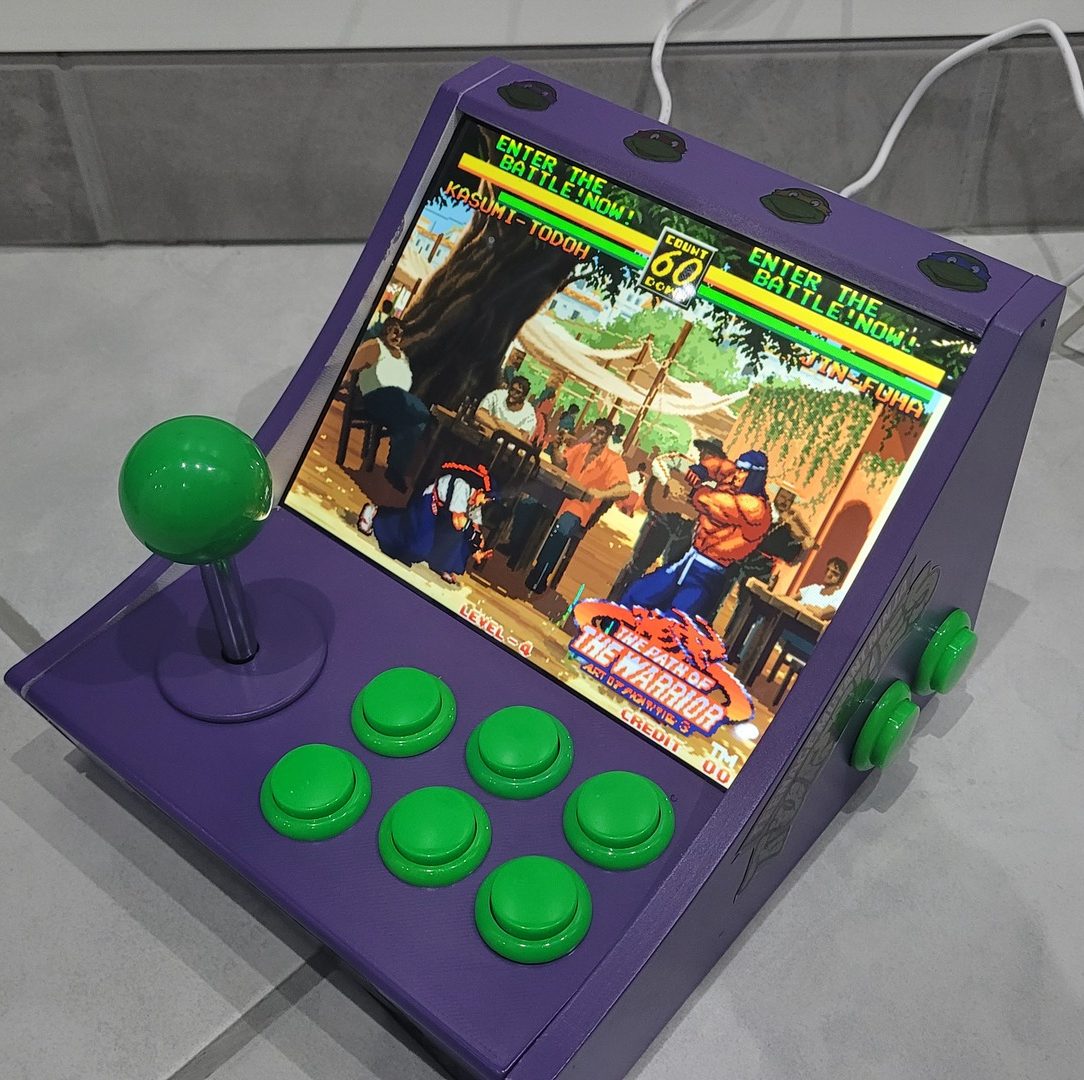
The idea was to build a Ninja Turle themed cabinet, hence the purple cabinet and green buttons.
I used some images from the internet and printed them with my inkjet printer on a transparent adhesive paper.

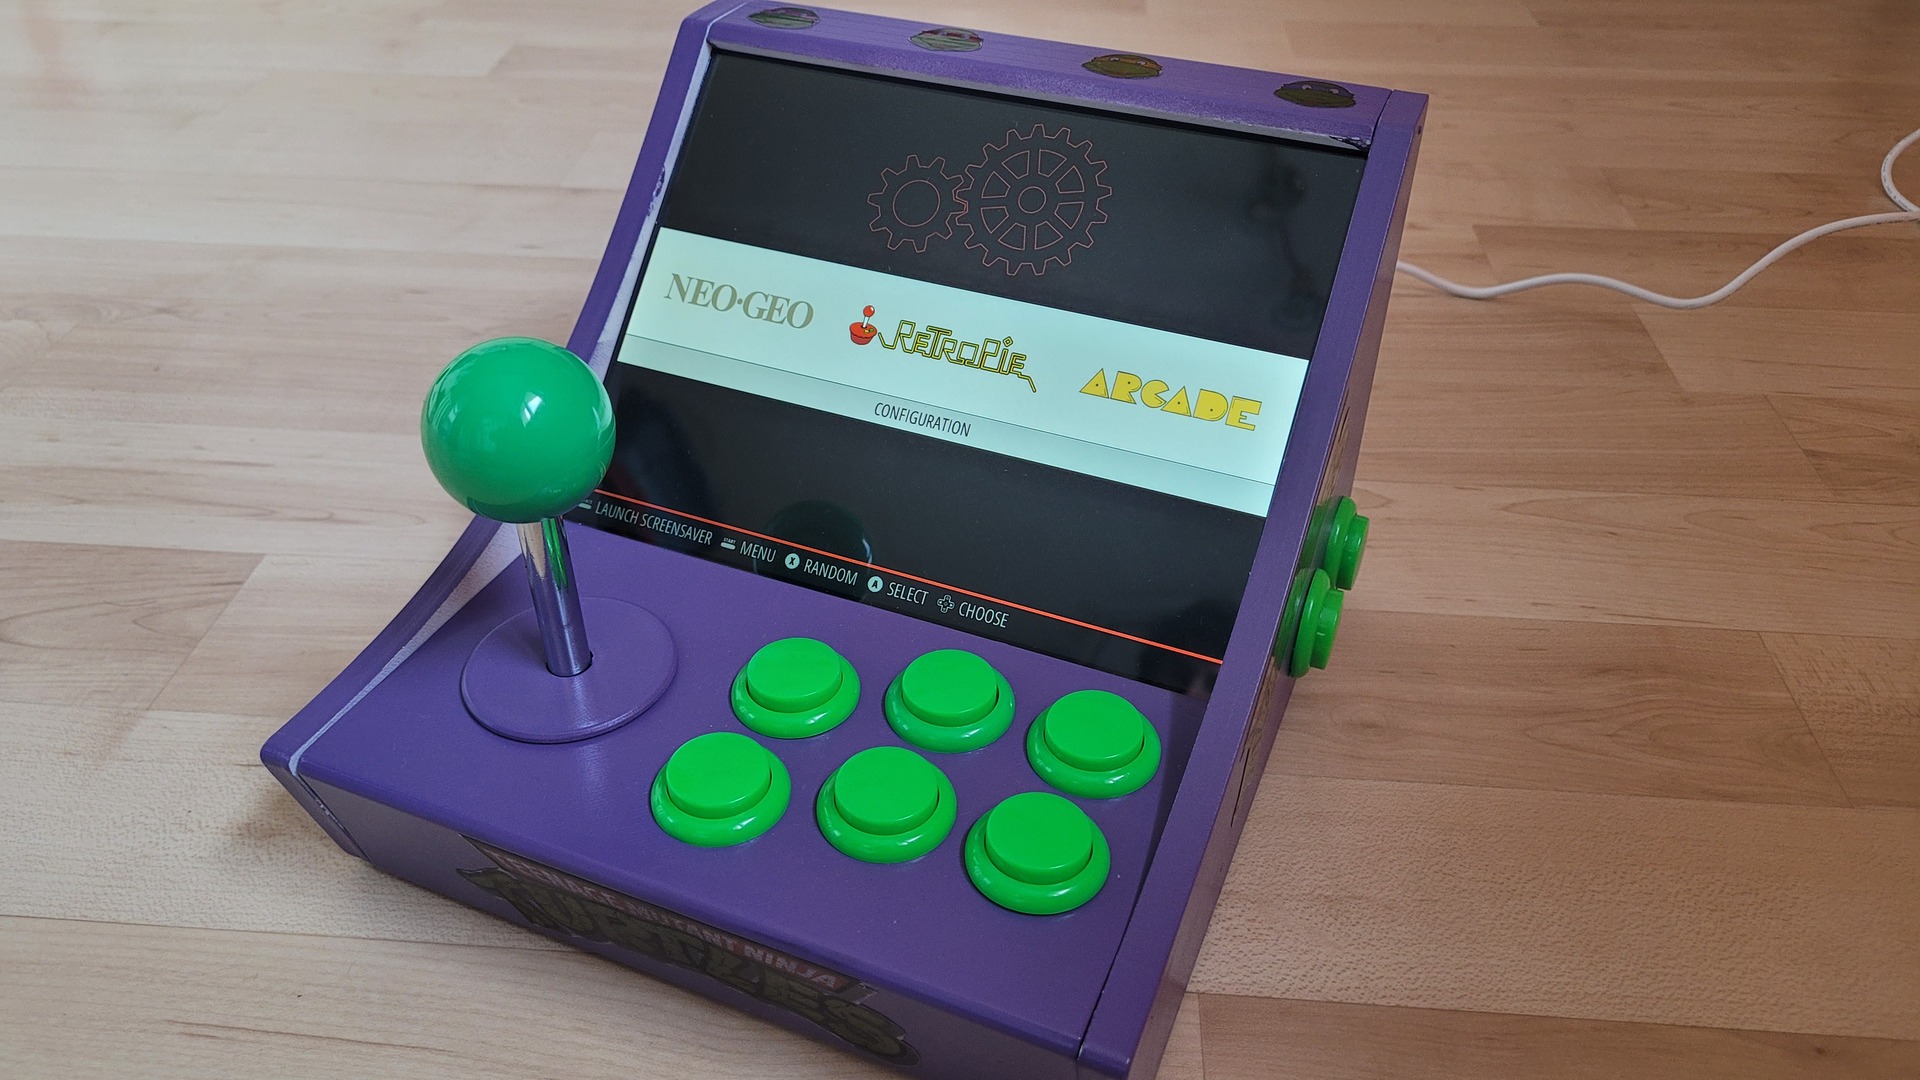
See it in action